Now that we have a rough idea of how to place and set up interactive objects in the environment, let’s proceed to how to create them.
To access creation tools in the Editor, we need to click the dropdown on the top left corner. We will find there direct links to dedicated creation tools:
¶ Characters
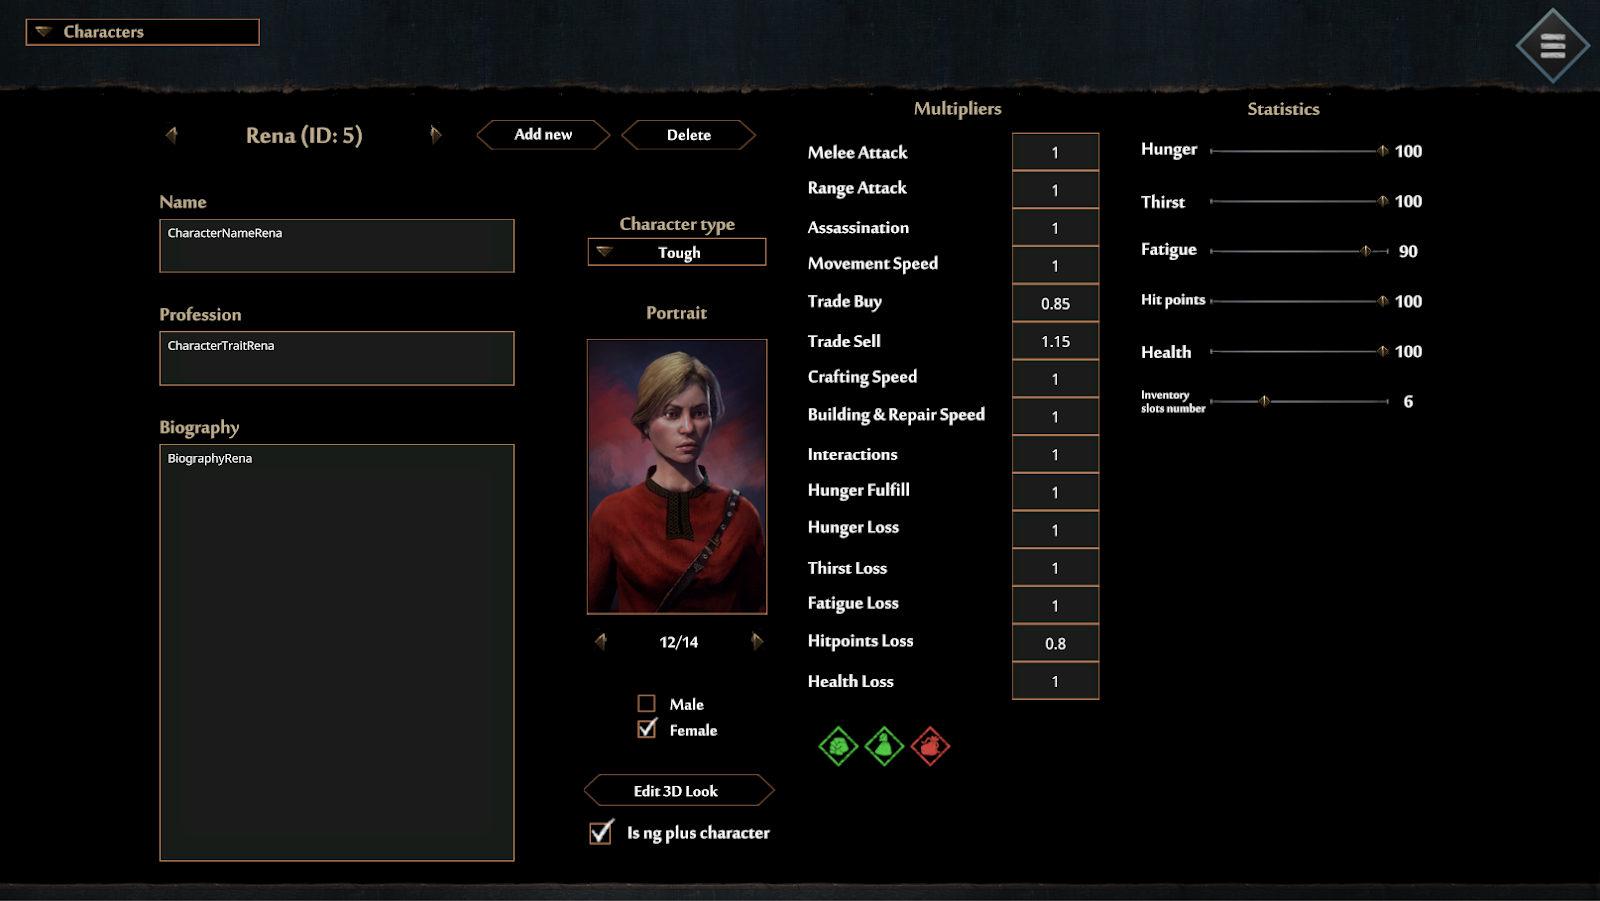
This is where we are creating our playable characters and NPC’s. We can set up a name, biography, portrait, and the 3D look of the character, but also character type, various multipliers that are automatically turned to perks, and character base statistics.
¶ Economy
This is one of the most complex creation tools, since we can add, change and set up basically the whole game economy. This tool consists of the following sections:
¶ Workshops
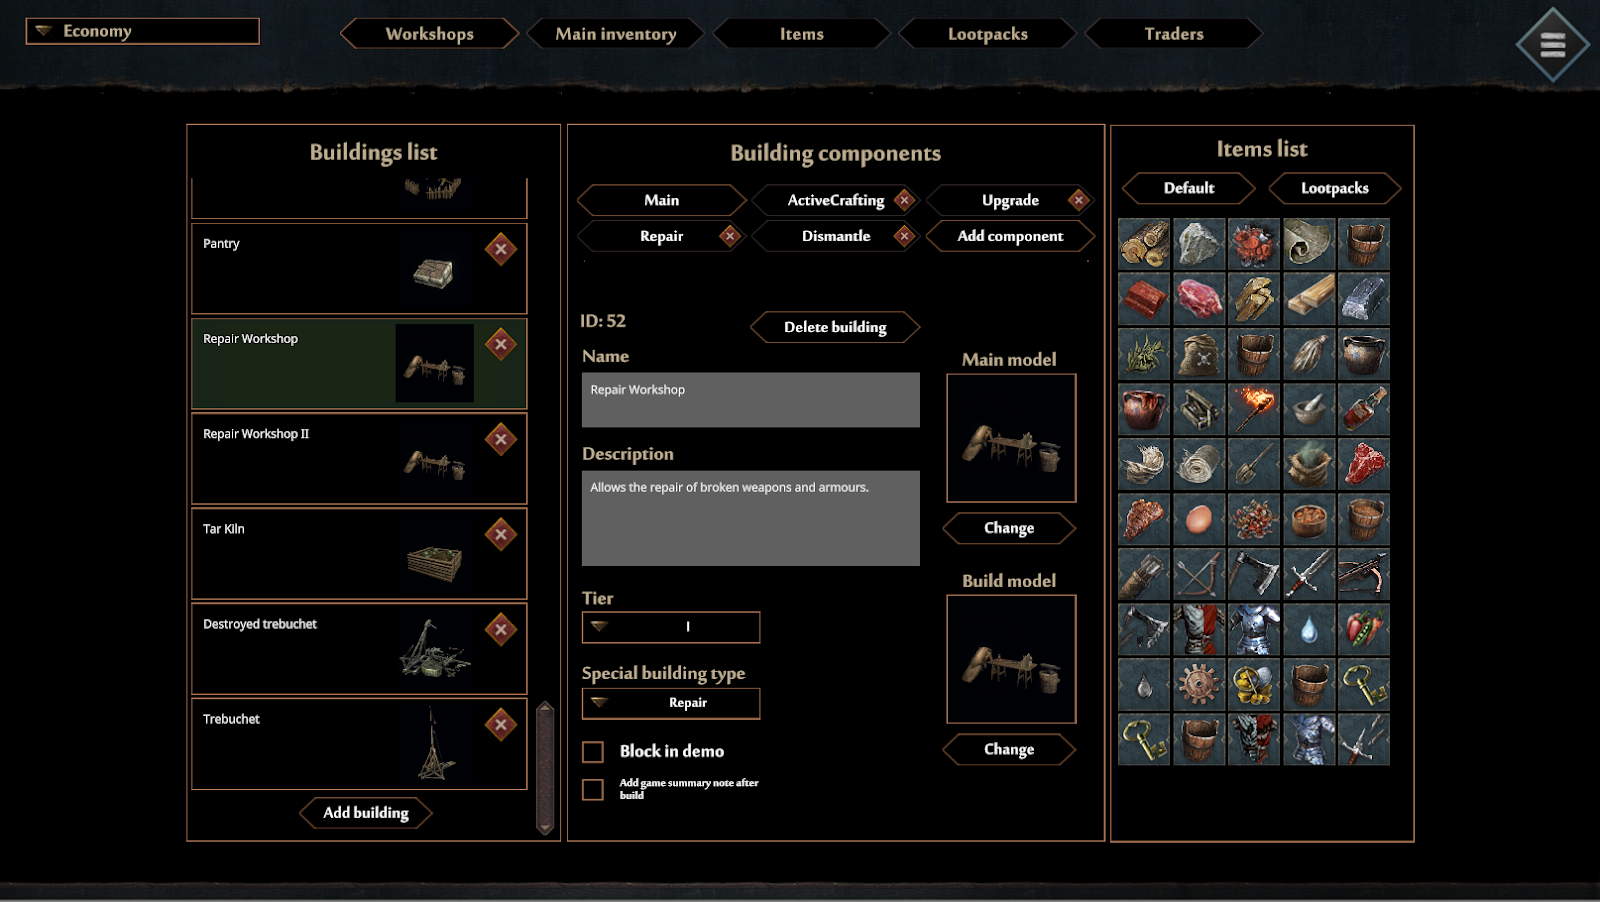
Here we can create various buildings and interactives. Buildings have components that are responsible for interaction options and their purposes. In this panel we can change their icons, look, set up passive and active crafting recipes, animals, repair cost, and many more.
¶ Main Inventory
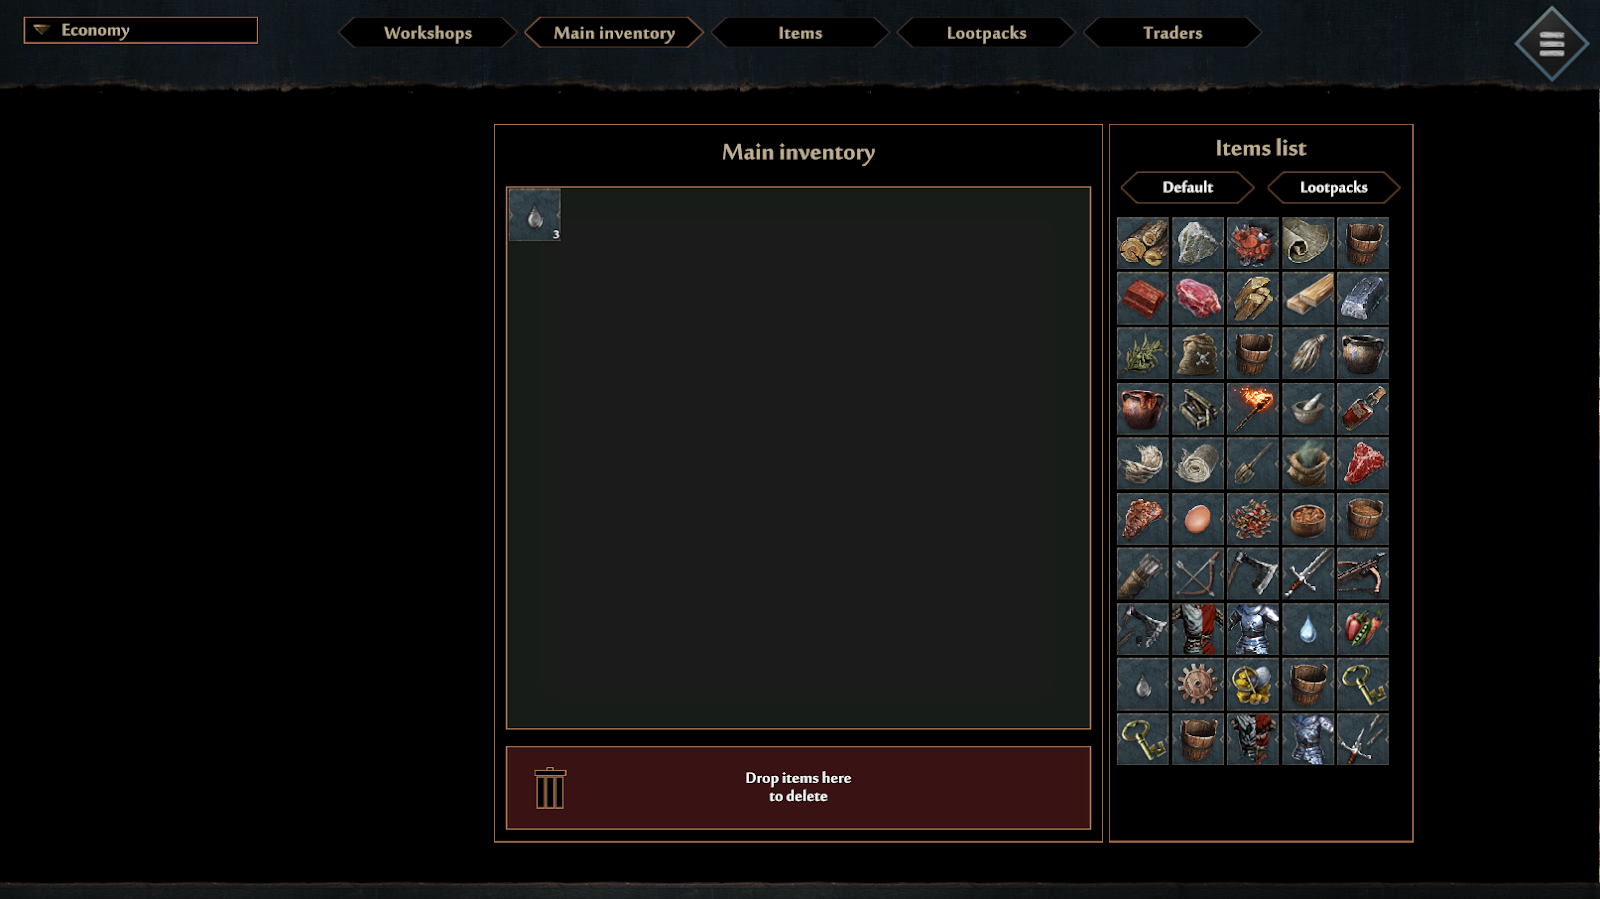
Here we can set up the starting resources. In our game, it is being done by picking the choices in intro and difficulty settings, but we have such an option if anyone would like to start with predefined stock.
¶ Items
In the Items tab, we can access the ingame items list and all the options related to them. We can add and remove items, set up their components and properties, change their icon, name, and so on:

¶ Lootpacks
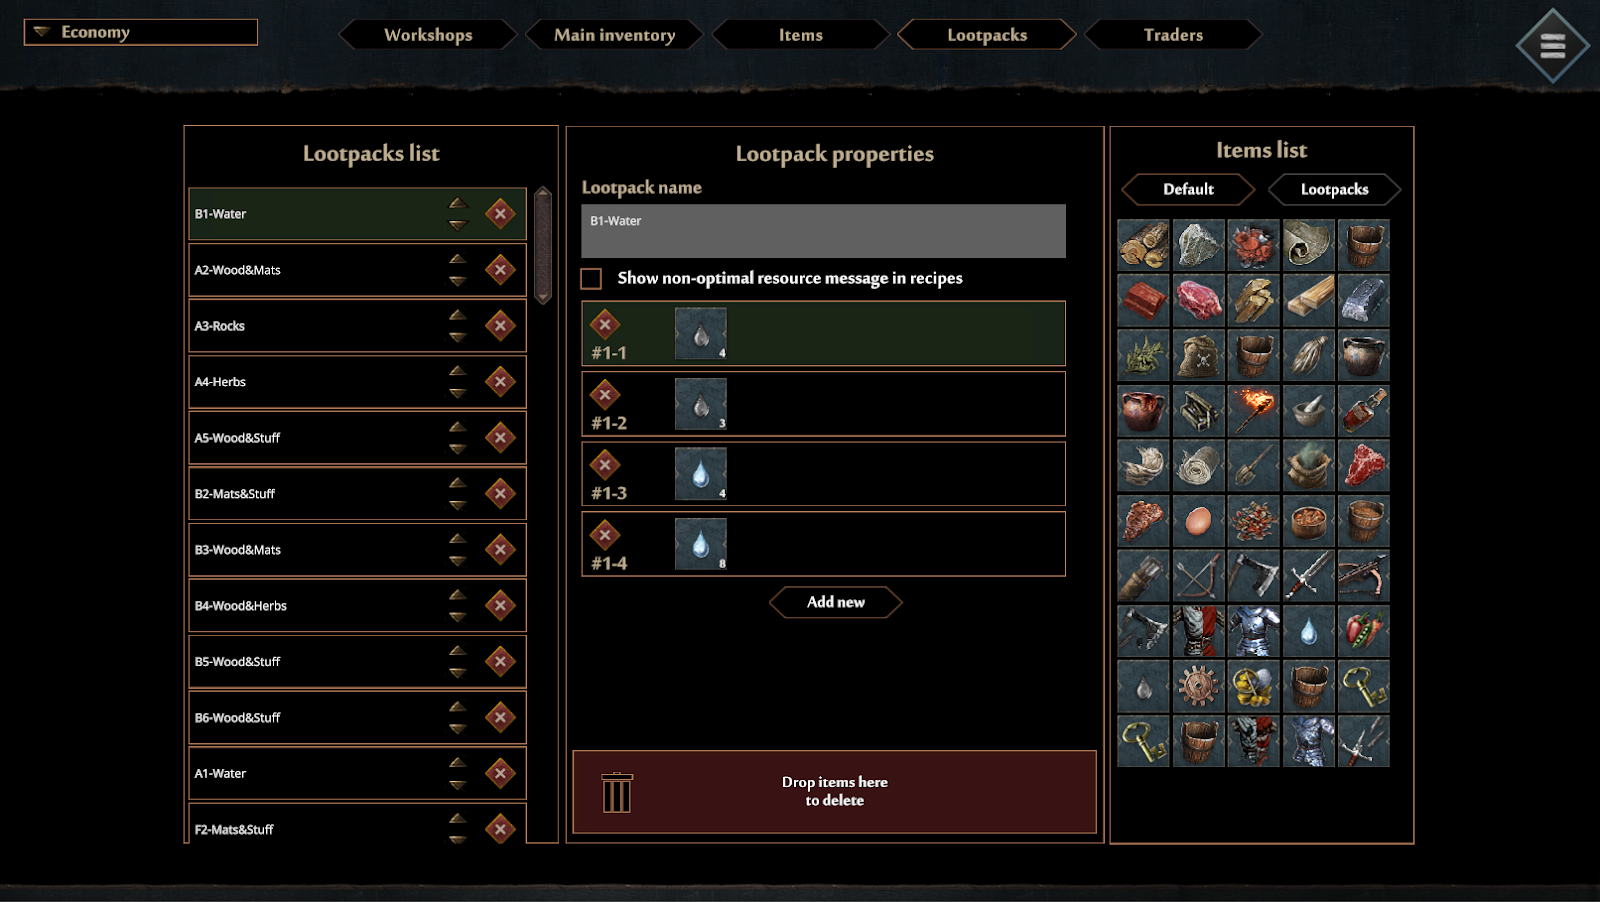
Lootpacks are used in our game in various ways. They are allowing us to create groups of items that can be used in recipes or to differ the content of piles. We are also using Lootpacks to control the resource accessibility in various game areas. This way designers can define the number of given resources in various game areas but still having possibility to randomize their exact distribution between different playthroughs.
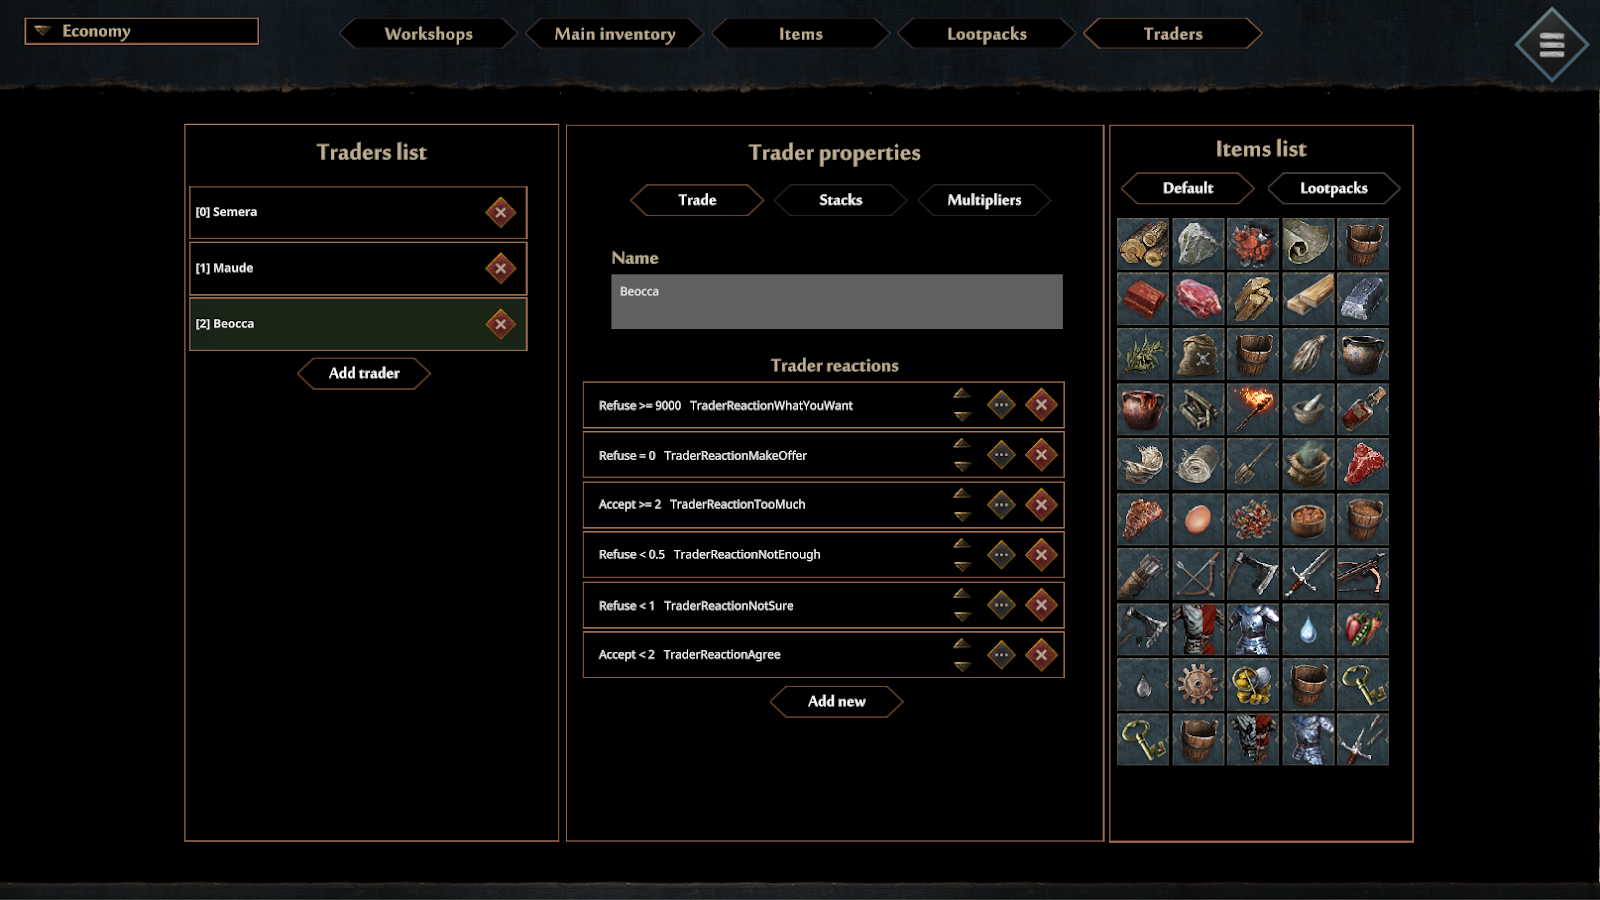
¶ Traders
Here we can create new and manage the settings of ingame traders. We can set up their price multipliers, assortment, and reactions.
¶ Text Events
This tool allows us to create text events in our game. We can create graphs with links, requirements, and consequences, we can change images for specific nodes, music tracks started by them, and a lot of other things on every node of the event graph.
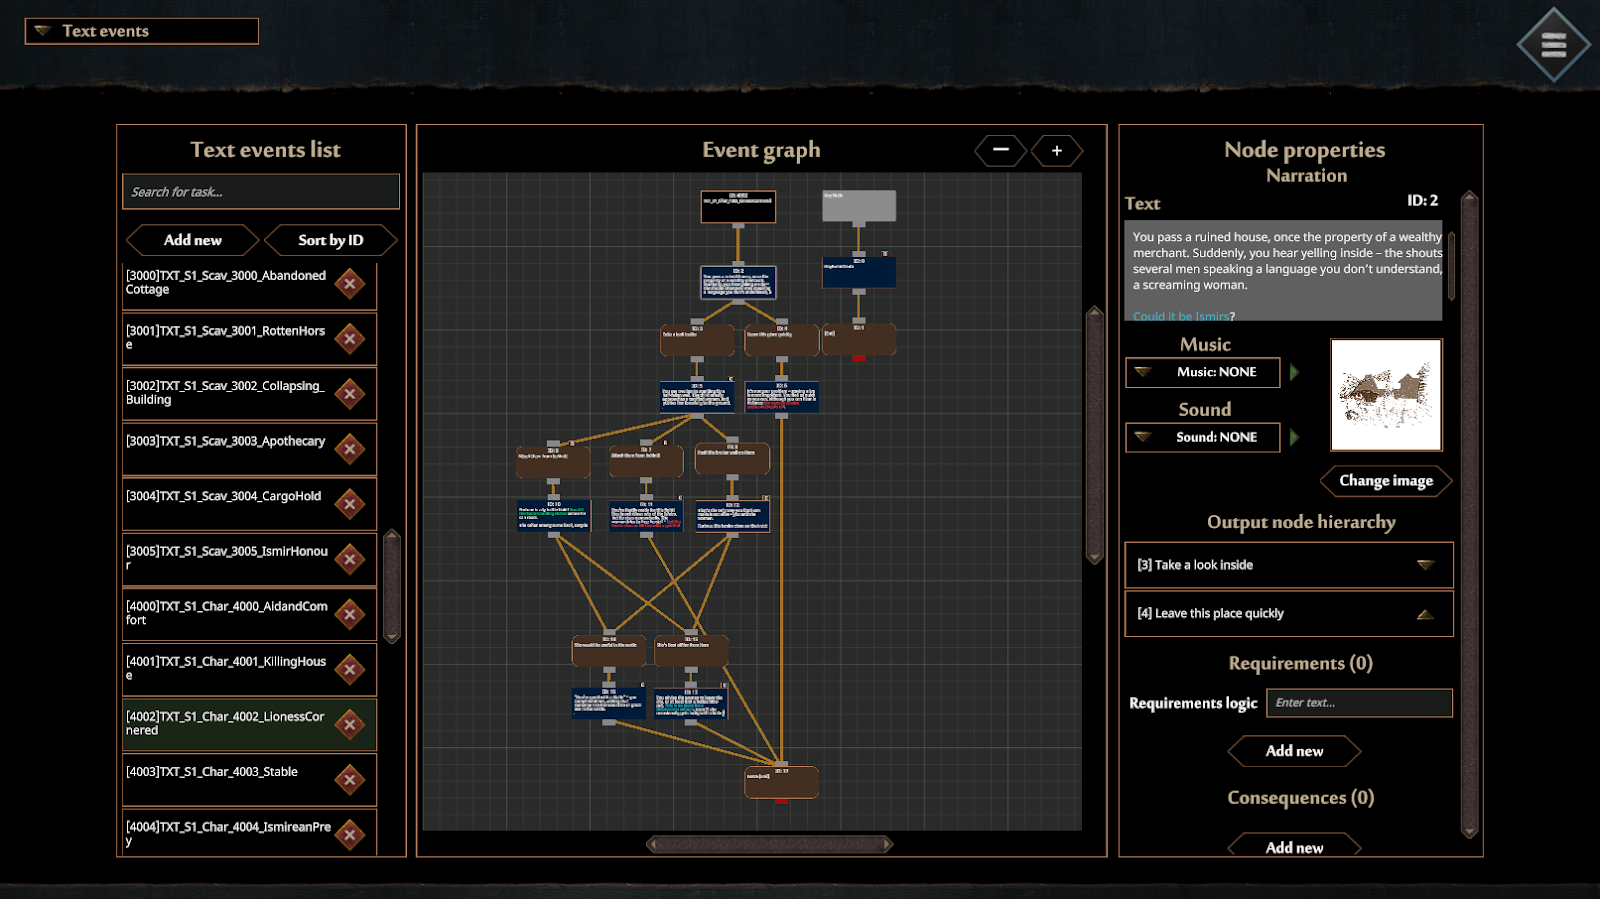
As you can see, the text events tool are quite advanced, and there are a lot of ways players can complete them, ending with a different outcome depending on their choices and the feats and perks of their active characters
¶ Task List
This is a system to manage tasks in the game that are shown in the game in the top left corner and we can complete them to progress in the game. There are a lot of options and possibilities here which are allowing us to use very simple logic to manage requirements of activation and deactivation of the tasks:
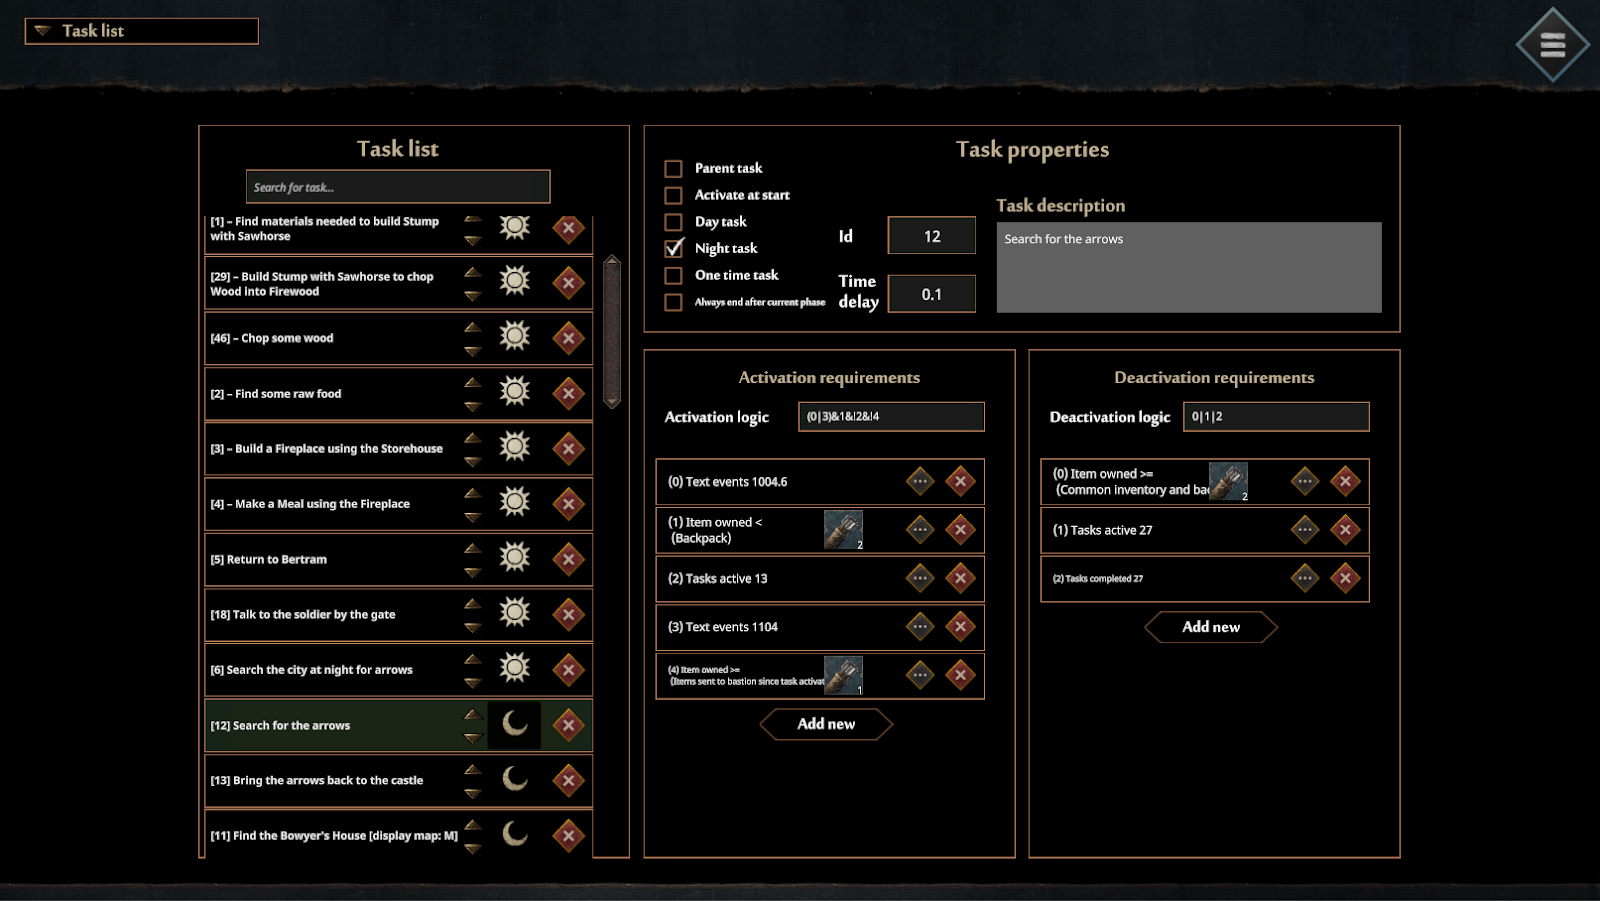
Activate this task only at night, if you have been on text event 1004 node 6 or any node in text event 1104 and you have less than 2 arrow packages in backpack, task 13 is not active, and you have not sent any arrows packages to Bastion since this task has been activated. (0|3)&1&!2&!4 Simple as that!
¶ Bastion
This is a complex tool to manage all battles settings in the game. It has some dedicated subtabs where we can set up very precisely many things:
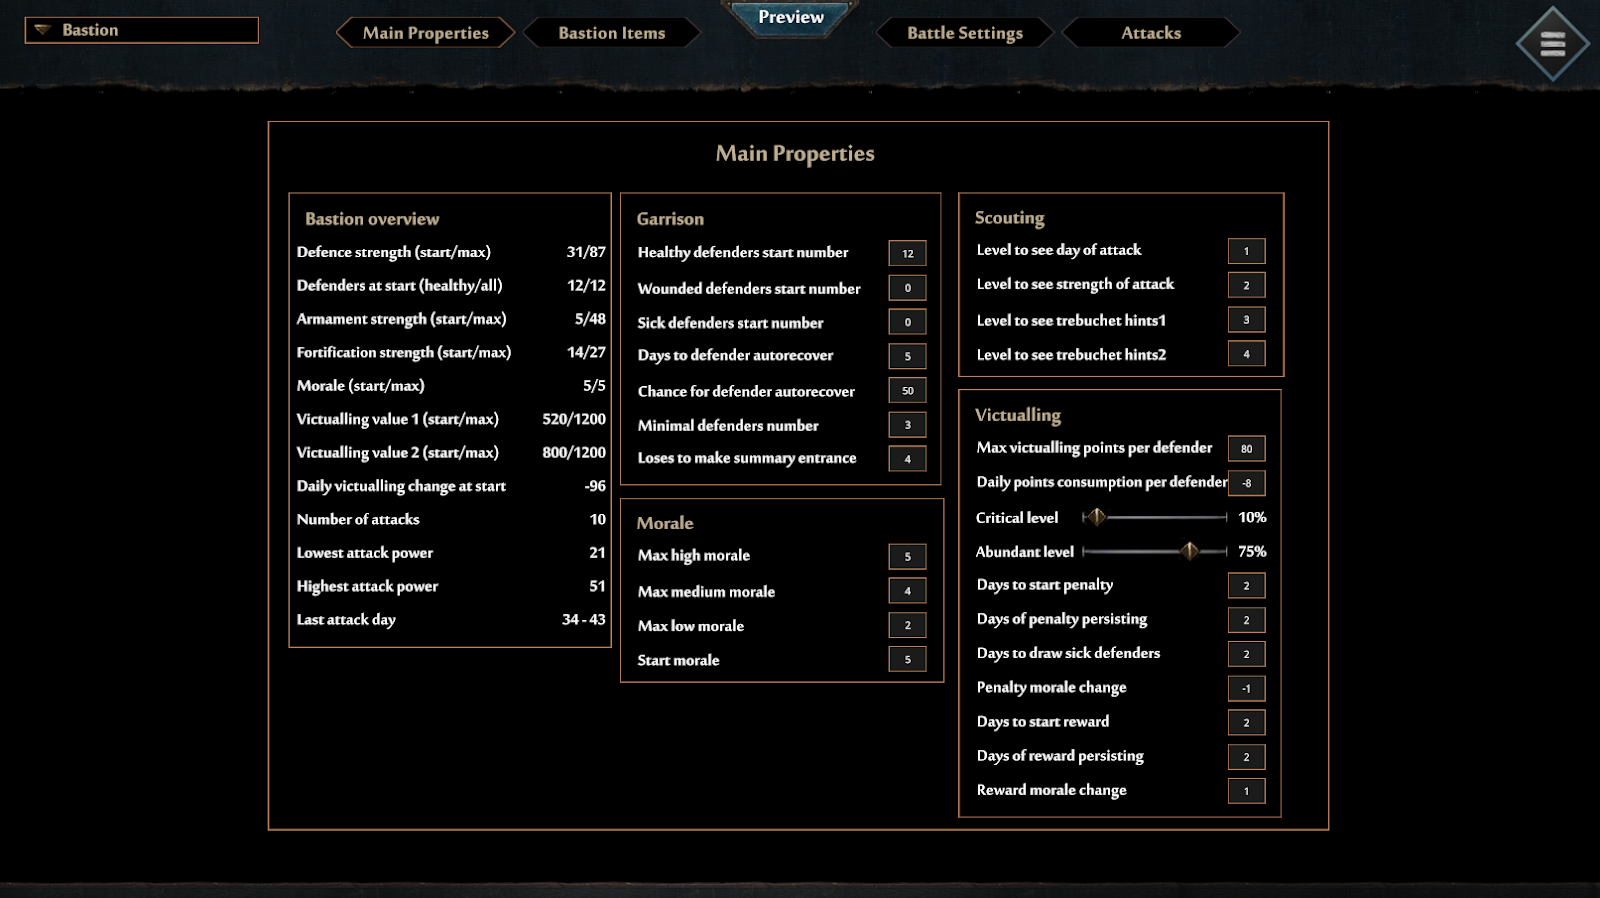
In the first tab we can set up a lot of things there, including base stats, Morale and Victualling bonuses and debuffs and scouting settings
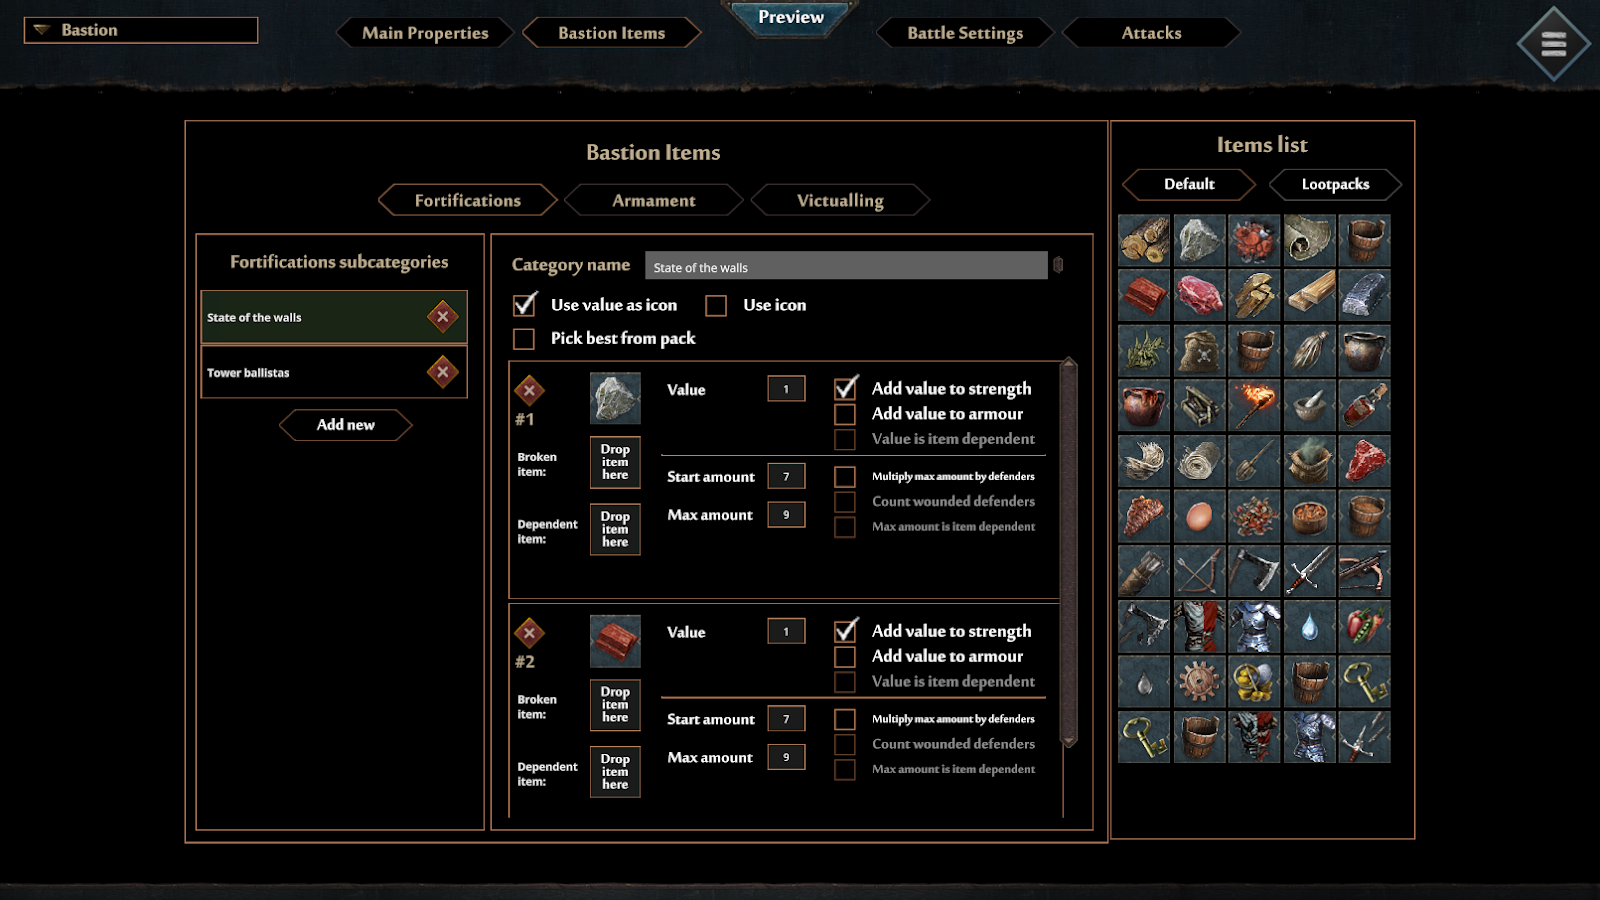
Second one gives us the possibility to set up items that we can send to improve Bastion stats in the game
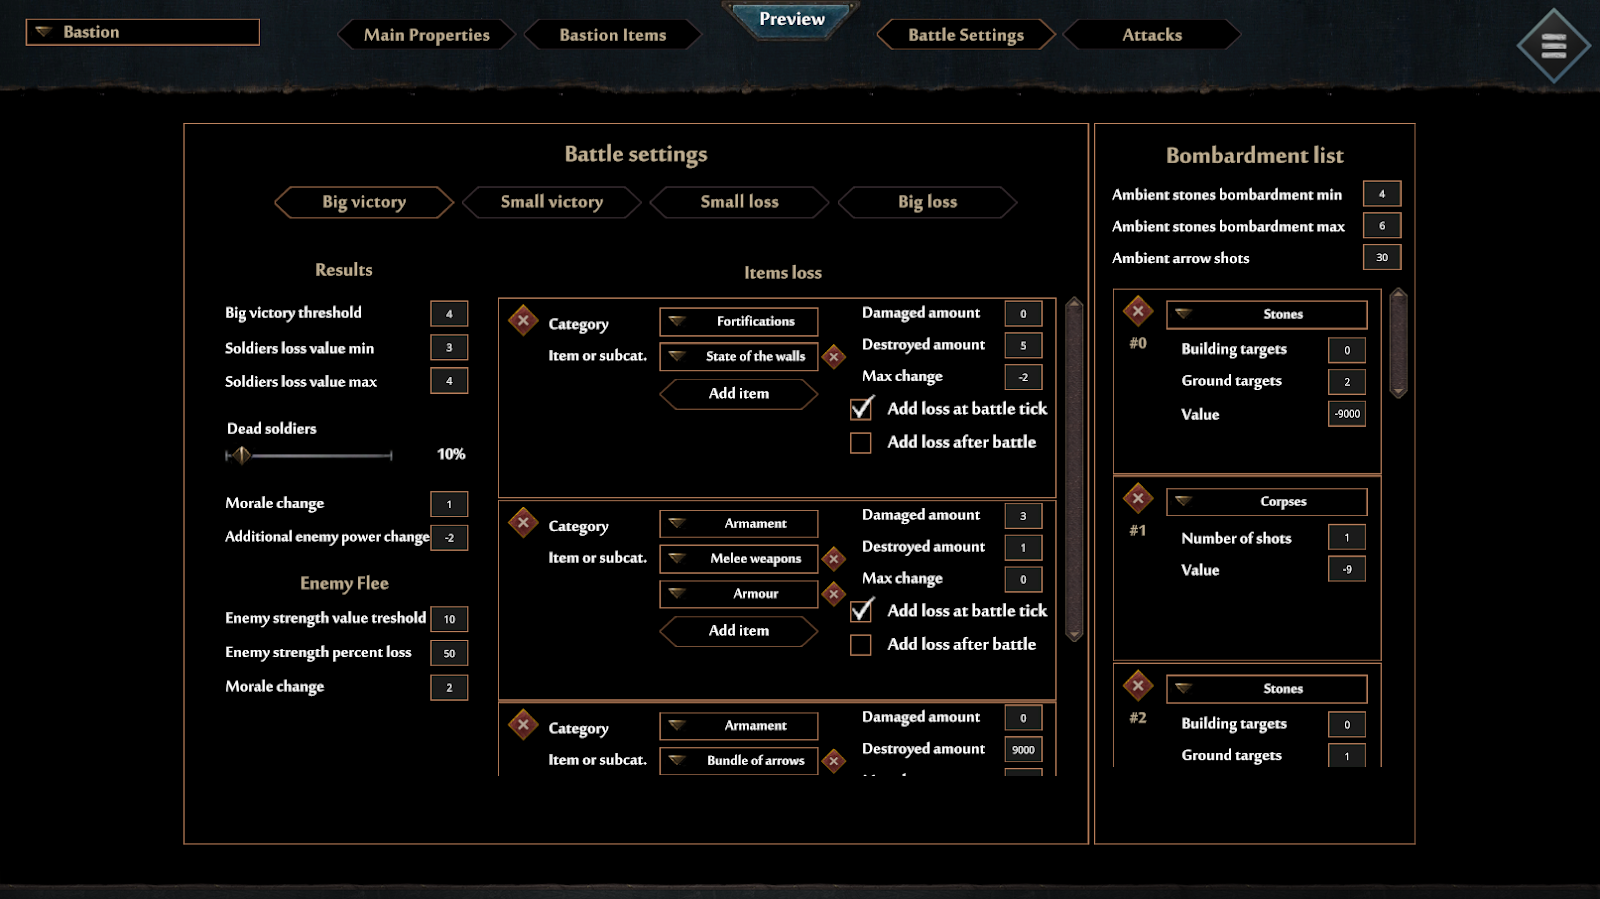
In third we can set up the battles settings and loses related to players performance during them
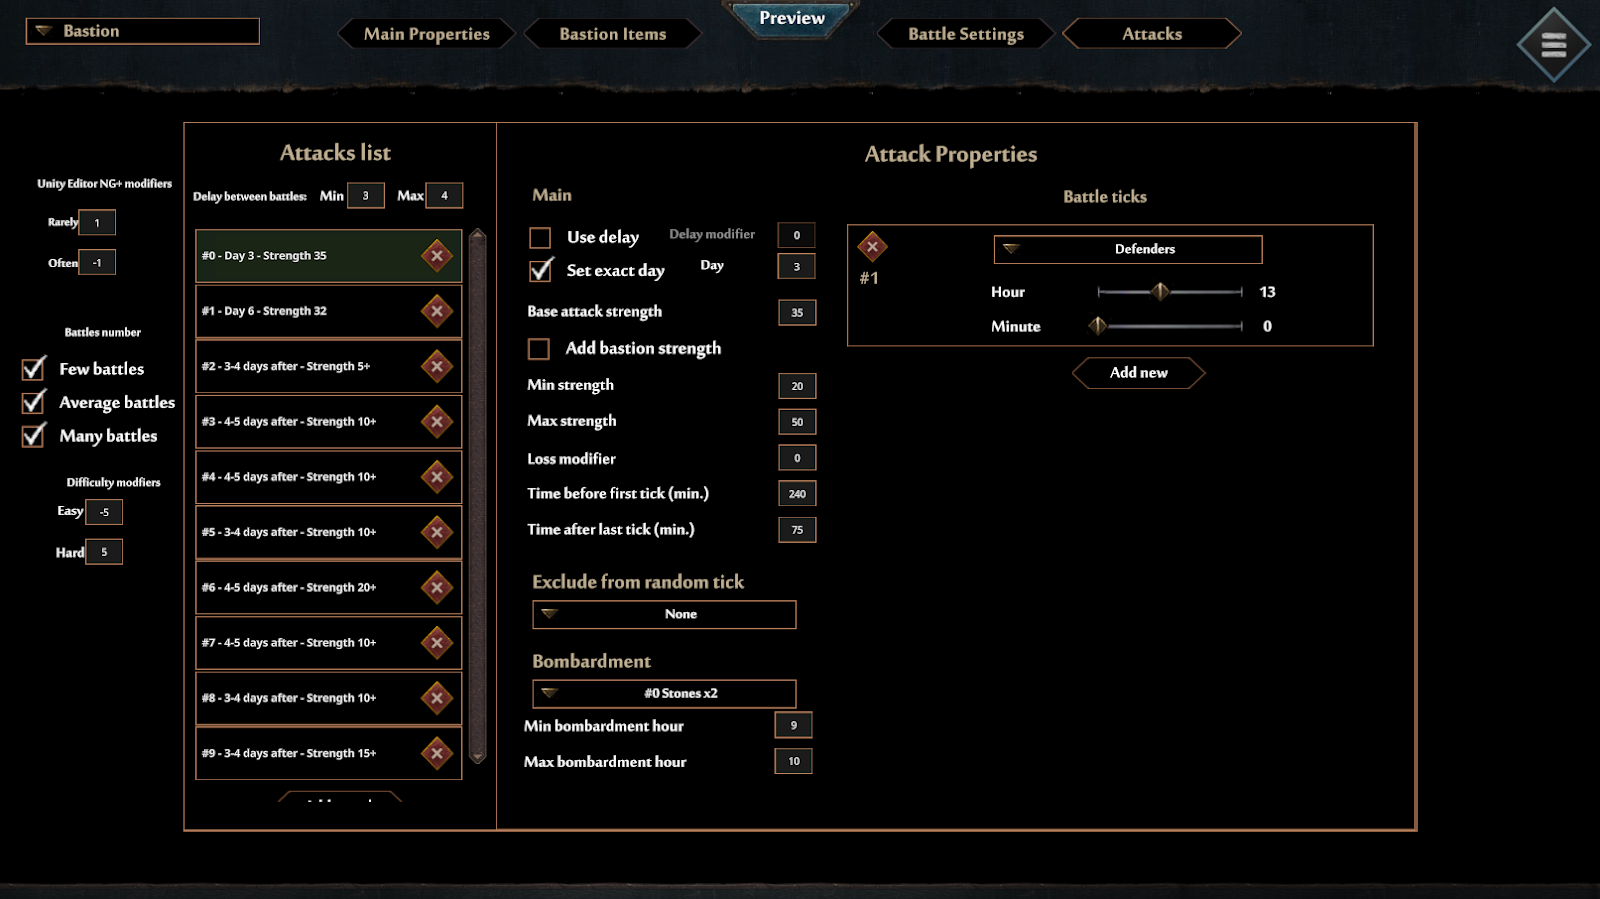
And in last one we can set up any amount and precise stats of ingame attacks