When launching the Editor Scene we are instantly receiving access to 6 tabs which allow us to set up a lot of things on the game map. While for the optimization reasons the environment geometry on the scene is static and predefined, the Editor allows users to freely edit the location of any interactive object available in a given scenario, to customize their triggers and to alter the game’s content extensively.
Let’s break every tab one by one really quick:
¶ Enemies
The first tab is responsible for setting up Patrolling guards in the part of the map we are exploring in the game during nighttime scavenge. Here we can pick various guard types from the predefined prefabs on the left and place them on the terrain. To make the placed guards move, we need to set up waypoints and search points for them. Guards have also rescue points where they can escape and heal up when they become severely wounded.
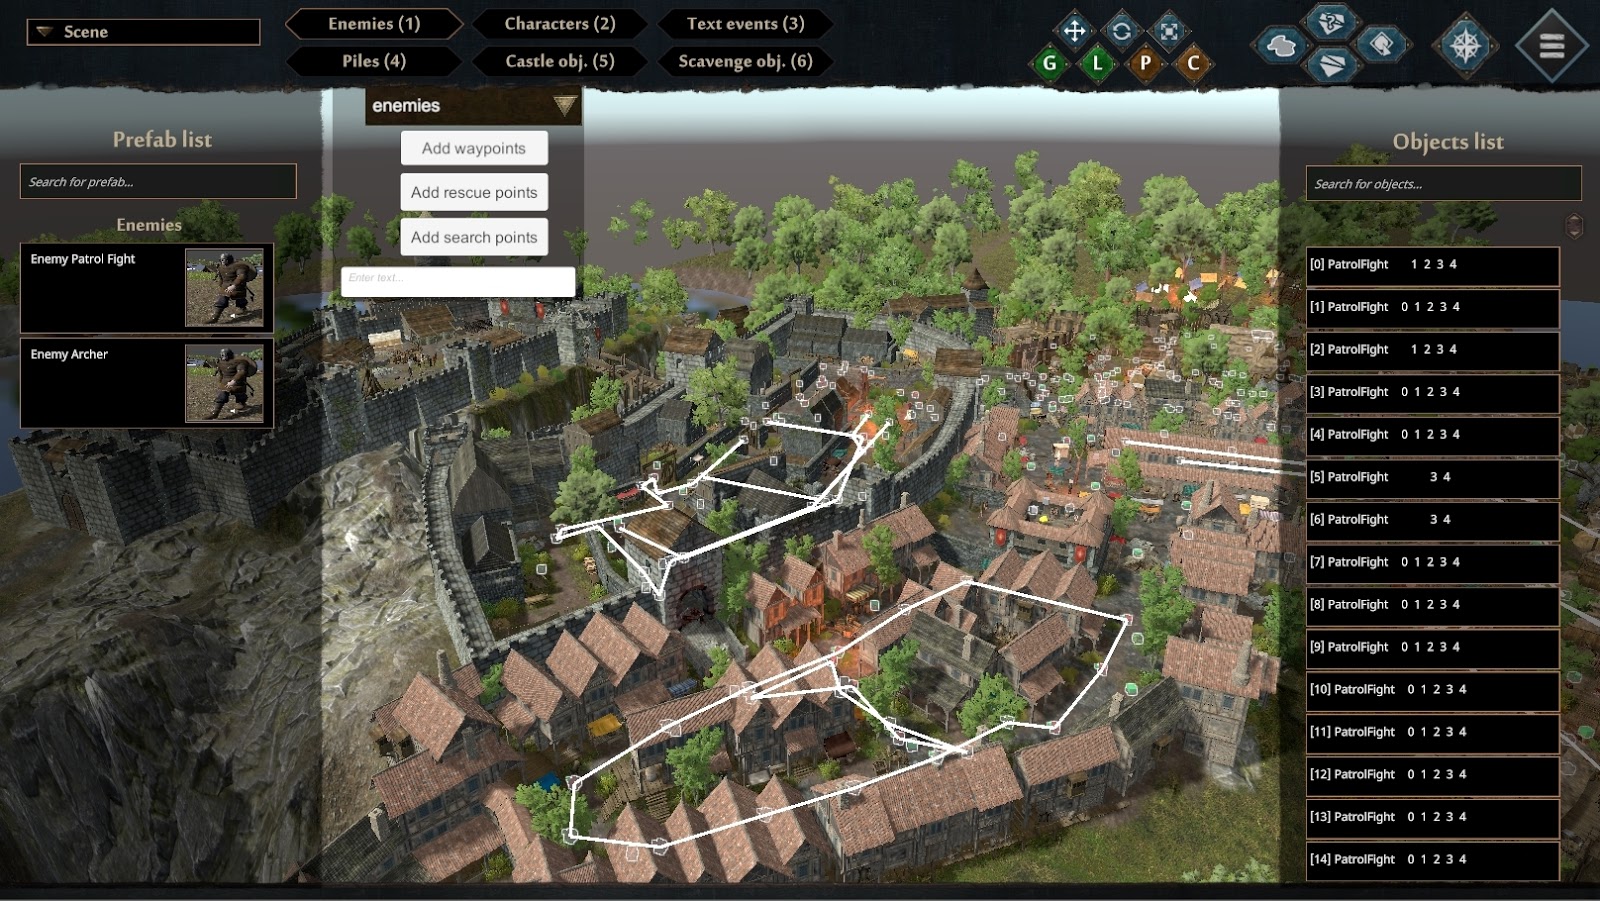
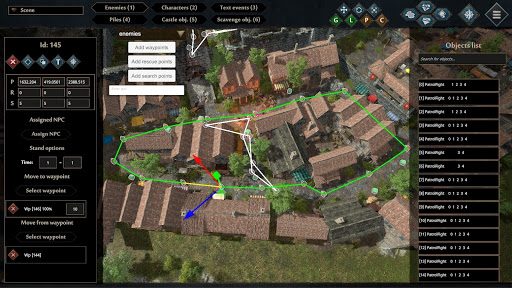
By clicking on the guard placed on the map, you can choose the alert levels on which he is spawned and assign a waypoint to his patrol route. You can also pick already placed guards from the list on the right.
Waypoints need to be linked to each other to create a patrol route. By clicking any waypoint you can see the whole path and guard assigned to it. You can set up a waiting time on each waypoint to make the guard hold on to it for a designated time.
Search points are places that guards are moving to and checking when they lose sight of our character. Guards are checking a few of them around the point where they lost sight and moving back to their patrol route if they do not find us.
¶ Characters
By clicking the Characters tab, the Editor is showing us positions of playable and NPC characters in the game.
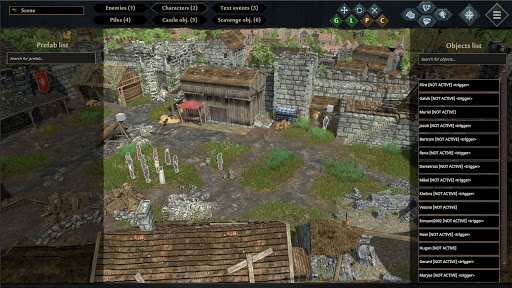
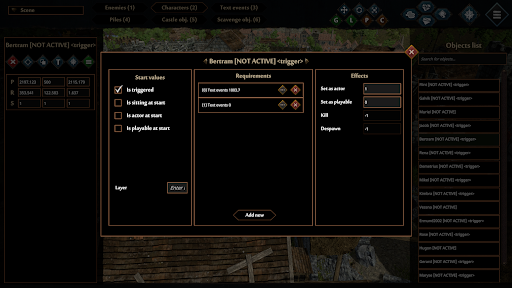
We can see and choose a character from the list on the right to set up status triggers. Triggers are allowing us to show, hide characters in-game and to set them as actors (NPC’s) or playable characters. We have a very long list of possible triggers that can have an impact on characters status, including among others: text events, interaction with various interactives, the status of other characters, battles outcome, build constructions, active or completed tasks, and of course, time in-game, simplified to gameplay day.
¶ Text Events
The text event tab is dedicated to place and set up text events in the game world. Text events can be triggered in a similar way to characters in the previous tab, but also we can set up hidden events that are triggered when our characters enter their collider.
Like in other tabs, we can place text events in-game by picking one from the list of created text events on the left or access already placed ones from the list on the right.
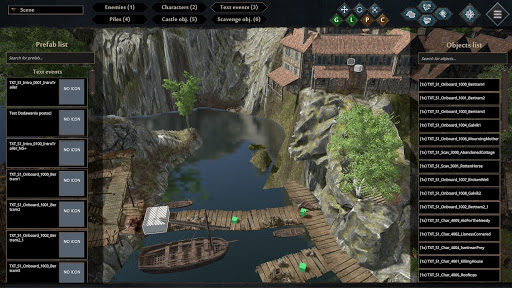
The main view of the text event tab – on the bottom we can see one text event triggered by a collider, on the top right we can see some triggered in other ways.
![]()
¶ Piles
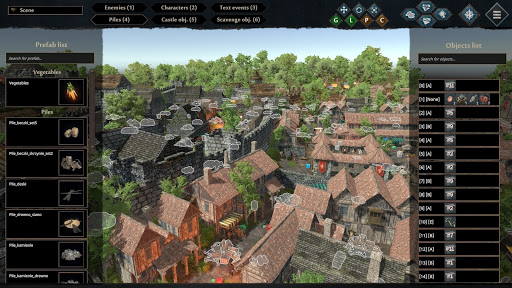
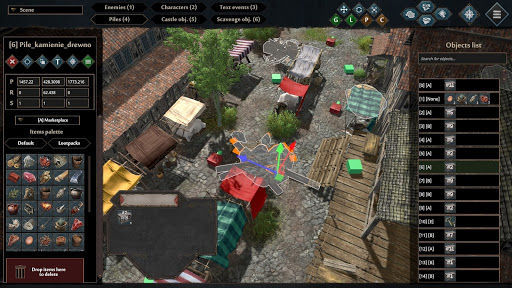
This tab shows us all the piles set up in-game – interactives where we can find resources and gives us a possibility to change their position, visuals, icons, and content.
¶ Castle objects
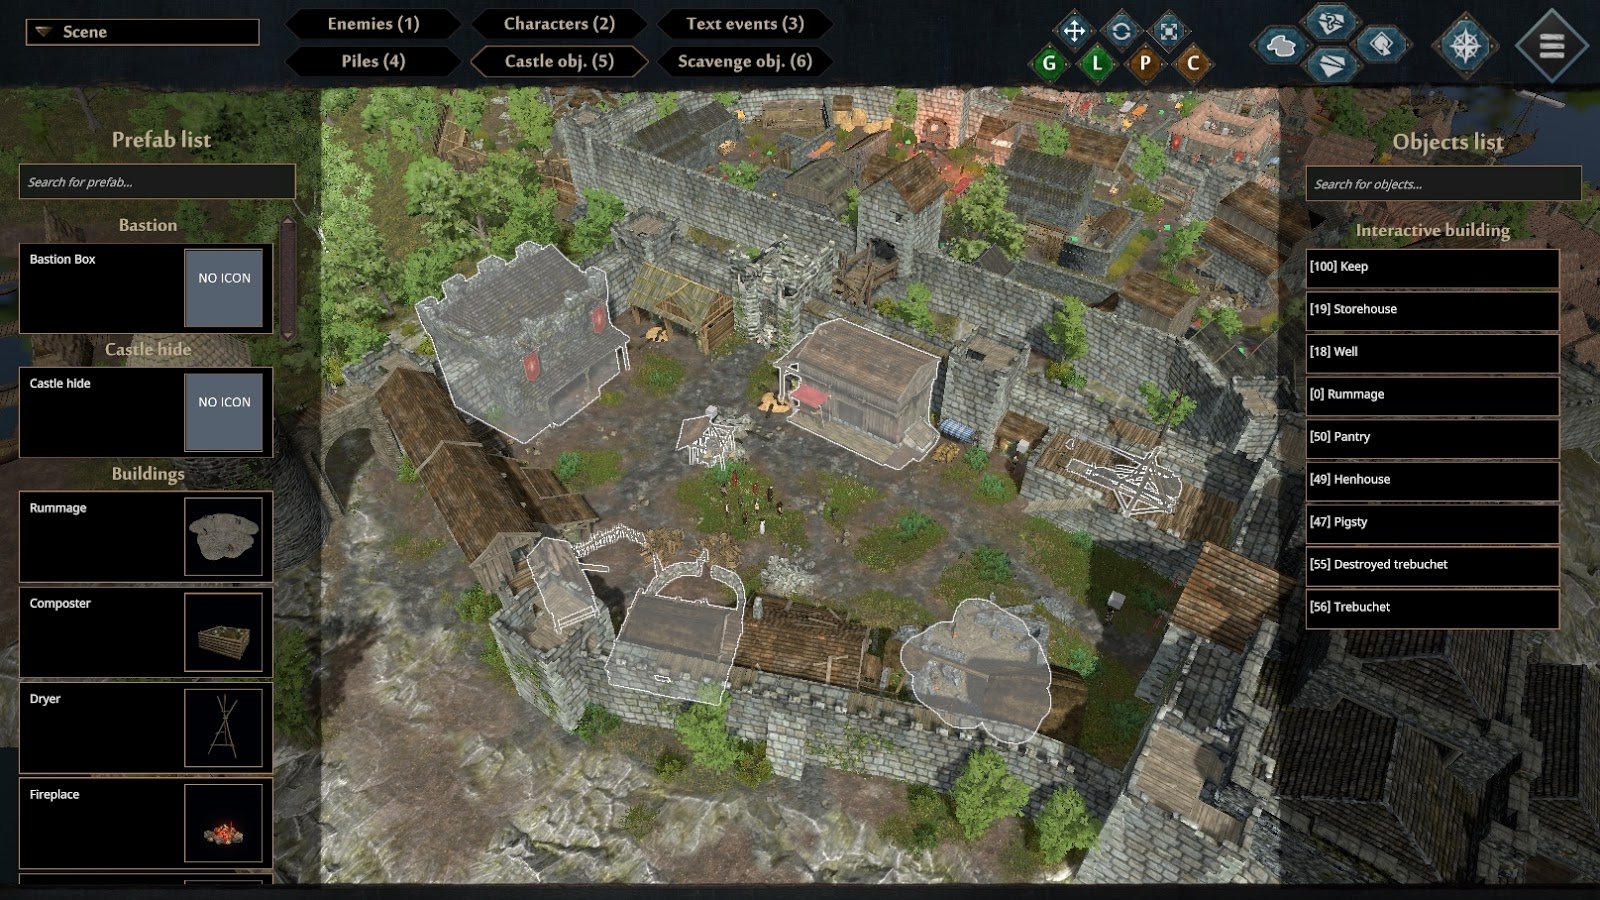
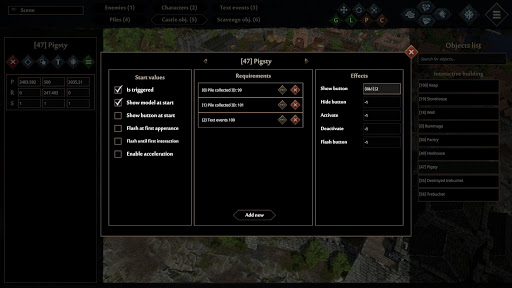
This tab shows all predefined castle buildings and allows us to set up any building from those available to build in the game which we would want to be shown from the beginning of the game. Castle objects have their triggers and settings like any other interactive in the game.
¶ Scavenge objects
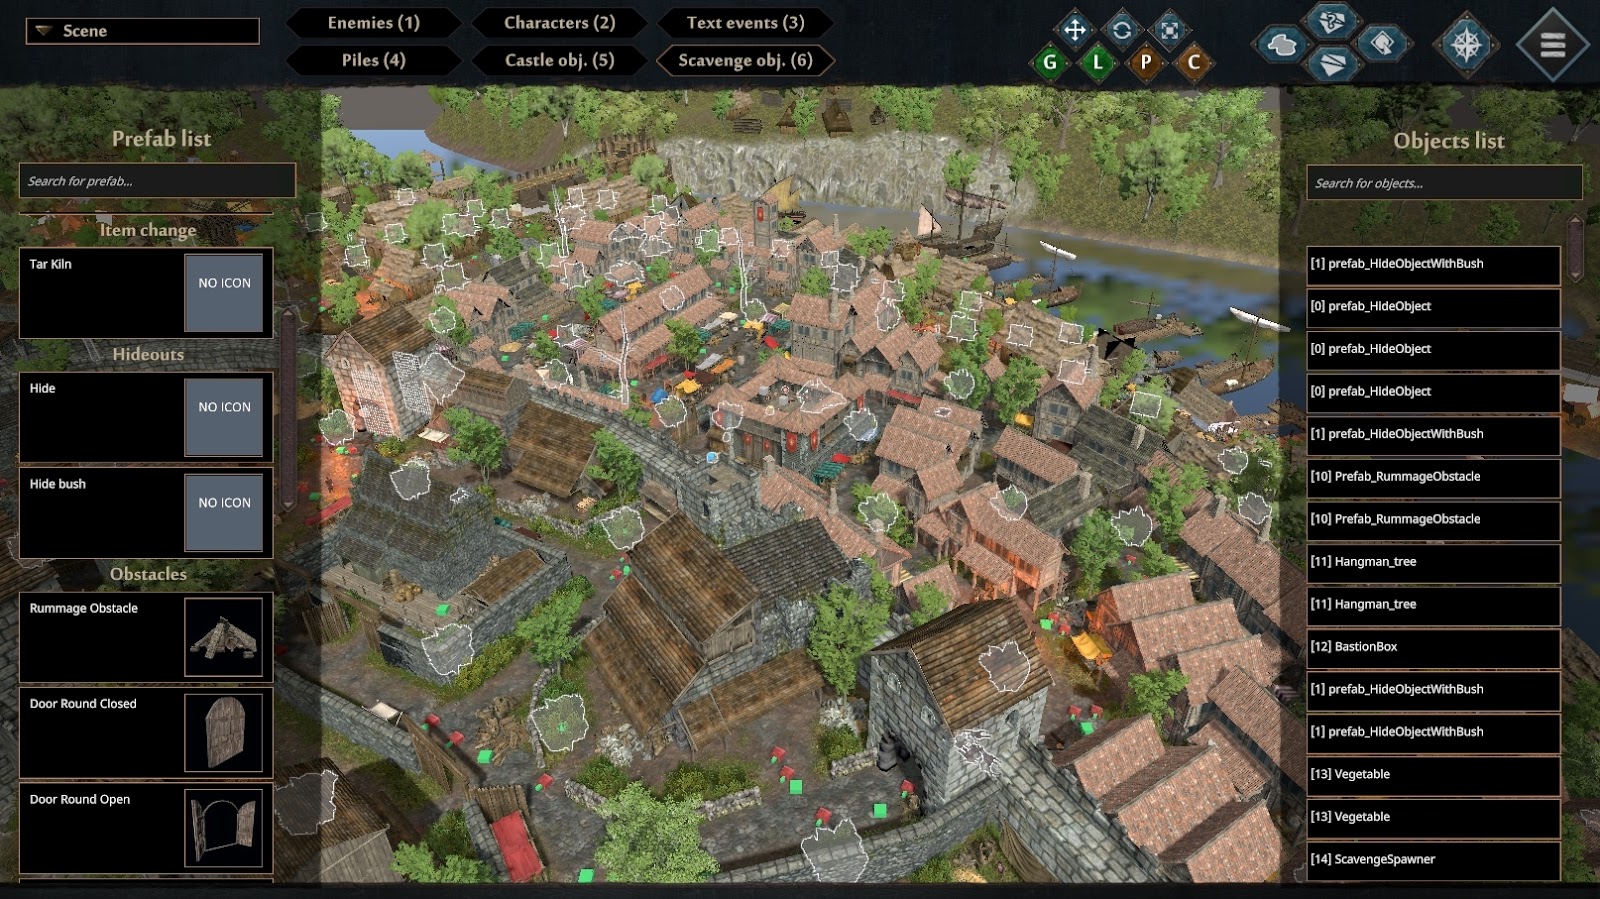
This tab gives us the possibility to place and manage all the interactives related to the scavenging phase of the game. among others: spawn points, hiding spots, corpses, hangmen, doors, obstacles, and some extra immersion things, like the crows spawning points.
¶ Global options
On the right top corner of the Editor Main Scene, we can see a set of useful tools – we can check the game map, navmesh, access rotation and transform tool, and more.
https://i.gyazo.com/6960c25ad8223ba530e0556f0a41bac4.mp4