¶ Creating a Static NIF in 3ds Max 2021
This serves as a guide to bring your mesh from 3ds Max into the game. It will cover:
- Setting up AssetWatcher
- Setting up 3ds Max for use with Starfield
- Adding your material to your mesh
- Exporting and bringing it into the CK
¶ Prerequisites
- 3ds Max 2021 installed
- This can be tricky to get ahold of, however license holders can reach out to Autodesk support for the link
Starfield\Tools\ArtTools\BGS_Starfield_ArtTools_a.b.c.d.exeinstalled
¶ Setting up 3ds Max 2021
Once you've installed ArtTools, there's a few more things we need to do to setup 3ds Max for use with Starfield/Creation Kit.
¶ INI Setup
NOTE: Skipping this step will result in the Collision Materials not loading in 3ds Max
- Go to
%LOCALAPPDATA%\Autodesk/3dsMax\2021 - 64bit\ENU\en-US\plugcfg - Create a new text file and name it
BSToolSettings.ini - Add the following content to the file, below is a template, along with an example
Template
[Config]
ConfigFilesDir=C:\Users\<YOUR USERNAME>\AppData\Local\Autodesk\3dsMax\2021 - 64bit\ENU\en-US\plugcfg\BGS\Configs

[Materials]
LocalSourcePath=<PATH TO STARFIELD>\Source
LocalDataPath=<PATH TO STARFIELD>\Data
Example
[Config]
ConfigFilesDir=C:\Users\ARealUsername\AppData\Local\Autodesk\3dsMax\2021 - 64bit\ENU\en-US\plugcfg\BGS\Configs

[Materials]
LocalSourcePath=C:\Program Files (x86)\Steam\steamapps\common\Starfield\Source
LocalDataPath=C:\Program Files (x86)\Steam\steamapps\common\Starfield\Data
- Save the file
¶ Toolbar Setup
Now we'll add the the exporter to the 3ds Max toolbar for ease of access.
- Open 3ds Max 2021
- In the Max menubar navigate to Customize → Customize User Interface
- Click the Toolbars tab
- Set Group to Main UI and Category to Bethesda
- Drag and Drop Open Bethesda FBX Export Tool to the toolbar
- The toolbar should now have these two options

¶ Choosing an Export Location
Ahead of this, pick a good place to export your FBX files. It is recommended to save them outside of the
Starfield\Data\meshesdirectory to avoid dirtying up that directory.You'll also want to have the directory structure in the FBX directory to match what you want the archive to look like. For example:
My Documents\My Mod\meshes\MyMod\Furniture\MyChair.fbxDoing this will ensure when AssetWatcher will keep the structure when AssetWatcher converts the NIF. This path would then export the NIF to:
Starfield\Data\meshes\MyMod\Furniture\MyChair.nif
¶ Setting up AssetWatcher
AssetWatcher is responsible for converting the FBX files that 3ds Max exports into NIFs.
- Open AssetWatcher by navigating to
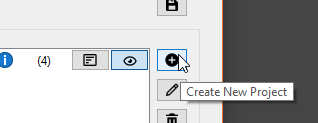
<STARFIELD>\Tools\AssetWatcher\AssetWatcher.exe - Click Settings and the Create New Project button on the right
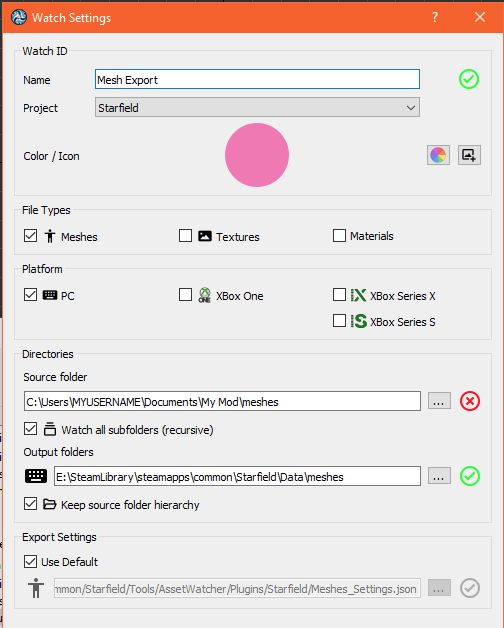
- Give the new project a Name
- Check Meshes
- Choose your platform, at a minimum choose PC
- Choose the Source folder, for tips see Choosing an Export Location above but this should be a directory outside of
Starfield\Dataand matches the structure you want in your archive- If you're using the structure from the info box above, choose
My Documents\My Mod\meshes
- If you're using the structure from the info box above, choose
- Ensure Watch all subfolders (recursive) is checked, this will ensure AssetWatcher looks and copies the directory structure from where you save your FBX files
- Choose the Output folder which should be
<PATH TO STARFIELD>\Data\meshes - Ensure Keep source folder hierarchy is checked
- The project should look something like this
- Click Save
¶ Export Your First Mesh
In this part we'll make a very simple mesh, assign a material and export it from 3ds Max into Starfield.
¶ Assigning Material
This will require you to create the material in CreationKit. That will be out of scope for this tutorial and we'll use an existing one that comes with the game.
- Open the Material Editor by hitting M or clicking

You can do the next step in the Slate Material Editor or the Compact Material Editor. For simplicity we'll use the Compact Material Editor.
- Ensure you're in the Compact Material Editor by clicking Modes → Compact Material Editor
- Click a material slot if your choosing and ensure it's set to BSBlinnLayeredMaterial
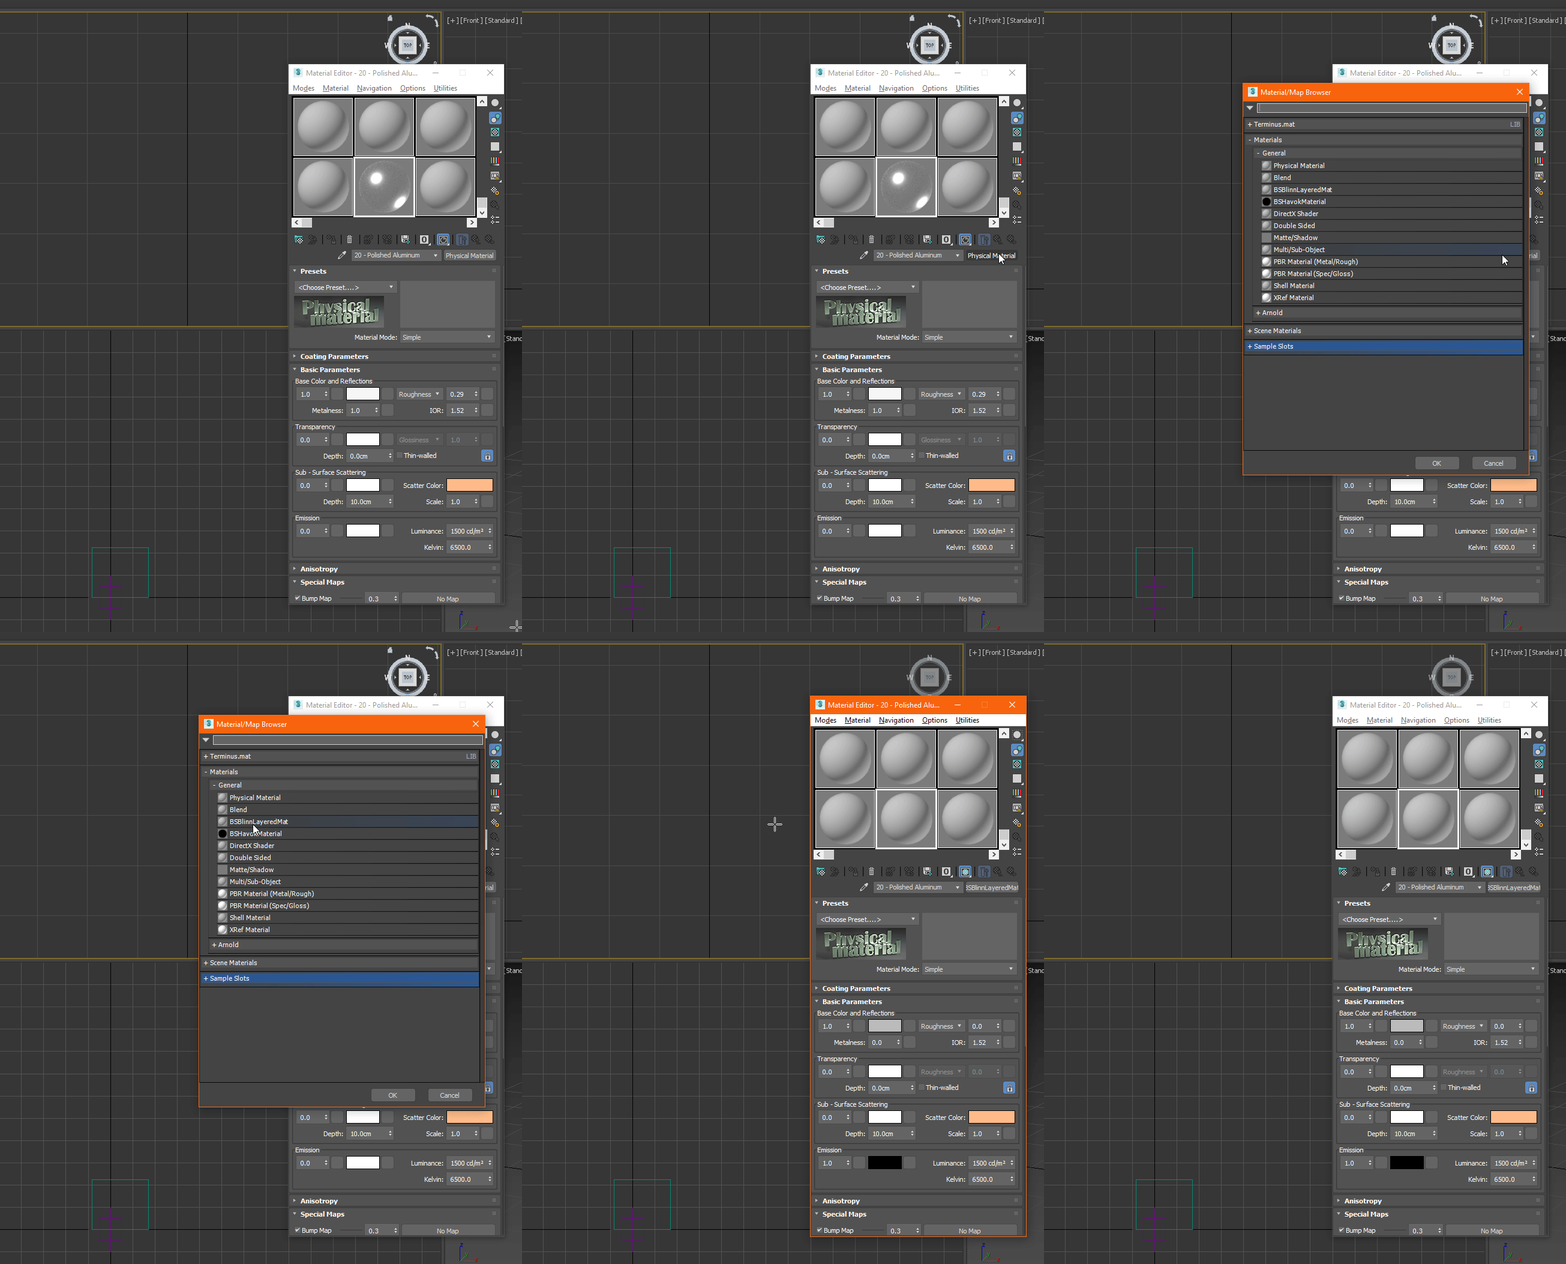
- Scroll to the bottom of the material window to BSBlinnLayeredMat and click the ... button

- Navigate to
Starfield\Data\Materialsand pick the material you wish to use for the mesh - You should see the material path now in the textbox

- Apply the material to the mesh, you can do this by dragging and dropping onto the mesh
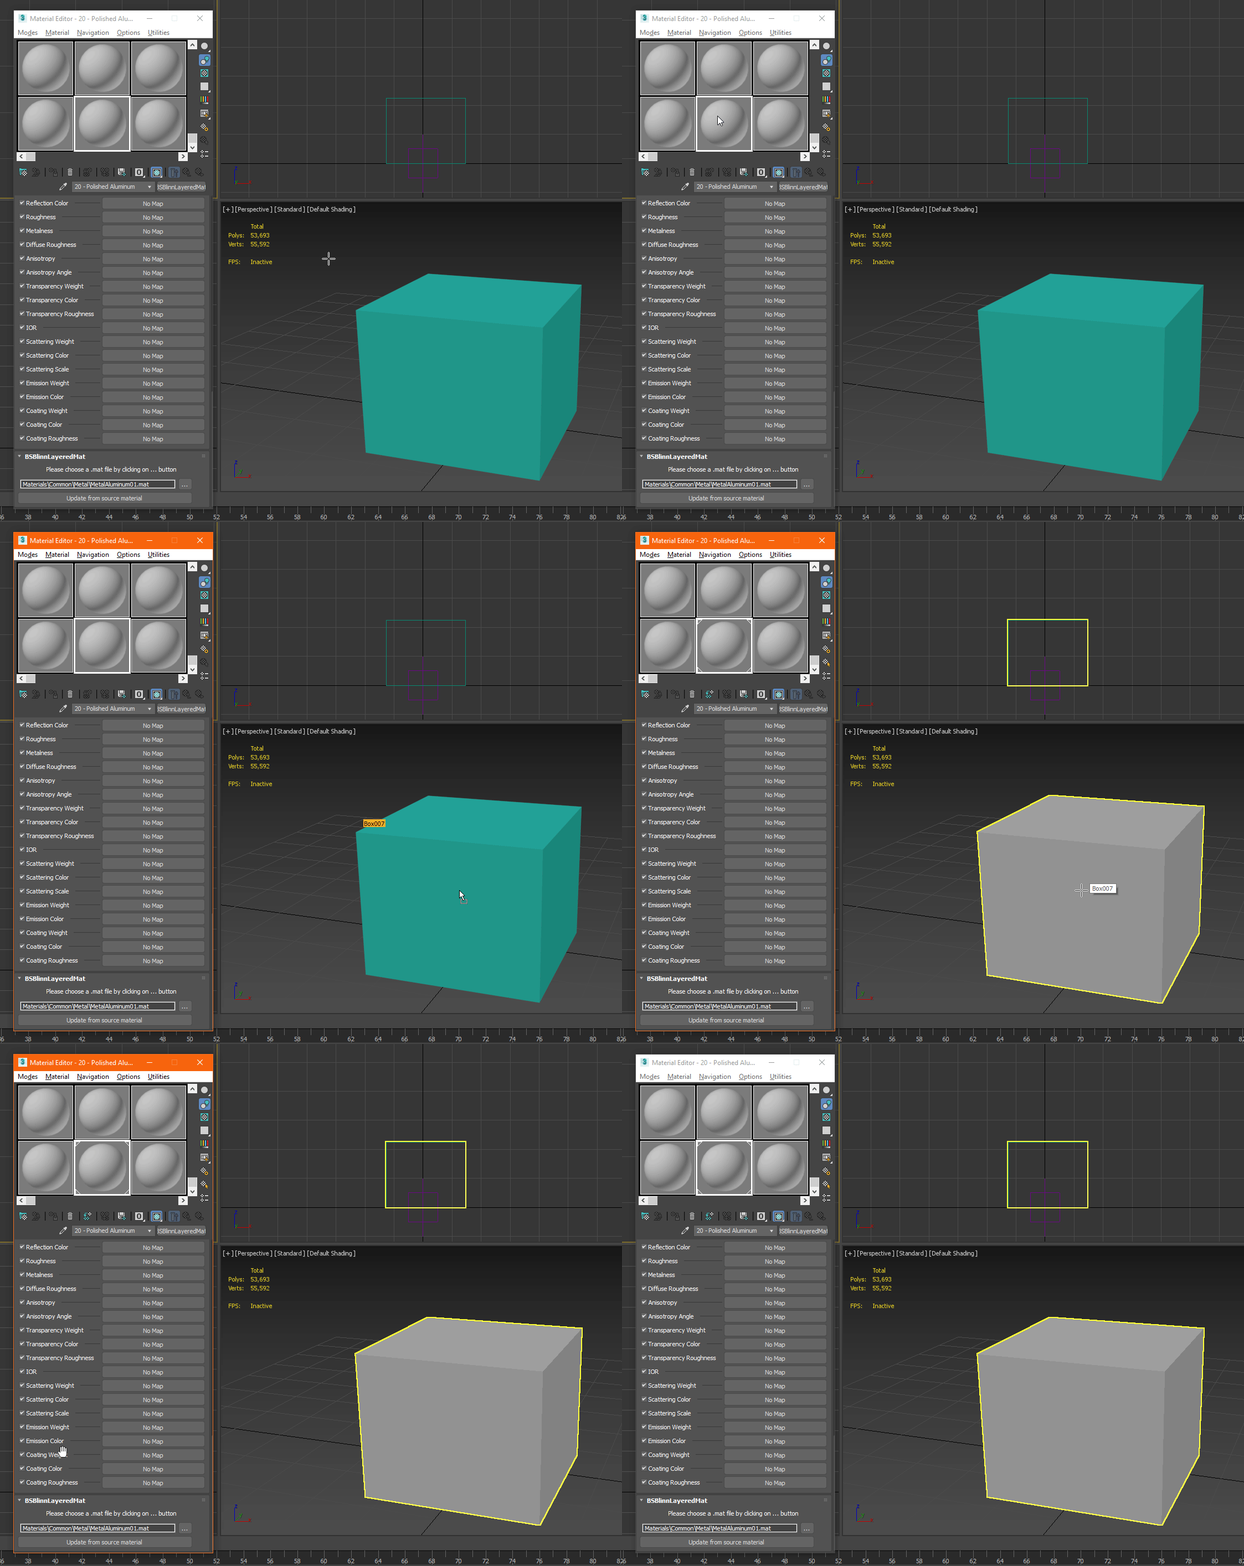
- The mesh will change to a grey color, you likely will not see the textures in 3ds Max
¶ Creating the Export Config
Now we'll create the export configuration which will tell 3ds Max how and where to export our FBX for AssetWatcher to take over.
- Click Open Bethesda Export Tool, it's hard to see but in the screenshot its the second button

- Click Create Config
- Choose a Name, this will be the name of the
.niffile - Choose the export location from Choosing an Export Location
- Choose Static, you'll change this in the future but for this tutorial we're only covering statics
- Click OK
- You should now see the export configuration in the export configs window that opened earlier AND a new dummy in the Scene Explorer with the name of the export

- Drag your visible mesh and link it to the dummy

¶ Exporting
Now we'll export the FBX, and AssetWatcher will pick it up and convert it to NIF.
- Open AssetWatcher if its not already open
- Click Open Bethesda Export Tool

- Check your export config we made in the previous step
- Click Export Checked
- Switch to AssetWatcher
- Click Export Jobs
- You should see a row with a path to the exported FBX, and a Status of 🟢 Success.
¶ Viewing in CreationKit
Now that the NIF was created, let's look at it in the CreationKit!
- Open the Starfield CreationKit
- Create a new World Objects/Static
- Give it an ID and click Edit next to Model
- In the Static window, click Edit under Model File Name
- Navigate to the NIF exported by AssetWatcher, click it and click OK
- Click OK on the Static window and drag your new static into a cell
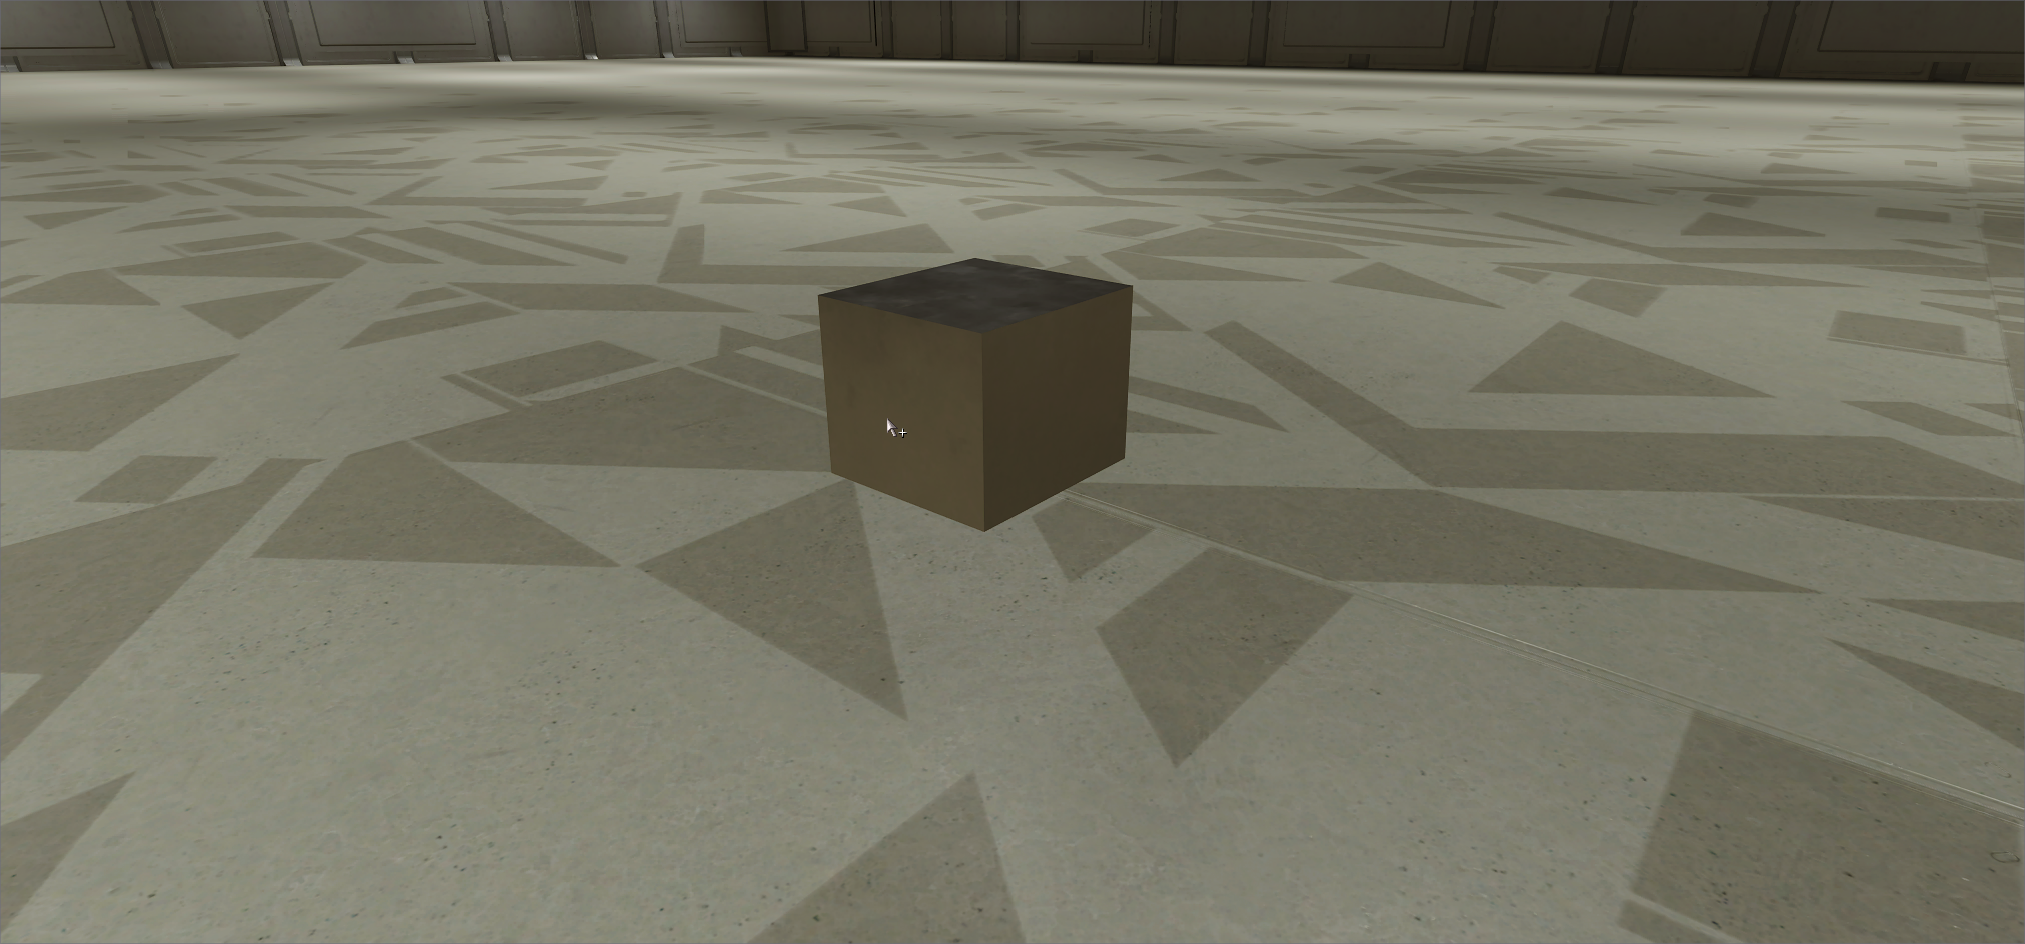
- It should now be visible in the cell with the material applied!
