In this guide we'll be covering the steps needed to modify the base textures in KCD2. It is intended as a concise version of this significantly more complete tutorial. If at any point you become stuck or run into issues, it is recommended that you consult the full tutorial for additional help.
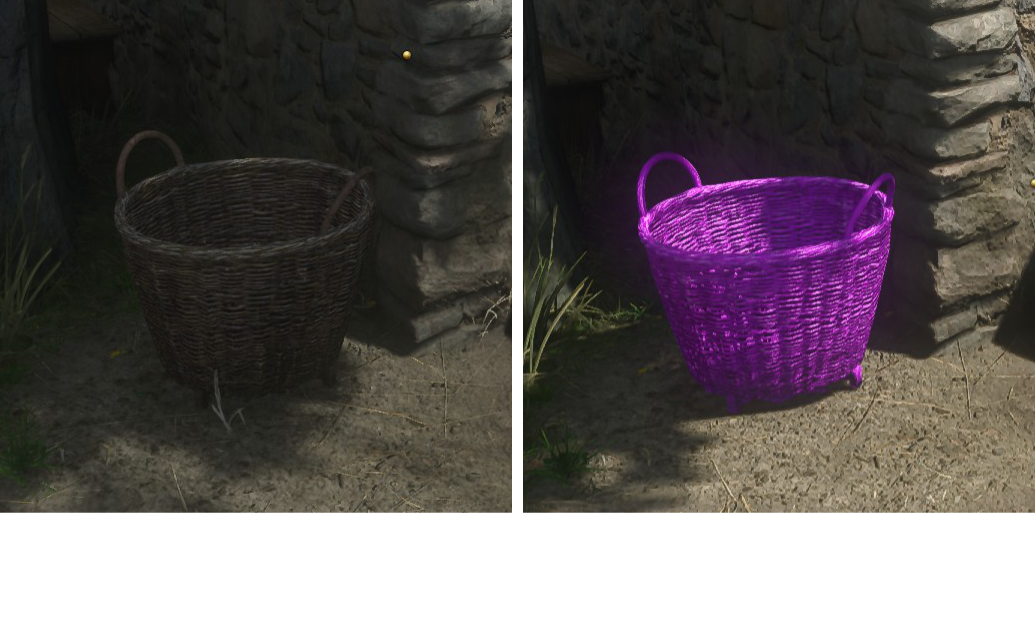
Like the tutorial, we will also cover modification of the Common Basket found throughout the world. This is the change that we'll be making.
¶ Locating and Extracting Texture Files
We first need to locate and extract the Basket textures from the game's data files. We can do this with the help of KCD Asset Finder.
- Download KCD Asset Finder and open it
- Set your KCD2 Installation Path, if not auto-detected
- In the search input, type basket_a_diff and hit enter
- Once the search completes, click Expand All to view the results
Find the assets with the following names and select them:
- basket_a_diff.dds
- basket_a_diff.dds.1
- basket_a_diff.dds.2
- basket_a_diff.dds.3
- basket_a_diff.dds.4
- basket_a_diff.dds.5
- basket_a_diff.dds.6
They should be under the path IPL_Objects-part0.pak/Objects/manmade/common_furniture/baskets
We'll now export these textures.
- For the Export Path, create and select an empty folder on your computer
- Click Export Selected to export the textures to this folder
A message box should appear telling you that the textures have been successfully exported.
¶ Rebuilding Textures with KCDTE
Before we can edit the Basket texture we need to rebuild it to a TIF file using KCD Texture Exporter
- Download KCDTE from here
- Extract KCDTE to any folder and double-click KCDTextureExporter.exe to run it.
- Drag and drop the folder containing your split texture files onto the Input text box in the KCD Texture Exporter window.
- Click Convert and your new TIF files will appear in the same folder as your split texture files.
¶ Modifying the Texture
We now want to modify the Basket texture
- Find the basket_a_diff.TIF file that SCTC created in the previous step
- Open the TIF file in an image editor and make a simple adjustment, such as changing the color
- Save your changes
¶ Converting TIF to DDS
KCD2 requires our asset textures to be Direct Draw Surface (DDS) files, so we'll need to convert the TIF back.
- Download and install Nvidia Texture Tools Exporter
- Open Nvidia Texture Tools Exporter and drag and drop your Basket TIF image into it
- Change the Format from BC7 to BC3
- Create a new, empty folder on your computer for the final texture
- Click Save As, name your image basket_a_diff.dds and save it to the new folder
¶ Getting the Changes into KCD2
To get our new texture into KCD2 we'll need to create our own custom mod and add the texture to it.
¶ Creating a Mod
Download KCD Mod Generator, open it and do the following:
- Set your KCD2 Installation path, if not auto-detected
- Update the Author field with your name or alias
- Set the Mod's ID to texture_tutorial_mod
- Set the Mod's Name to Texture Tutorial Mod
- Set Mod's Version to 1.0.0
- Set a brief Description for your mod
Now click Generate Mod to create your mod!
¶ Adding the Texture to the Mod
- In Windows Explorer, navigate to your KCD2 Installation and open the mods folder
- Open the folder for your mod (texture_tutorial_mod in our case)
- Open the Data folder
- Create the following folder structure
| Objects
  |-- manmade
    |-- common_furniture
      |-- baskets
- Copy the basket_a_diff.dds texture created with Nvidia Texture Tools into your mod's Data/Objects/manmade/common_furniture/baskets folder
¶ Packing the Mod Data
For KCD2 to apply the texture, we need to pack it into a .pak file
- Download KCD PAK Builder
- Open KCD PAK Builder and do the following in the Manual Pack box:
- Set PAK Filename to texture_tutorial_mod.pak
- Set both PAK Output Directory and Directory to Pack to point to the Data folder of your mod
- Click Build PAK
- Check your mod's Data directory and make sure you have a texture_tutorial_mod.pak in there
¶ Testing The Mod
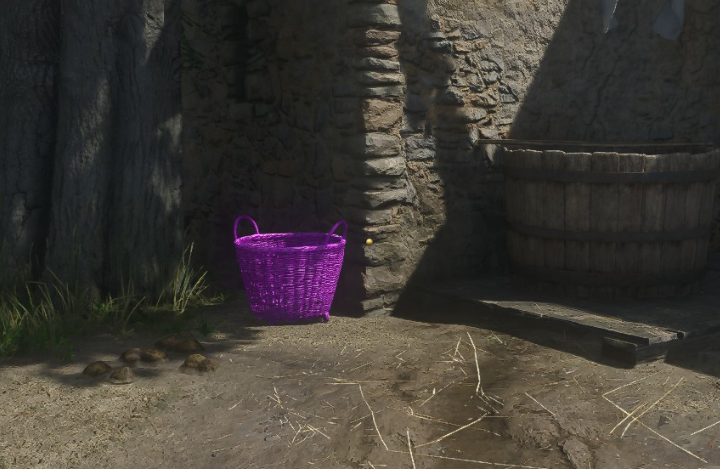
You should now have your texture modification applied to the basket and working in game. Load up the game to give it a test
¶ Conclusion
That's it for this guide, I hope it was helpful. Please feel free to leave any comments or suggestions down below, and remember to check out the Full Tutorial for more information
-- Altire