¶ Introduction
In this tutorial we'll be taking a look at how we can make modifications and adjustments to the base game textures. Our aim is to take a simple and commonly found item within the world, and alter its appearance by adjusting its textures. The principles you will learn can then be applied to any in-game object, from character clothing to weapons and armour.
If you're looking for a more concise version of this tutorial which simply tells you what to do, check out this Quick Guide
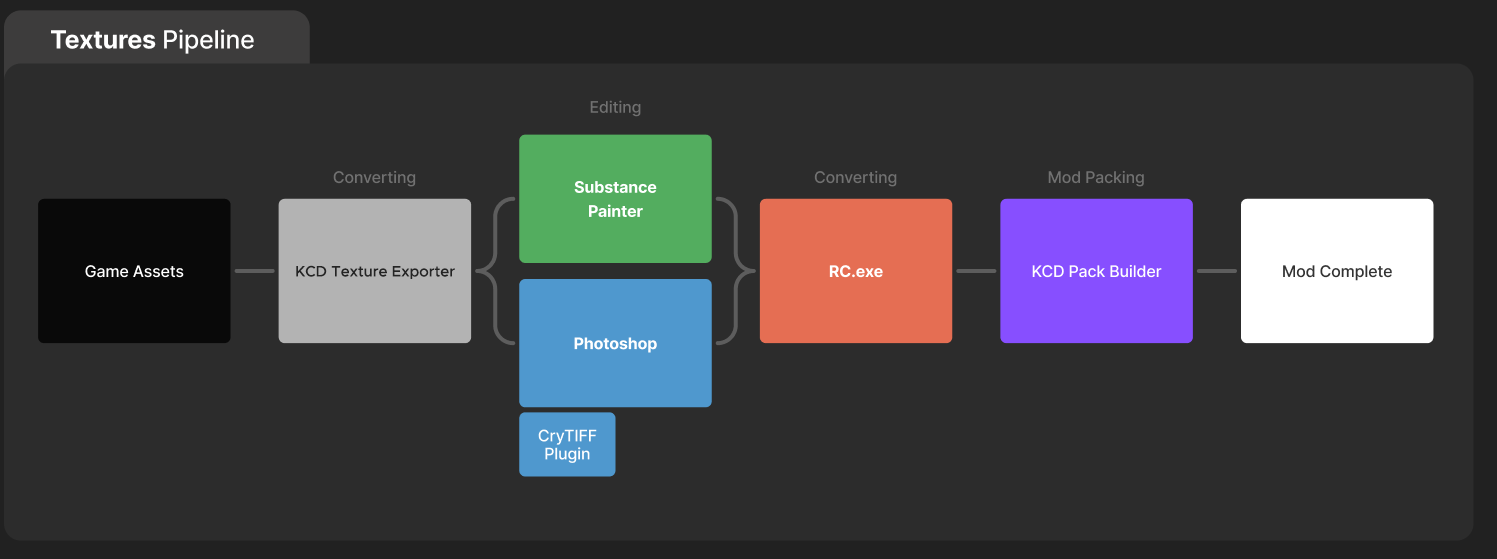
¶ What We'll Cover?
1 Locating & Extracting textures from the game files.
2 Converting texture files into a format we can work with. ( .dds → .tif )
3 Editing textures in Photoshop/Substance Painter. (Substance guide coming soon)
4 Converting textures back. ( .tif → .dds )
5 Importing textures into the game by creating a mod.
¶ Types of KCD2 textures
texture_diff Diffuse map & Alpha map sRGB8 texture_spec Specular map sRGB8 texture_ddna Normal map RGB & Glossiness Alpha RGB16F+L8 texture_bgs Blood Dirt Damage masks RGB8 texture_id ID map RGB8 The information will be updated…
¶ Tools
Before we get started, let's take a look at the tools we'll be using.
- Archive extraction tool (WinRar or 7zip will do)
- KCD Texture Exporter Download.
- Photoshop + CryTIFF Plugin (Any photo editing software will do, like Gimp or Affinity Photo 2)
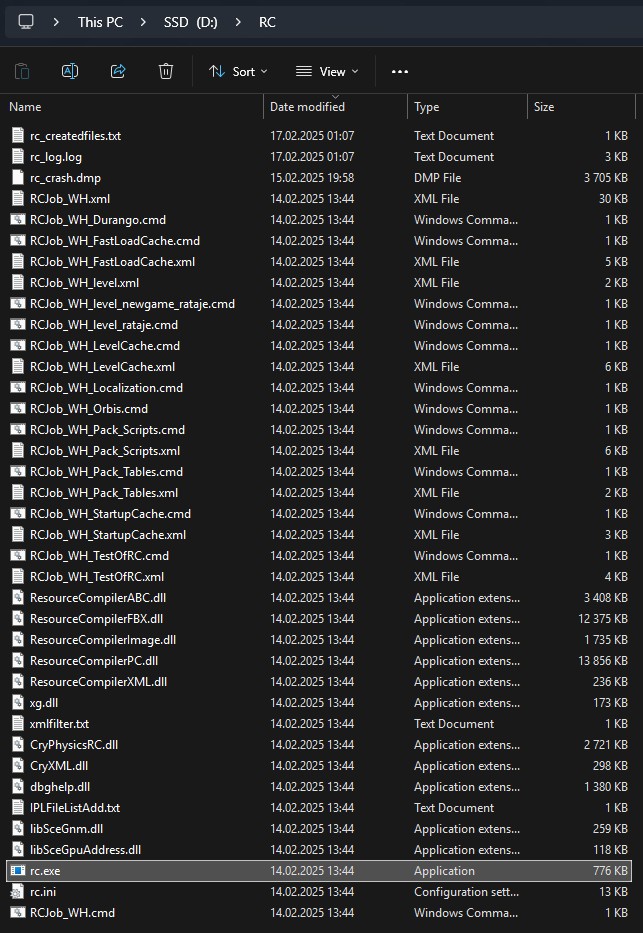
- KCD1 Resource Compiler (RC.exe) Download.
- KCD PAK Builder Download.
Don't worry about these yet. We'll be looking at how to download and install them when needed.
¶ Converting .TIF to .DDS
In order to convert our textures correctly and to avoid shader artifacts in the game, we need to use the official tool for KCD1 - Resource Compiler (rc.exe). Download.
¶ 1. First, create a folder for our rc.exe script
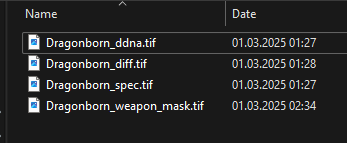
¶ 2. Check the suffixes of your textures.
By these suffixes Resource Compiler understands how exactly to pack the texture.
Suffixes must be like this
| texture_diff | Diffuse map & Alpha map |
| texture_spec | Specular map |
| texture_ddna | Normal map & Glossiness |
| texture_bgs | Blood Dirt Damage masks |
| texture_id | ID map |
| texture_icon | Icon textures |
| texture_mask | Different masks |
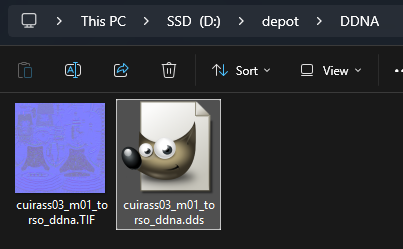
¶ 3. Converting the textures
1. Just drag & drop you texture to rc.exe.
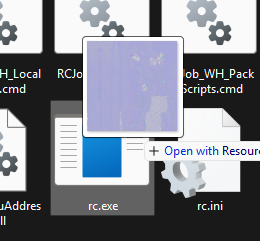
2. Done! In the folder with our .TIF file there is second file with .DDS extension.
¶ Guide creators:
- MAJOR76