¶ UModel
While FModel is great for searching through the game and learning about how certain parts work by reading them in json format, you can lose information valuable to working with the assets by relying on the .png's and .psk's that you can extract from it. So, another tool is used for pulling out these assets.
- Texture basics - learn more about how textures work in AEW:FF and why we work in .tga format
¶ Required tools
¶ Setting up
First, obtain UModel from the download page, and unzip it someplace handy, e.g. D:\Projects\modding\Tools\UModel. You need the base UModel DLLs and EXE, because Spiritovod's custom materials build requires them.
Second, obtain the current version from this forum post on gildor.org -- note that the build was originally created for Tales of Arise, as it was the first game with iostore compression that was released and the modding community encountered, and AEW: Fight Forever falls into the small subset of games that require this specific build to extract files.
The link to the download is in "For viewing custom materials use specific build (link, updated)" -- Spiritovod uses Google Drive to distribute the file, so the link will change any time he updates the file, so unfortunately we can't directly link to it.
Unzip the contents of this file directly into the UModel folder. They include a build for UE4 and one for UE5 -- you want to run umodel_materials.exe as it's the one for UE4.
¶ Configuring Umodel
When you run umodel_materials.exe, each time you run it, you will have to configure the following screen to point to your AEW: Fight Forever paks folder and configure the version override:
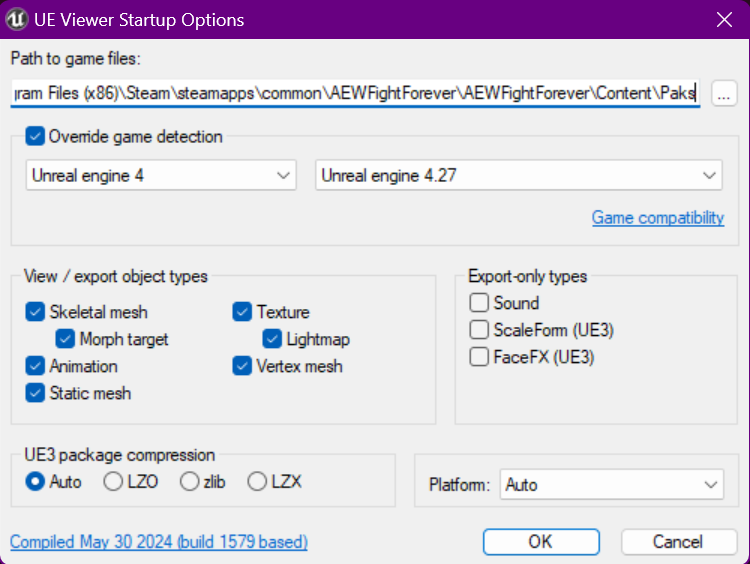
Make sure you override the game detection and set it to Unreal engine 4 > 4.27.
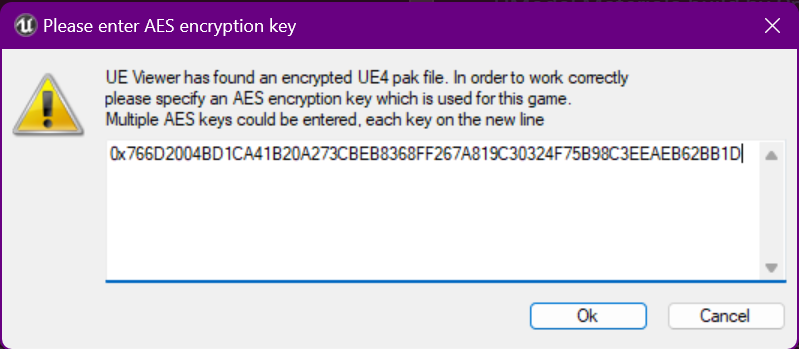
Once you click OK, it will ask for the AES key used to encrypt the pak files, which is:
0x766D2004BD1CA41B20A273CBEB8368FF267A819C30324F75B98C3EEAEB62BB1D
¶ Using Umodel
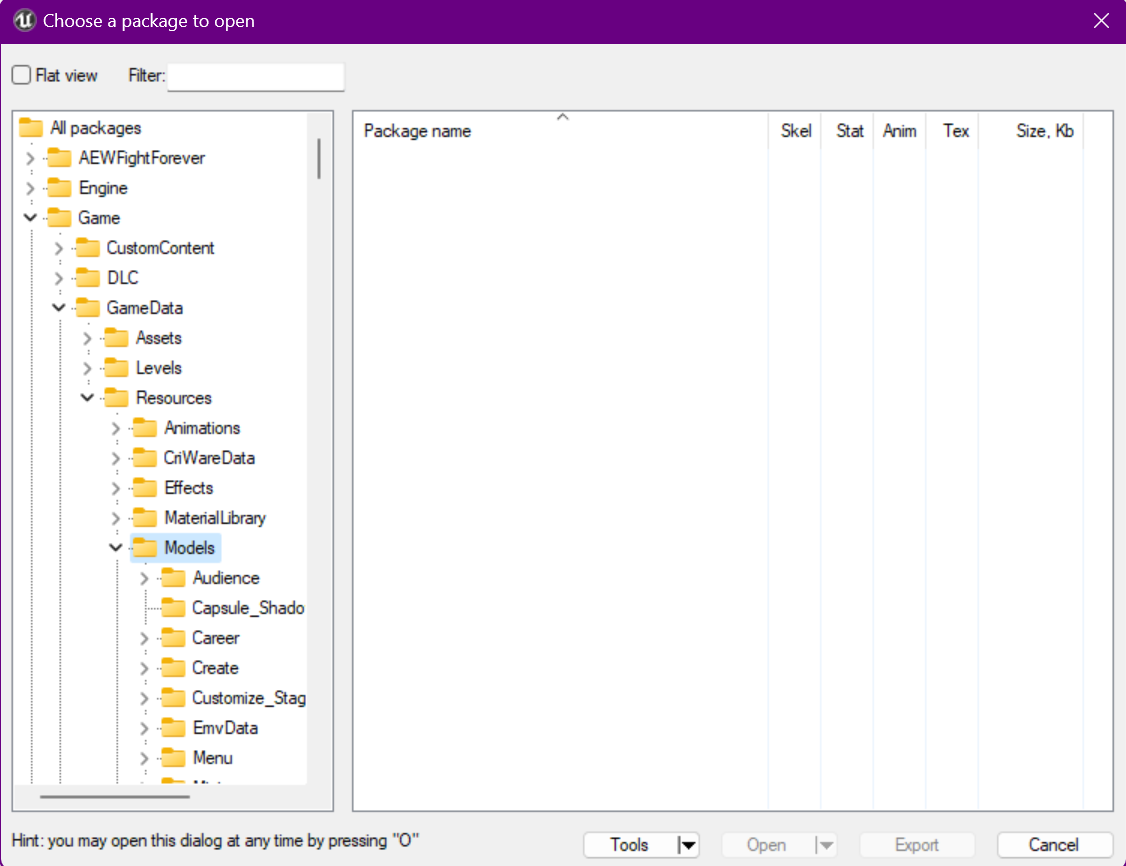
At this point you should see a tree view with now-fairly-familiar tree structure, where you can drill down to find the particular model you want:
First though, you'll want to click the Tools button at the bottom, and choose Options, and configure where you'd like to export on the Export tab, and under the Save Packages tab, likewise configure where packages should be saved. Depending on how many you intend to extract, you may need a good deal of hard drive space.
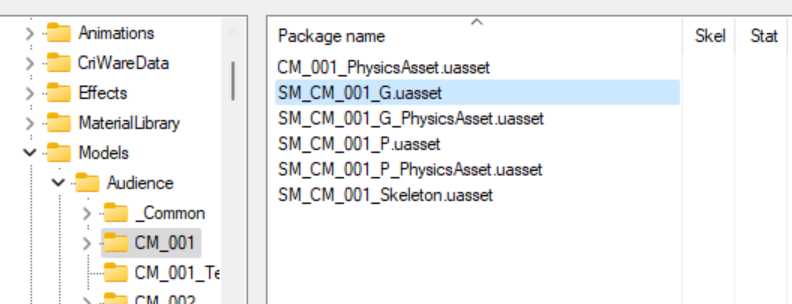
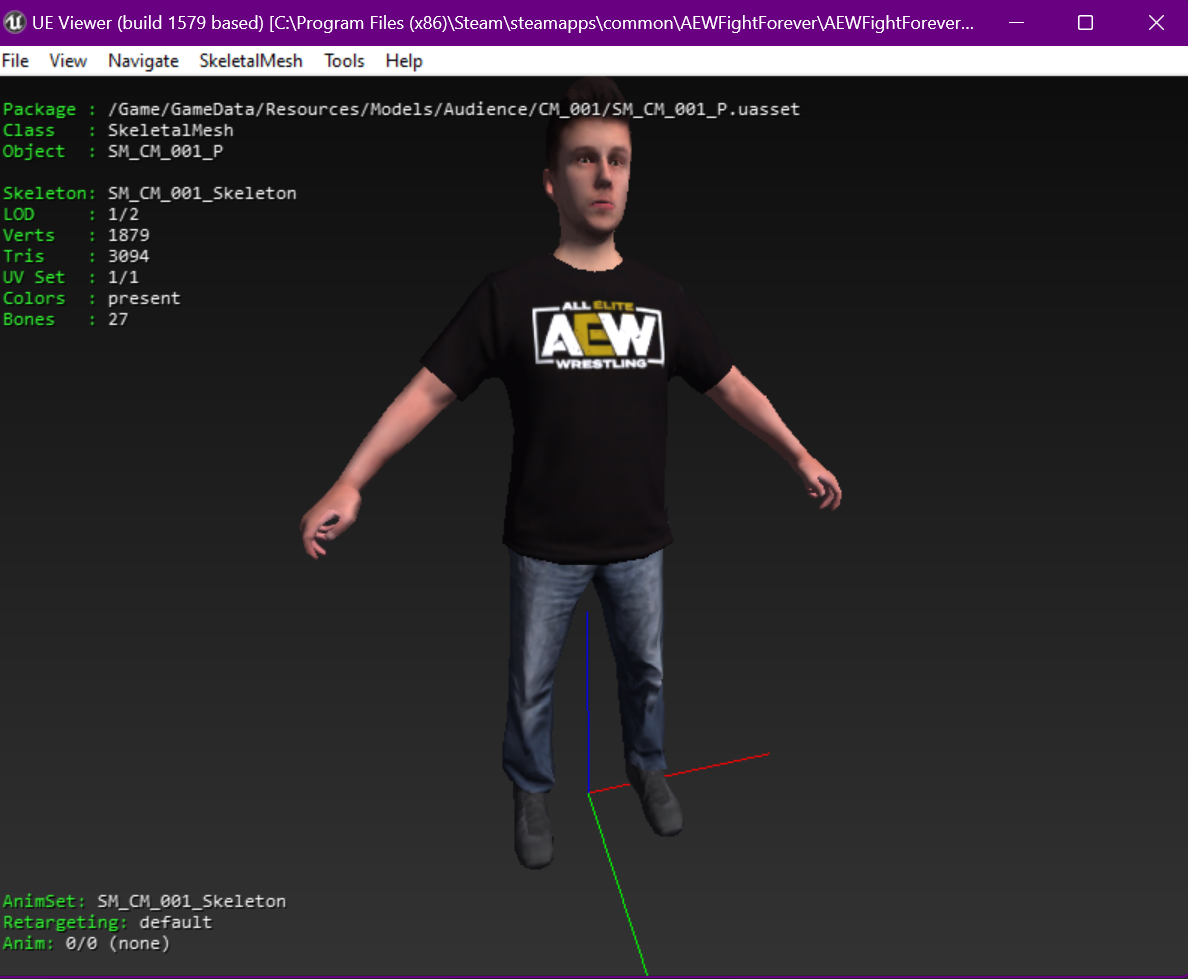
For example, to extract the first audience member, you'll want to drill down to the Audience folder, and ignoring the PhysicsAsset files you find in here, you'll see two .uassets, SM_CM_001_G and SM_CM_001_P. The one named _G has clenched fists, while the one named _P has relaxed hands.
Doubleclick on the SM_CM_001_P uasset and you'll see the model with textures in 3D view:
If this isn't the model you want, you can hit the O key or go to File > Open to return to the tree view.
On the 3D view, you can also press PgUp and PgDown to cycle through all the textures that make up this model, use the various menu options (and note their hotkeys in the menu) to show the skeleton, materials and normals, and most importantly for our purposes, you can hit Ctrl-X (or press Tools > Export Current Object) to extract the model and textures.
You can then click Tools > Open export folder to quickly browse to the folder you'd assigned for exports in Explorer. In this folder, you should see the same folder hierarchy as exists in the game, and if you browse down into the Audience folder, you'll see CM_001 is exported here:
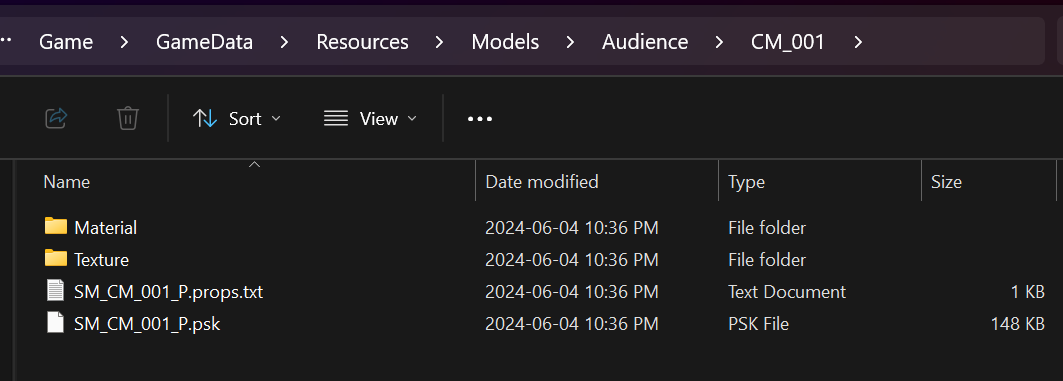
You should also have the texture files in the Texture folder, in .tga format.
¶ What's next?
If you haven't already done so, you can set up your environment, then you can import the .psk into Blender, or edit the textures in image-editing software and follow the texture swap tutorial to pull it into the game.