
Hogwarts Legacy is an ARPG video game developed by Avalanche Software and published by Warner Bros. Games. It was released on 10 February 2023 for PlayStation 5, Nintendo Switch, PlayStation 4, Xbox Series X and Series S, Xbox One, and Microsoft Windows.
¶ Brief Synopsis
This guide will walk you through building the steps to load Narknon's Custom Uproject/Engine in a little extra detail.
For help and support, please join us on the discord at https://discord.gg/hogwartslegacymods
WARNING: Skip rebuild steps at end of guide unless necessary
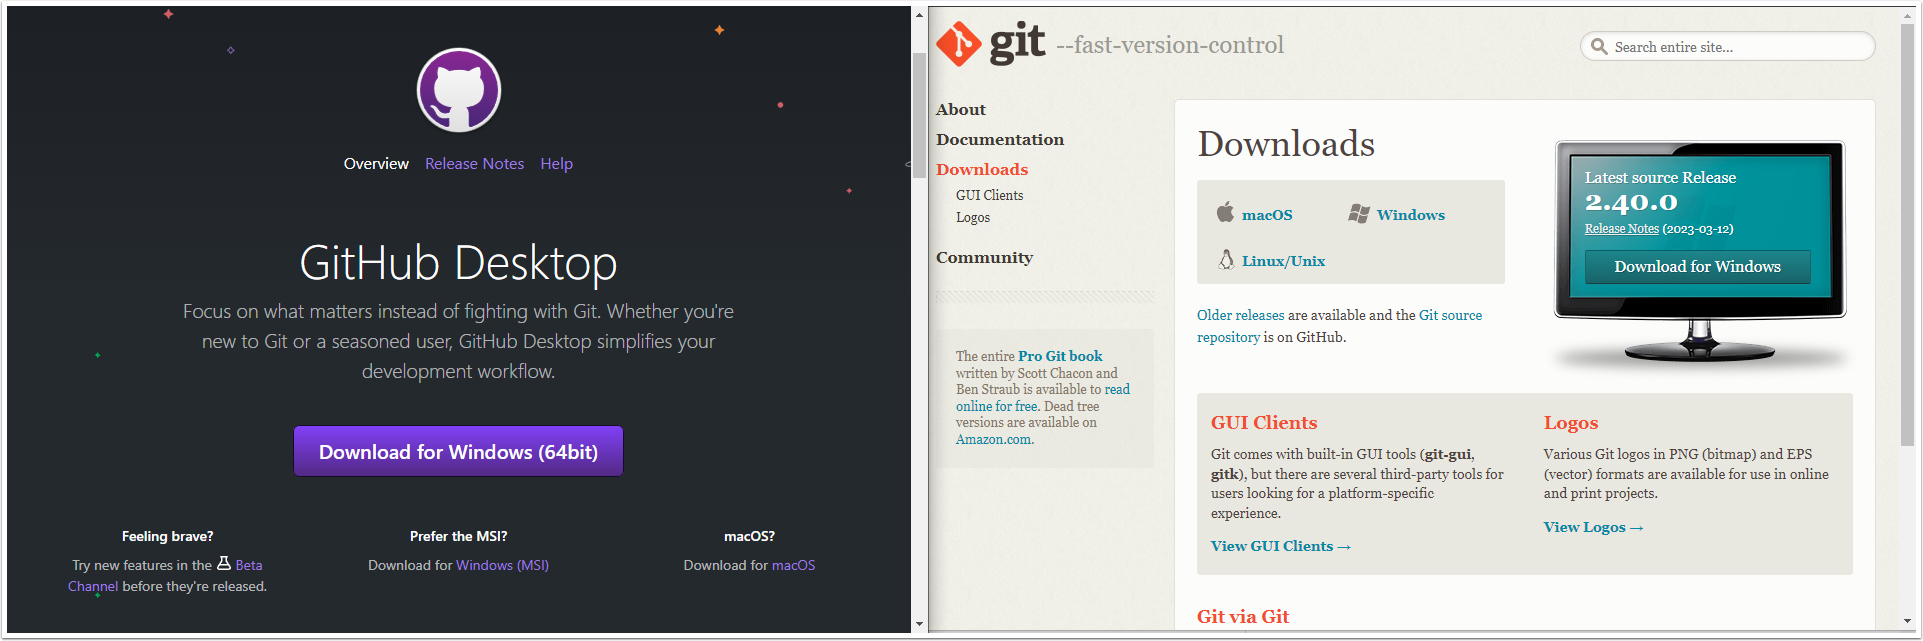
¶ Install Github and Git
Install both of these with default settings:
Download "GitHubDesktopSetup-x64.exe" from https://desktop.github.com/ for GitHub
Download "Git-2.40.0-64-bit.exe" from https://git-scm.com/downloads for Git
TIP: Be sure to include any options relating to adding GIT as an environmental variable/path


¶ Install Visual Studio 2022
Run "VisualStudioSetup.exe" from https://visualstudio.microsoft.com/downloads/
TIP: The Phoenix Project was built on .NET 4.5 while Visual Studio 2022 uses .NET 4.8 and will be incompatible initially


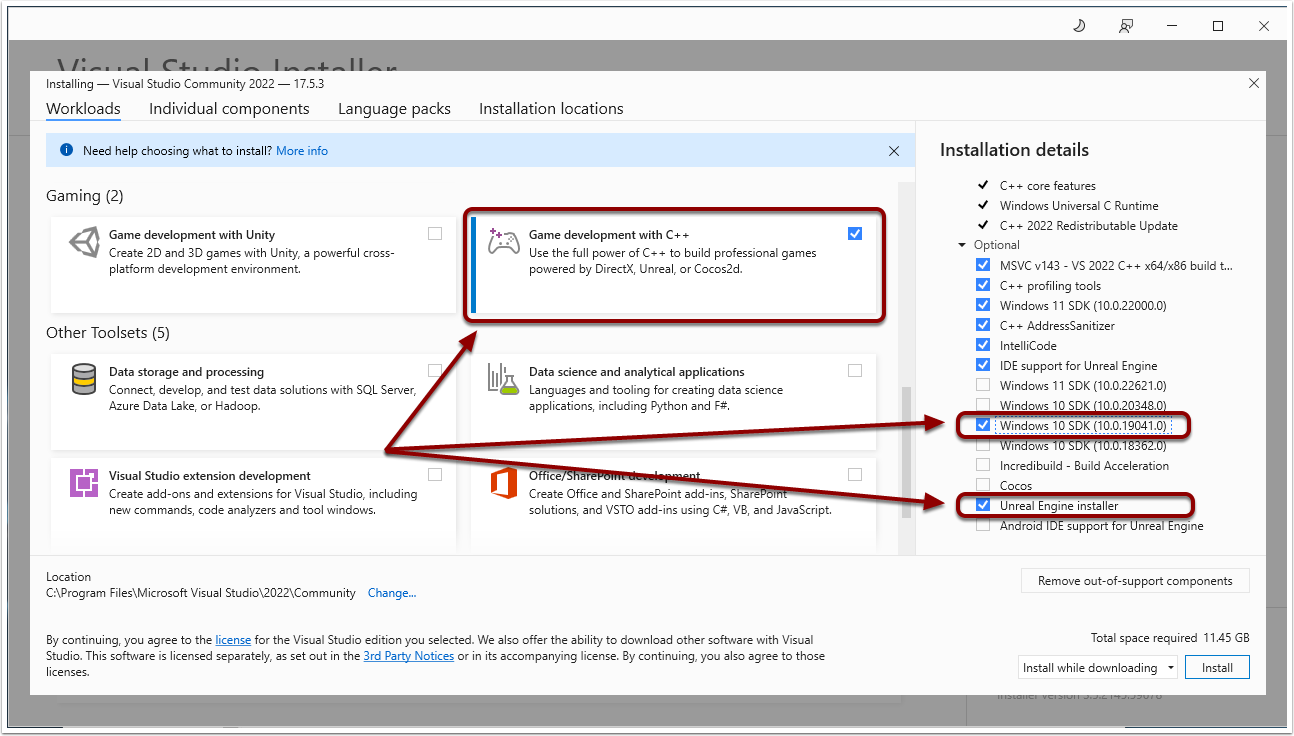
¶ For Visual Studio 2022
Install the Game development with C++ package
Make sure to include Unreal Engine Installer and atleast one Windows 10 SDK

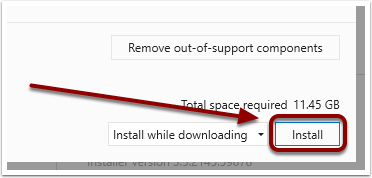
¶ Select Install
Select Install to proceed
TIP: Please note this will download and install approximately 11.45 GB and may take some time

¶ Wait for Install
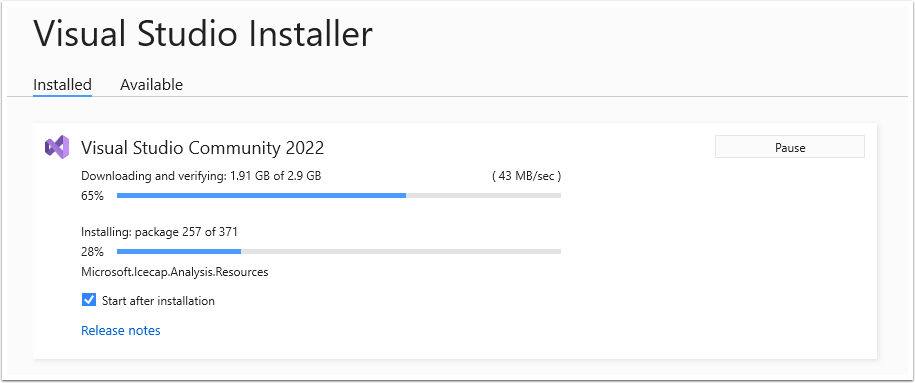

¶ Visual Studio 2022 is installed and up to date
Please look for "All installations are up to date" to confirm Visual Studio is installed


¶ Install Visual Studio 2019
TIP: Since the Phoenix Project was built on .NET 4.5 it is required to install Visual Studio 2019 for the .NET Access

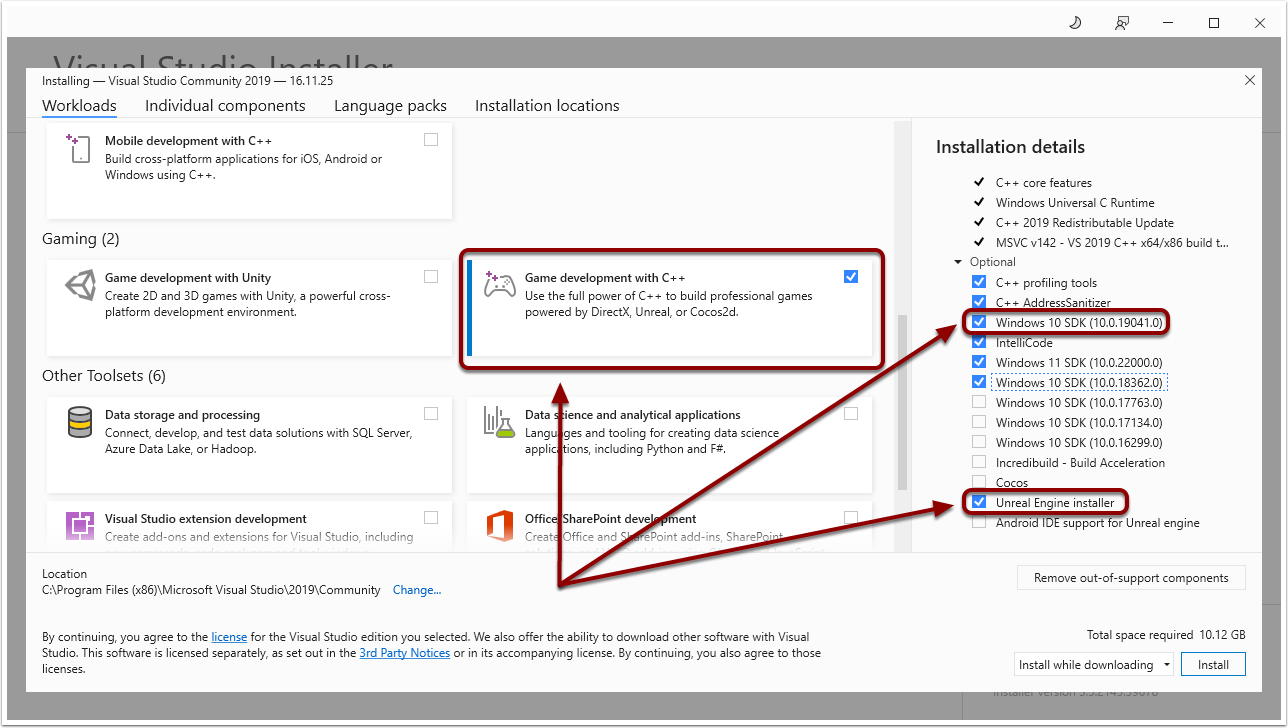
¶ For Visual Studio 2019
Install the Game development with C++ package
Make sure to include Unreal Engine Installer and the indicated Windows 10 SDK

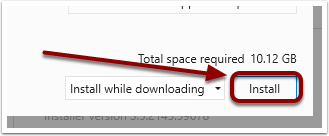
¶ Select Install
Select Install to proceed
TIP: Please note this will download and install approximately 10.12 GB and may take some time

¶ Wait for Install
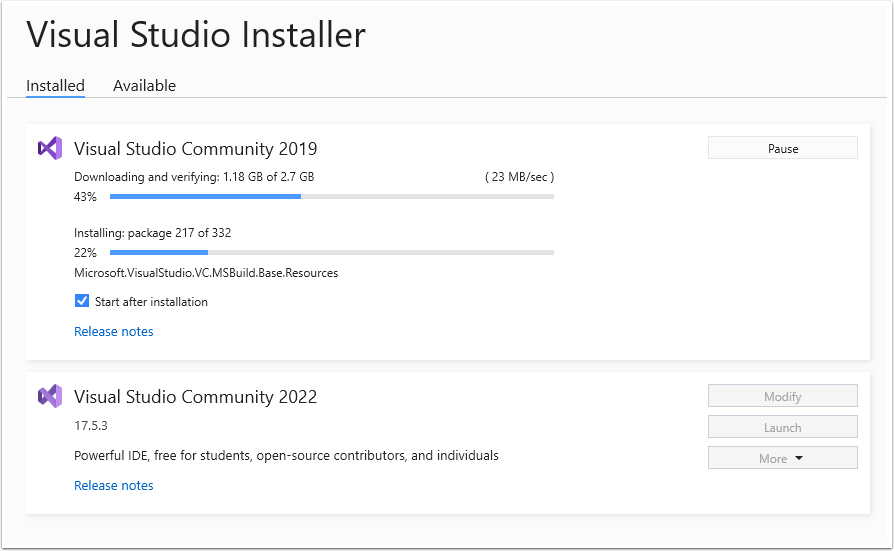

¶ Visual Studio 2019 is installed and up to date
Please look for "All installations are up to date" to confirm Visual Studio is installed


¶ Install .NET 4.5 from Windows 8 SDK
Run "sdksetup.exe" from https://go.microsoft.com/fwlink/p/?LinkId=226658


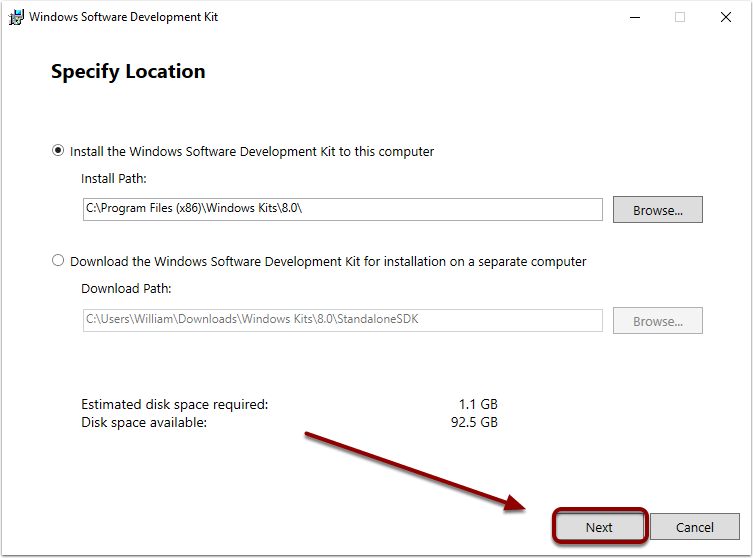
¶ Specify Install Location
Select Next to proceed

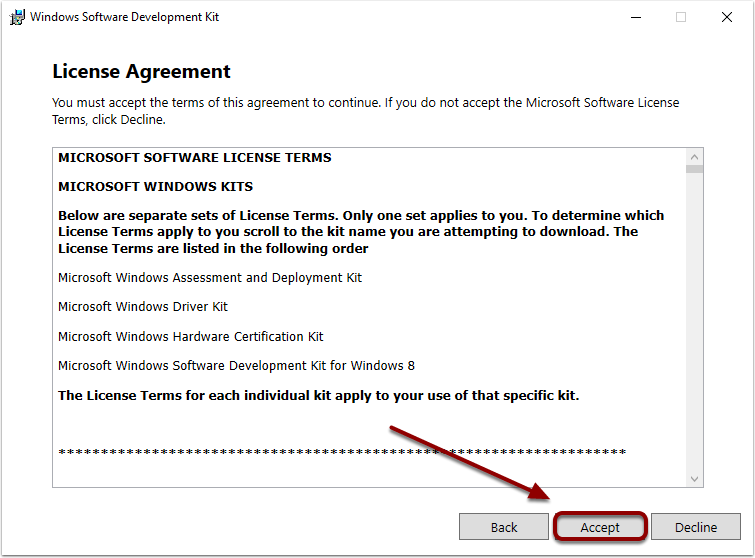
¶ Accept License Agreement
Select Accept to continue

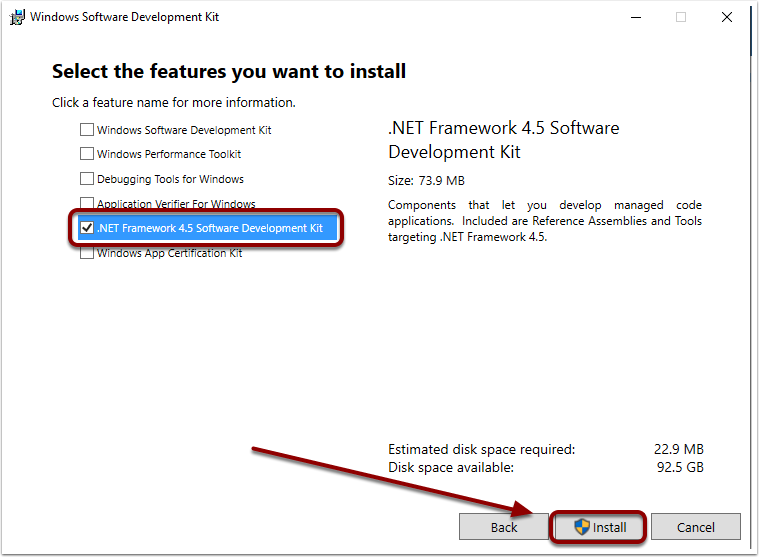
¶ Check .NET Framework
Make sure to check ".NET Framework 4.5" and select Install to continue

¶ .NET 4.5 is installed
Select Close to finish


¶ Connect for Custom UE4
In order to access the Custom Unreal Engine please join at https://www.unrealengine.com/en-US/ue-on-github


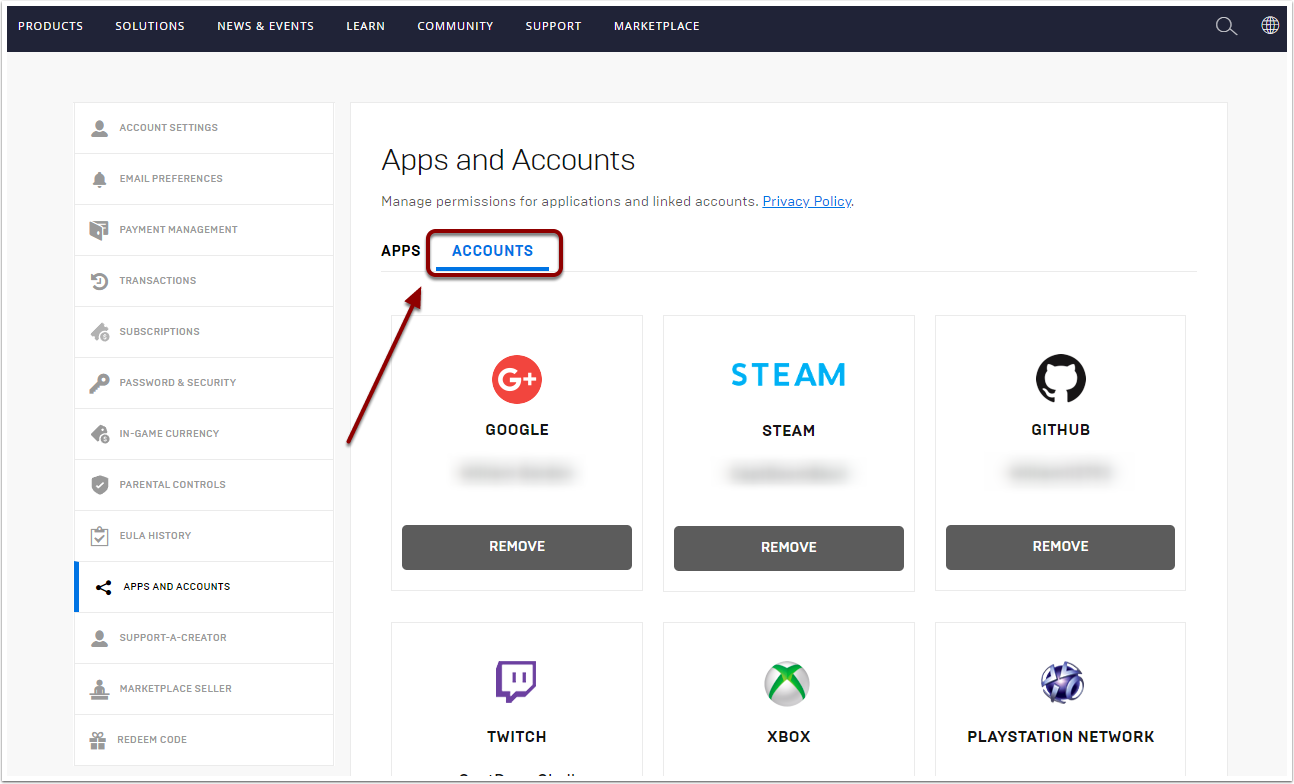
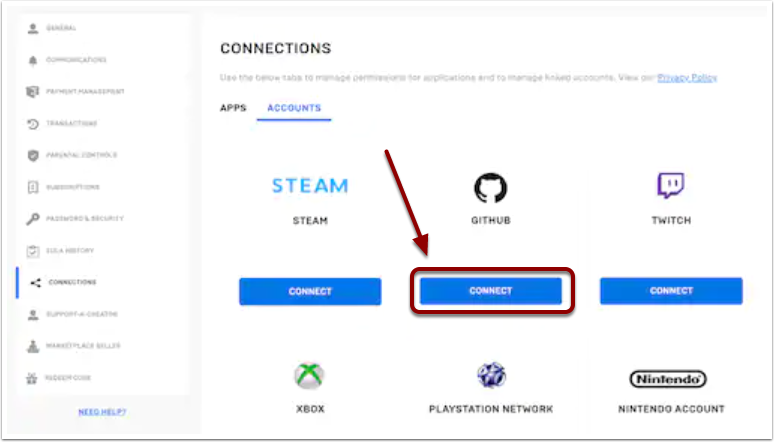
¶ Open Connection Accounts
You can access you Connection under Accounts at https://www.unrealengine.com/account/connections?lang=en-US

¶ Connect to Github
Select Connect to proceed

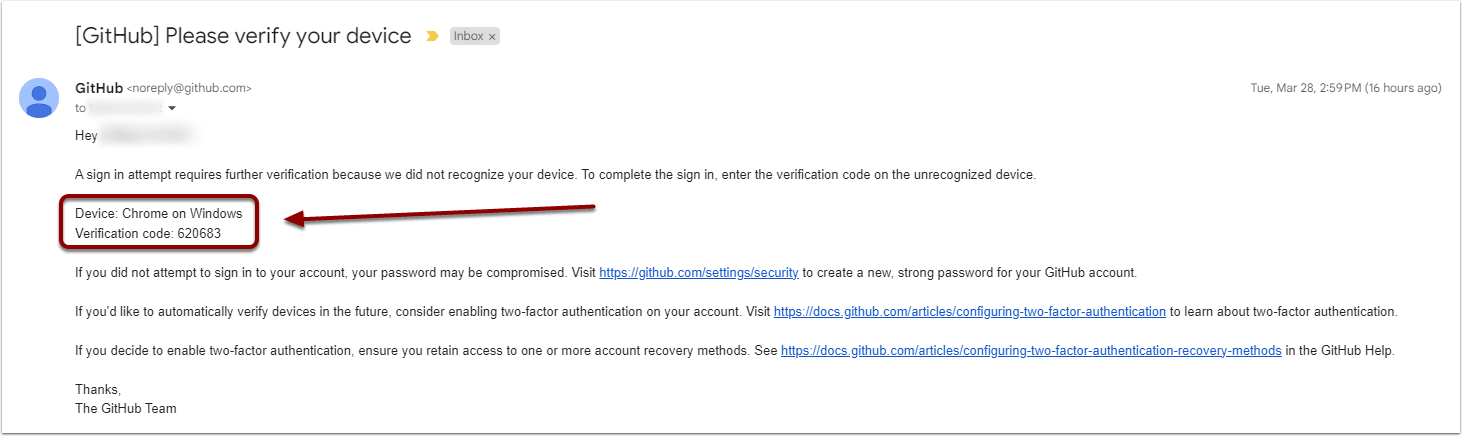
¶ Verify Github Access
In your email, confirm access with the verification code

¶ Join EpicGames on Github
In your email, select Join @EpicGames to gain access to the Custom UnrealEngine Repo


¶ Verify Access to Custom UnrealEngine Repo
Verify you don't get a 404 error when going to https://github.com/narknon/UnrealEngine-CEEnd/tree/4.27-chaos
TIP: If you have a 404 error then you haven't finish joining EpicGames and GitHub Connection


¶ Create Custom UnrealEngine Folder
Create a folder close to root as possible for your Custom UnrealEngine
In this example we created it on our E Drive
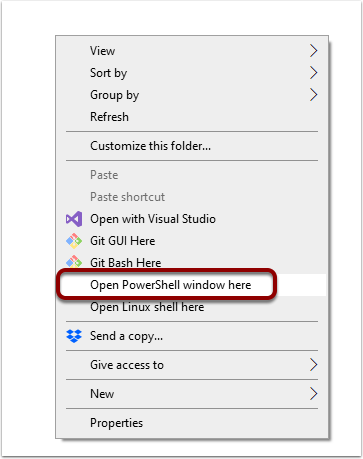
Right click in the folder and select "Open PowerShell window here"


¶ Clone Custom UnrealEngine Repo with Git
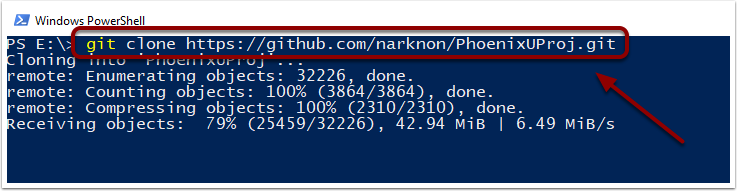
In Powershell run this command as seen below:
git clone --branch 4.27-chaos --single-branch https://github.com/narknon/UnrealEngine-CEEnd.git


¶ Command is complete
When the Powershell window shows PS \> as seen below then the command is finished


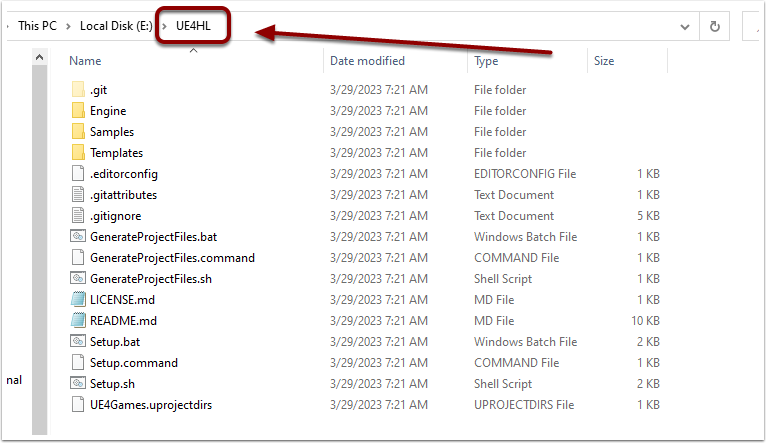
¶ Rename the Custom UnrealEngine Folder
In this example we renamed our Custom UnrealEngine folder from "UnrealEngine-CEEnd" to "UE4HL"

¶ Run Setup Batch
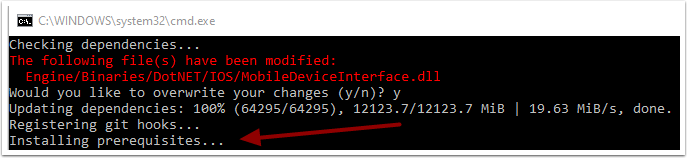
Run "Setup.bat" and when prompted select Y to overwite changes
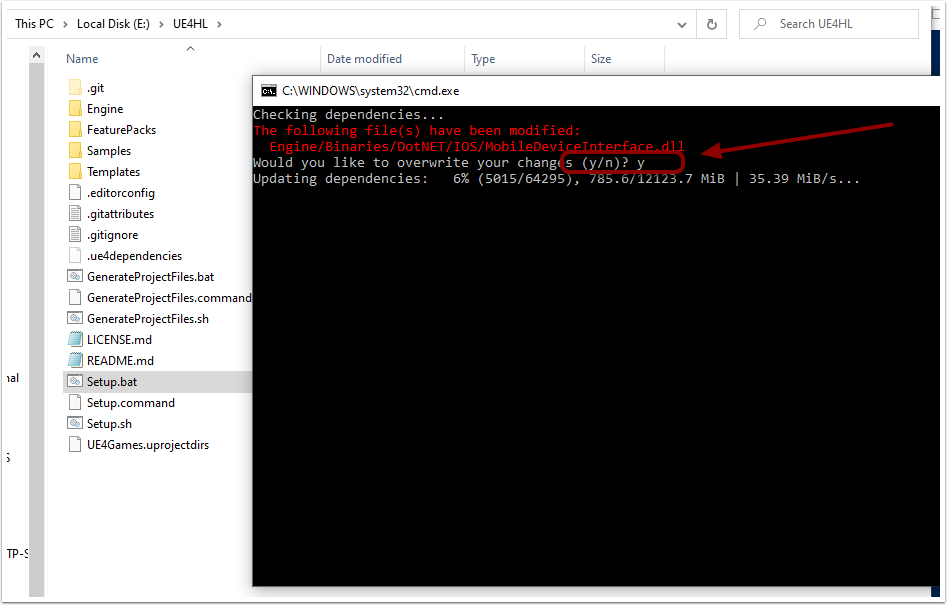
If you get an error saying something like the image below go to this link https://github.com/EpicGames/UnrealEngine/releases/tag/4.27.2-release and download the Commit.gitdeps.xml file and replace with the old one. You can find the old file in the Engine folder then Build folder.


¶ Installing Prerequisites
After the prerequisites install then the window will close

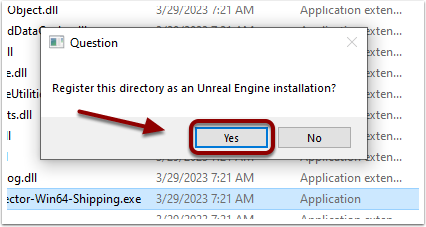
¶ Register Directory for Custom UnrealEngine
Go to .\Engine\Binaries\Win64
and run this file: UnrealVersionSelector-Win64-Shipping.exe
Select "Yes" to register this version

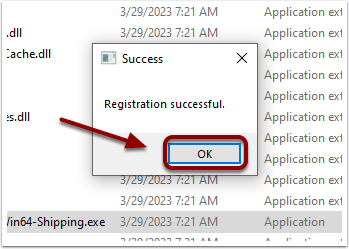
¶ Successful Registration
Select OK to proceed

¶ Create Custom PhoenixProject
Create a folder close to root as possible for your Custom PhoenixProject
In this example we created it on our E Drive
Right click in the folder and select "Open PowerShell window here"

¶ Clone Custom PhoenixProject with Git
In Powershell run this command as seen below:
git clone https://github.com/narknon/PhoenixUProj.git

¶ Command is complete
When the Powershell window shows PS \> as seen below then the command is finished


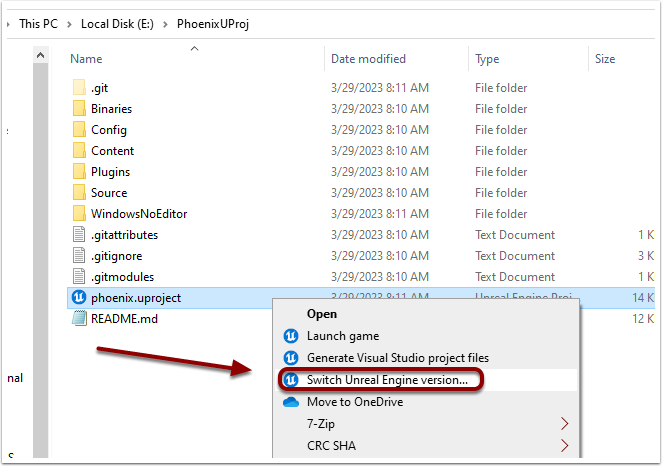
¶ Switch uProject to new version
Right click the uProject and select "Switch Unreal Engine version"
If you get the following error message:
Missing UE4HL/Engine/Binaries/DotNET/UnrealBuildTool/UnrealBuildTool.exe after build
then:
- Use your favourite text editor to edit the
UE4HL\Engine\Config\BaseEngine.inifile and add the following lines to the end of that file:
[PlatformPaths]
UnrealBuildTool=Engine/Binaries/DotNET/UnrealBuildTool.exe
- Save the file.
- Right-click on your
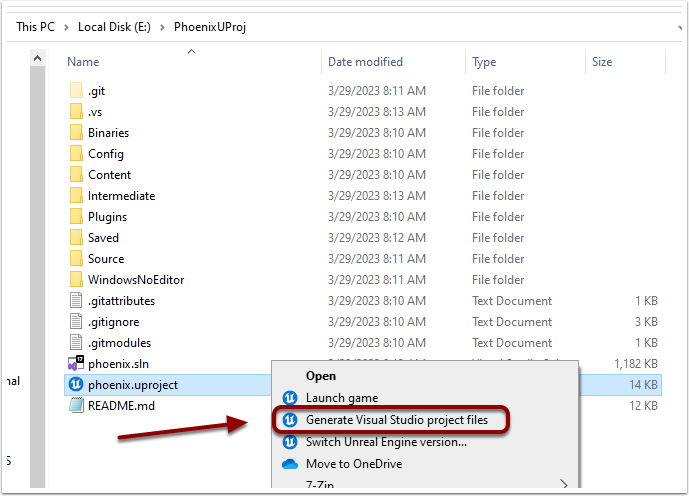
PhoenixUProj\phoenix.uprojectand selectGenerate Visual Studio project files. - Right-click on your
PhoenixUProj\phoenix.uprojectand selectSwitch Unreal Engine version`again.
[Credit to badenome on the Hogwarts Legacy Modding discord server for that solution.]
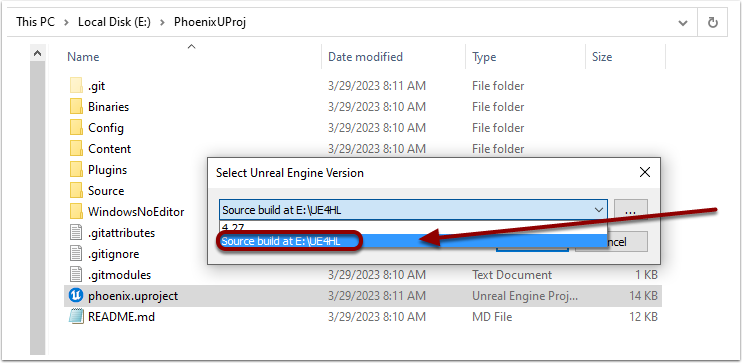
¶ Select New Custom UnrealEngine Source
Select the Source build with the same folder as your Custom UnrealEngine and click Switch

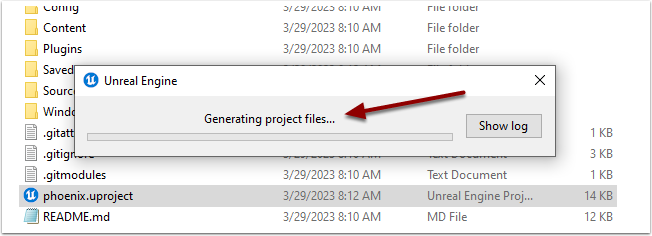
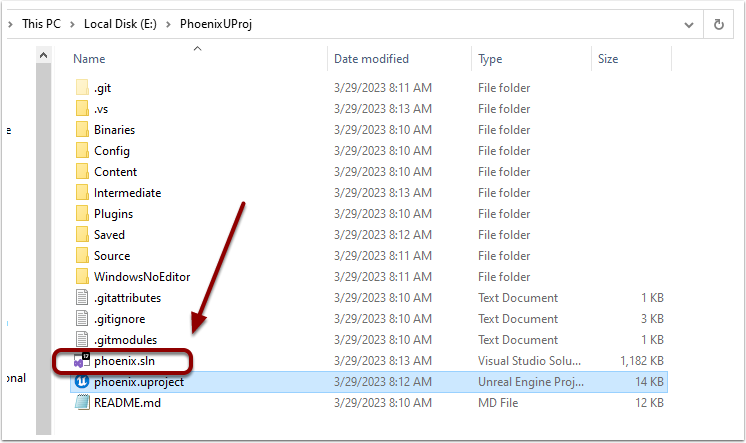
¶ Generating SLN Project for Visual Studio
The SLN file should now be created

¶ Open SLN with Visual Studio 2022
Double click the SLN to open the project

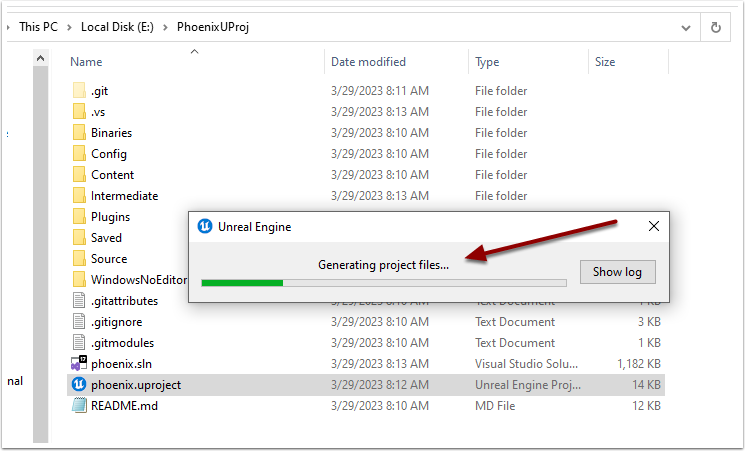
¶ Manually Generate Unreal Engine Project
If the SLN is not created then right click the uProject and select "Generate Visual Studio project files"

¶ Wait for SLN to be created
You should see the SLN file now in the same folder

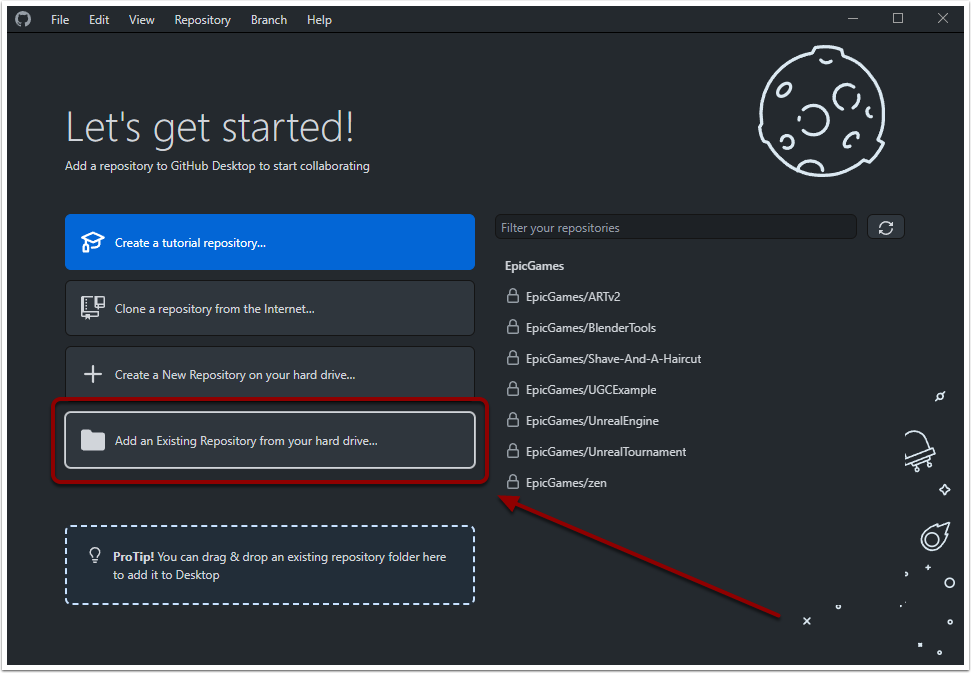
¶ Add initial local repository
Select "Add an Existing Repository" as seen below

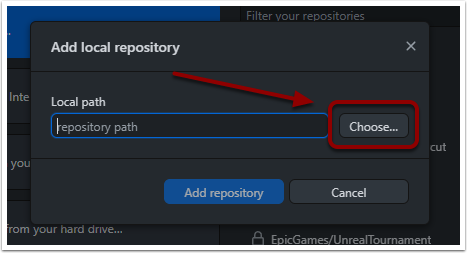
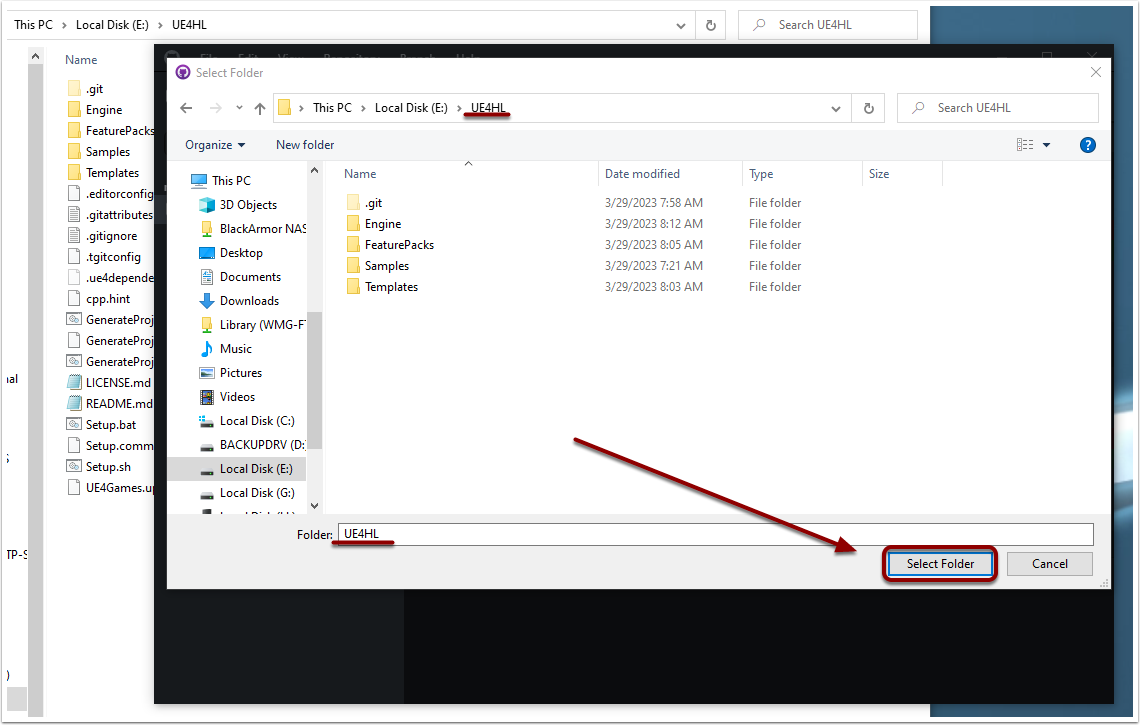
¶ Browse for Folder
Select "Choose" to proceed

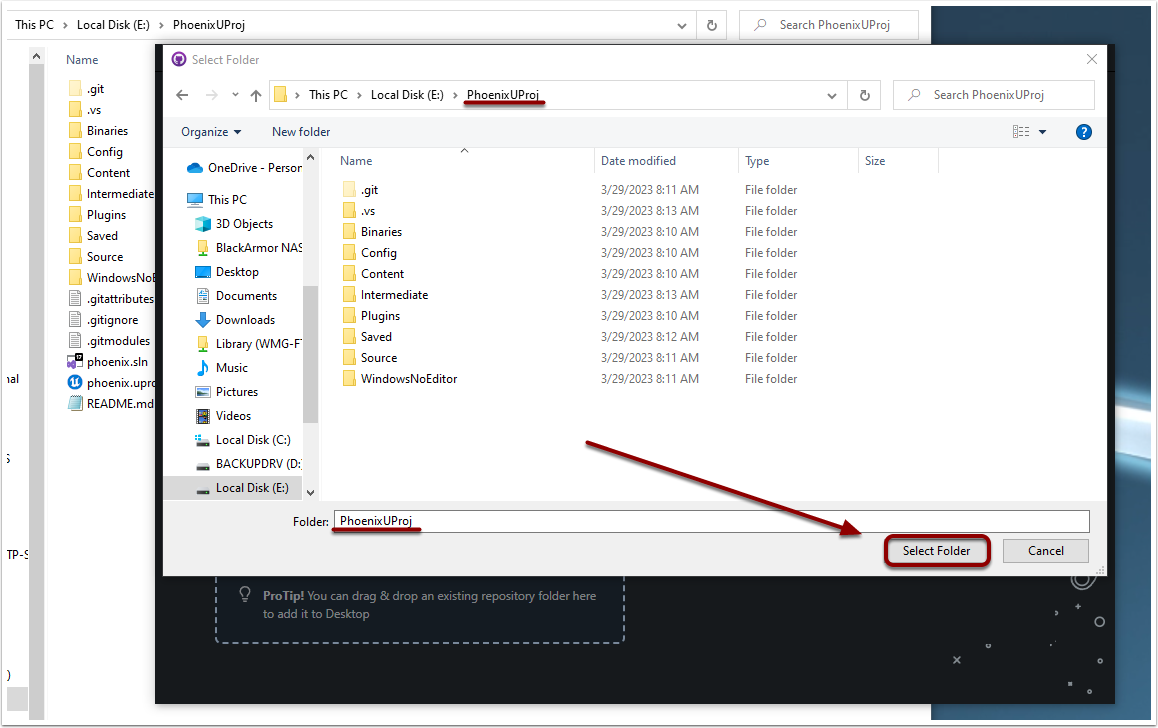
¶ Select Custom PhoenixProject
Select the folder for your Custom PhoenixProject downloaded with Git

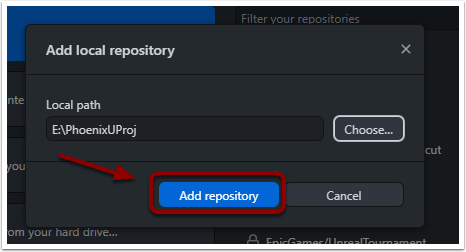
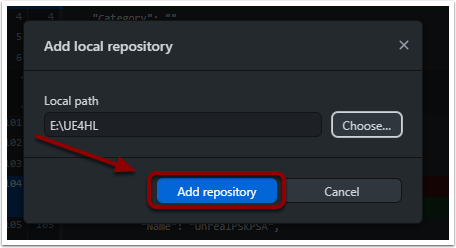
¶ Add repository
Select "Add repository" to proceed

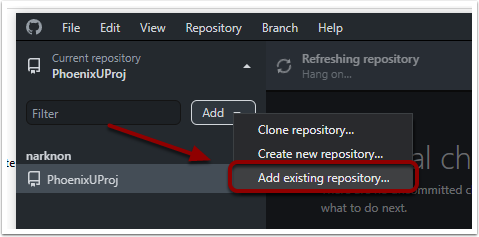
¶ Add another local repository
Select "Add existing repository" under the Add option.

¶ Browse for Folder
Select "Choose" to proceed


¶ Select Custom UnrealEngine 4
Select the folder for your Custom UnrealEngine downloaded with Git

¶ Add repository
Select "Add repository" to proceed

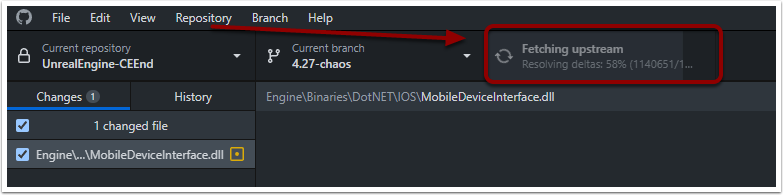
¶ Github is Fetching delta
Wait for the Fetch to complete

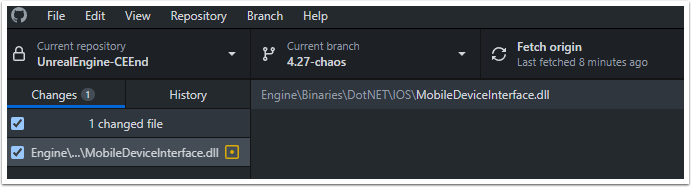
¶ Github Fetch has completed

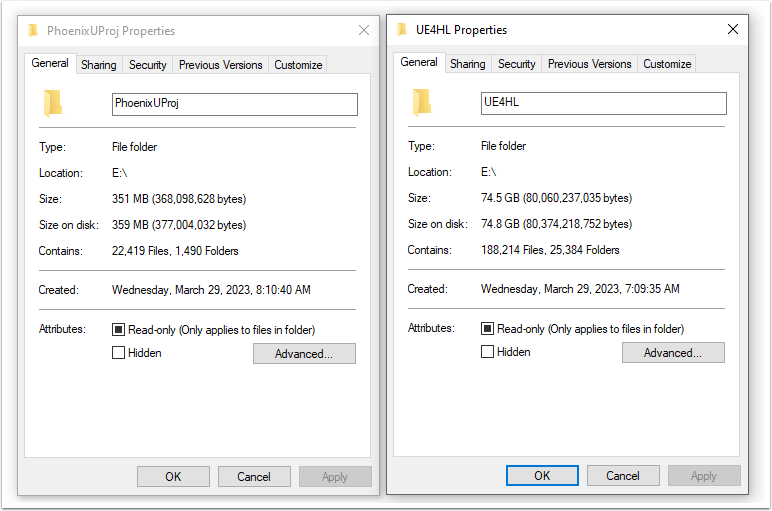
¶ (Info) Folder Sizes to Expect
Your folders will look something like this.
Custom PhoenixProject will be about 351 MB in size
Custom UnrealEngine 4 will be about 74.8 GB in size

¶ Allows Windows Defender Firewall
Select "Allow access" if prompted

¶ Fix to Open uProject without a Rebuild
Edit the phoenix.uproject file in Notepad and set the UnrealPSKPSA to false:

¶ Building or Rebuilding the Engine or Project
The Engine and Project come pre-built, so it is not necessary to build them yourself. In fact, with the code provided, they will not build successfully. In the past attempting to build them was a fatal mistake which meant you had to re-install the entire thing from scratch, potentially costing you 8-10 hours of wasted time. Fortunately, discord user ifonlythatweretrue figured-out how to resolve the issue. Before you attempt to build the Engine or the Project you must:
Download this file, rename it to BinkMediaPlayerModule.cpp and replace the file currently at UE4HL\Engine\Plugins\Media\BinkMedia\Source\BinkMediaPlayer\Private\BinkMediaPlayerModule.cpp
You can then build the engine ("UE4" in Visual Studio) and project ("phoenix" in Visual Studio).
TIP: If you build the engine you must always build the project again afterwards, otherwise you'll get a “Hermes module is missing" error.
If you have any other problems:
- Search this document for the solution.
- Ask for help on the Hogwarts Legacy Modding Discord (using this invitation).
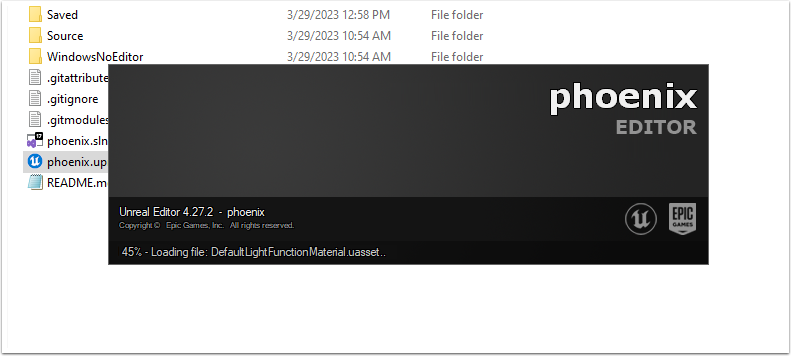
¶ Open uProject
Now you can open the uProject.
TIP: It may take some time for it to load completely on the first time
If you get a “The following modules are missing or built with a different engine version” error do this:
- For module "UnrealPSKPSA": Go to the section above entitled “Fix to Open uProject without the Rebuild” and do that.
- For module “Hermes”: This generally happens when you build the engine but forget to build the project afterwards. Build the project.
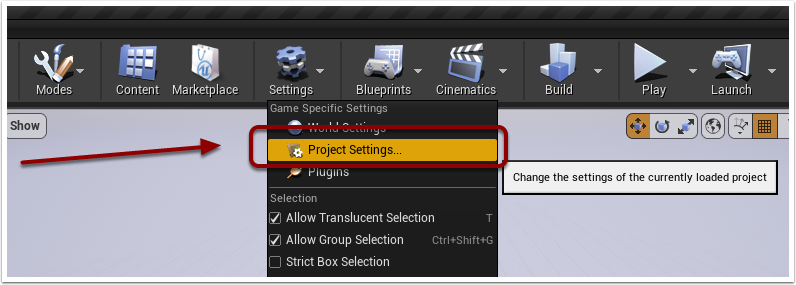
¶ Check your Settings
Go to Settings > Project Settings:
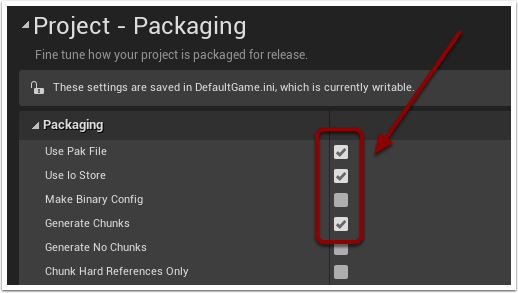
Select Packaging on the left sidebar:

Make sure to check these options before closing the window:
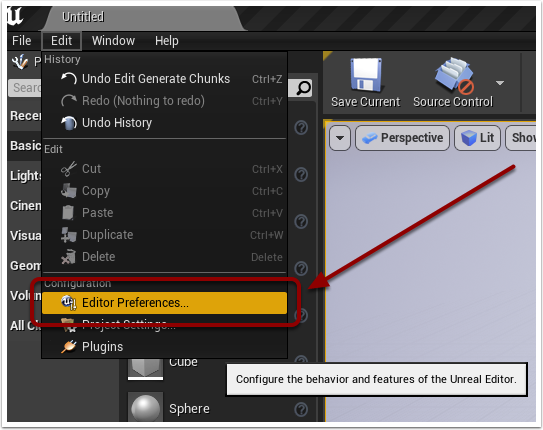
Go to Edit > Editor Preferences:
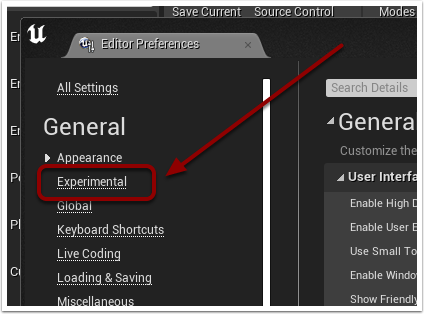
Select Experimental on the left sidebar
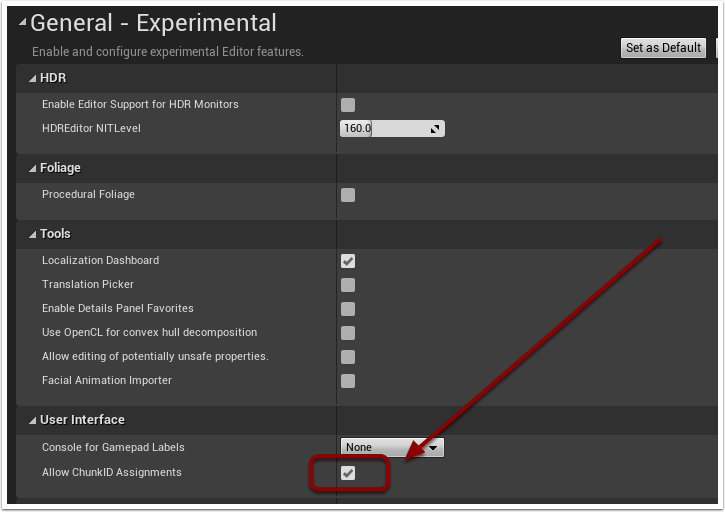
Tick Allow ChunkID Assignments:
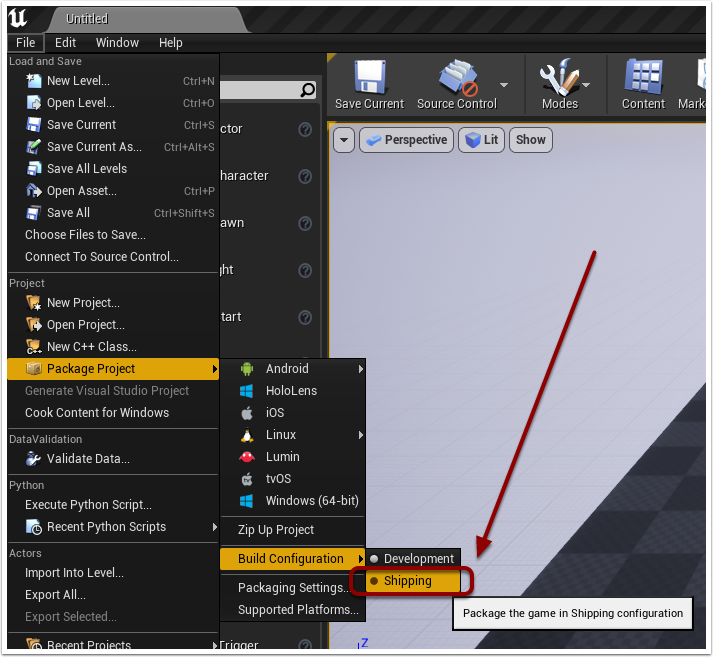
Select Shipping option under File > Package Project > Build Configuration:
¶ Cook an Empty Mod
You're almost there, but there are lots of assets and shaders that haven't yet been compiled. You may was well get that done too since it can take a good 45 minutes.
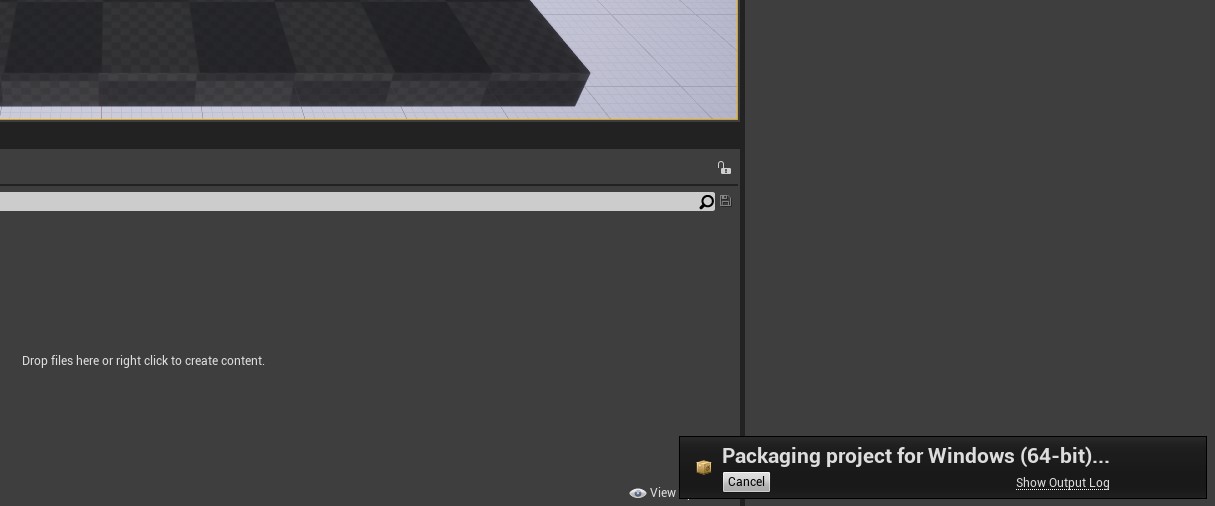
Simply do this: File > Package Project > Windows (64 bit):
You will be asked to specify an output folder. This can be anywhere, so choose wherever you want.
A message will appear in the bottom right:
If you open the Output Log you will see thousands of warnings while the empty project cooks. This is normal. When it completes you'll hopefully see BUILD SUCCESSFUL:
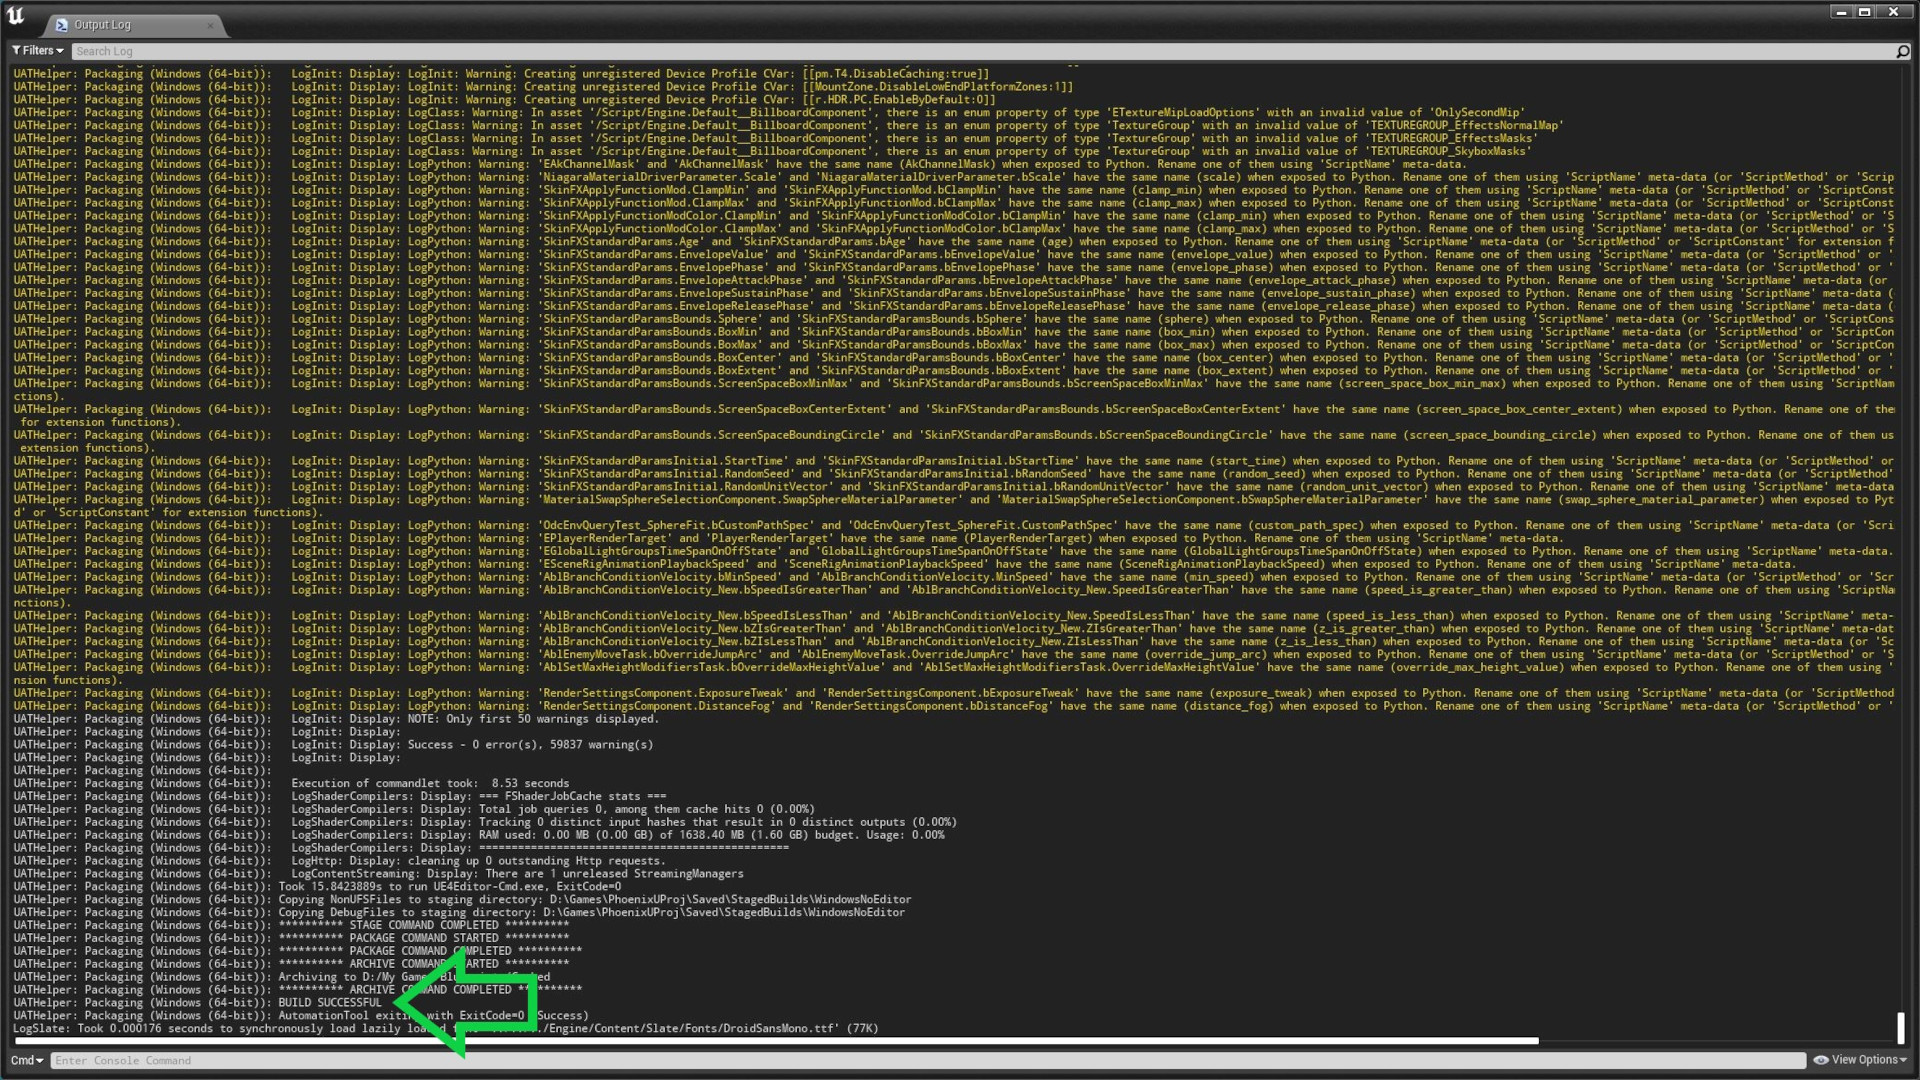
But you may get one of the following errors:
BinkMediaPlayerSDK\lib\BinkUnrealWin64.lib was not resolvable: That's because thelibdirectory is in the wrong place. Go toUE4HL\Engine\Plugins\Media\BinkMedia\Sourceand copy the wholelibfolder fromSDKtoBinkMediaPlayerSDK.The default physical material for destruction DefaultDestructiblePhysicalMaterial was not found.: You need to get the missing file from here , rename it toDefaultDestructiblePhysicalMaterial.uasset(note the uppercase letters) and put it inUE4HL\Engine\Content\EngineMaterials\
Once you've corrected those errors try to cook again. Hopefully it will succeed this time!
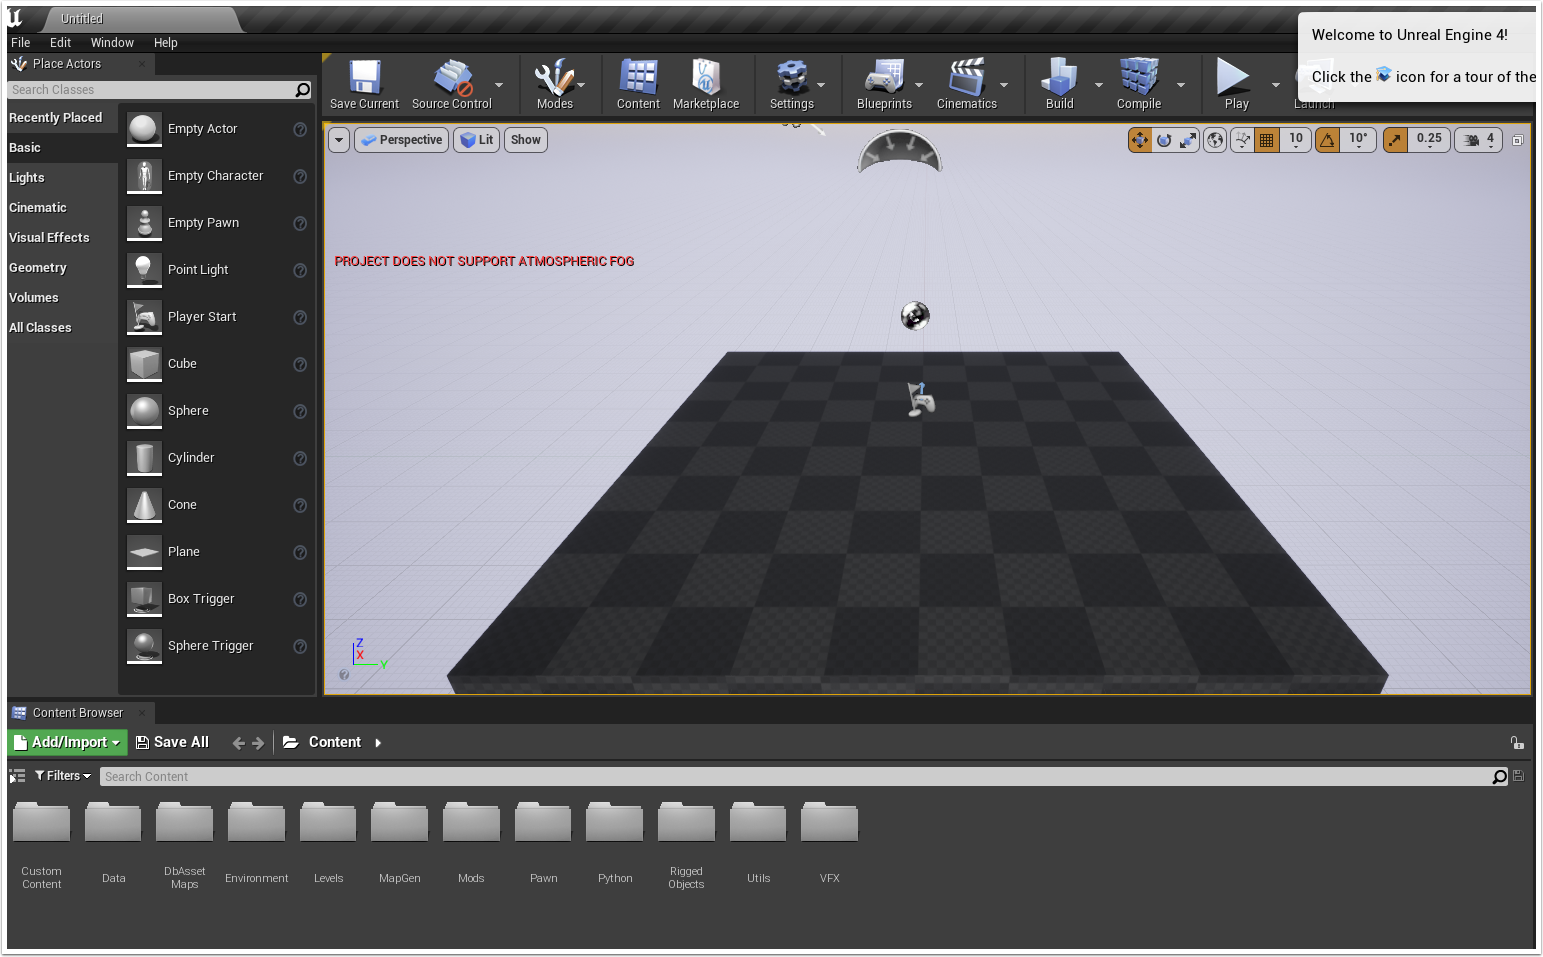
¶ Ready for Editing
You are now ready to begin your Project

¶ Next Steps
Feel free to continue with these guides to get started
| Name | Description |
| Blueprint Example 101 - Hello World | This guide provides a detailed walk-through of how to use Narknon's Custom uProject to create a blueprint mod to display "Hello World" on the screen during the game. This is the first in a series of blueprint mod guides. Links to the others should appear in a panel on the left of the screen. Hit the “Browse” button if not. Beginners should start with #101 and read them in order. |
| Custom Project Splash/Boot Screen | This guide will walk you through updating your splash screen to a custom one. It was produced before the Custom Engine was created so is only really of historic interest. |
| Blueprint Example with Ue4SS and Apparate Support | This guide walks you through creating a mod using the standard UE4.27 Engine. Very few types of mod can be built this way. (Face mods are one of the few examples that can.) |
¶ Building or Rebuilding - For Experts ONLY
If you're an expert in building custom unreal engines, and would like to have a go (despite the fact that you will probably break your installation and have to start again from scratch) you will find some notes on how to proceed here.