Using the tools set up in the previous tutorial, it is now possible to create a mod to replace game assets with something new. For simplicity the default wand object will be replaced.
¶ Additional Tools
In addition to FModel and Unreal Engine, this tutorial requires:
- Blender - A free, open-source 3D modelling program.
- Blender3D Import PSK PSA Addon - An addon for Blender which allows models exported from FModel to be imported.
¶ Find the object in FModel
In order to replace an asset, it's original path and file name must be determinned. Using FModel, change the "Loading Mode" option at the top of the PAK file list to "All" and click "Load". This will load all game assets from all available PAKs into a single data tree in the "Folders" tab.

Finding the correct asset to replace may take some time, in this example the wand model path is already known.
¶ Extract the asset
Locate the wand object by navigating down the folder tree until Phoenix/Content/RiggedObjects/Props/Wands/Wands_Customizable/Meshes is selected.
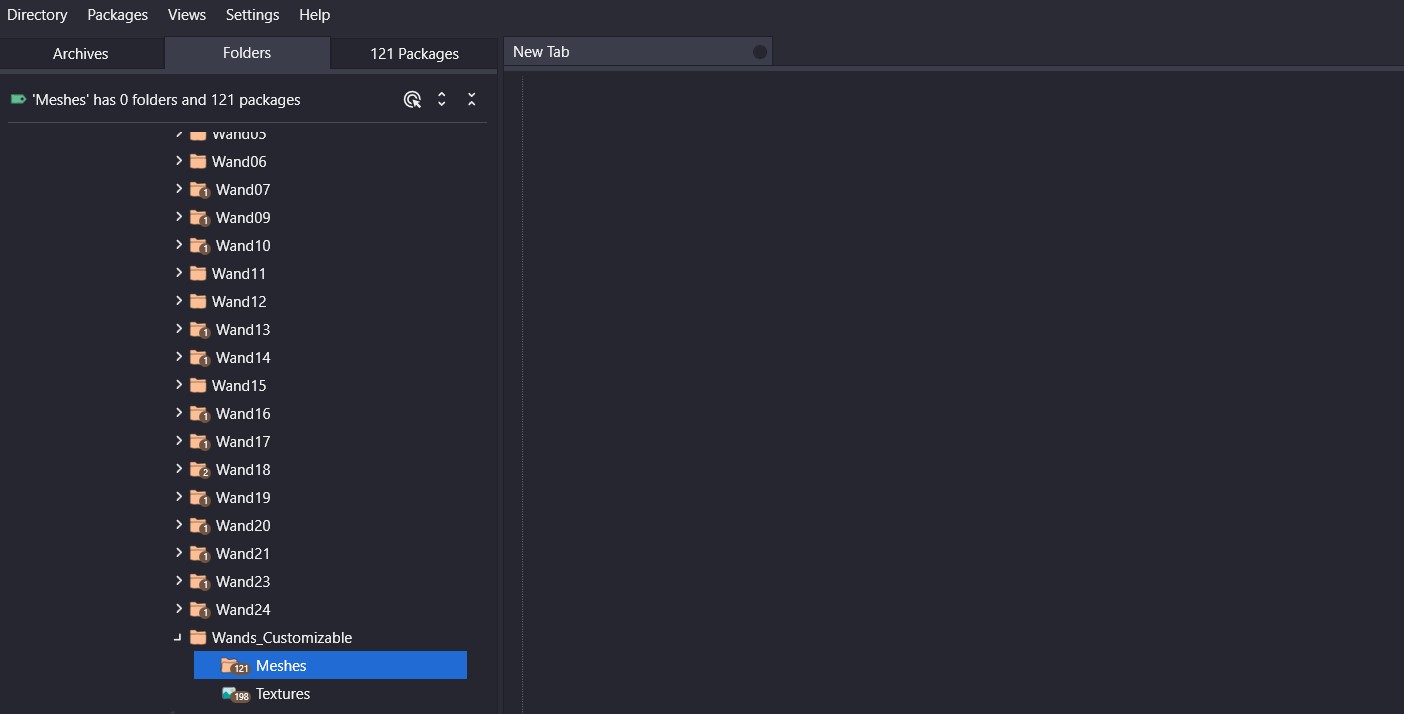
Double-click the "Meshes" folder to browse the UAAsset files it contains and locate the file SK_T000, which is the default wand model. Right-click and select "Save Model (.psk)" to export it in a format that is compatible with Blender.
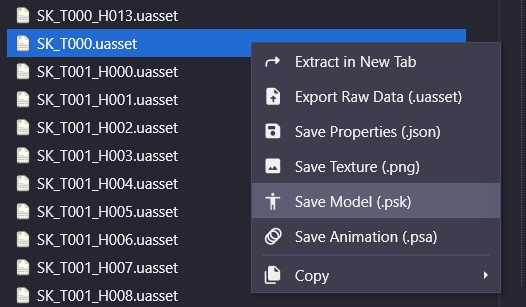
When asked for the export path, choose a suitable directory. The file will be exported with the full folder path (e.g. {YOUR PATH}\Game\RiggedObjects\Props\Wands\Wands_Customizable\Meshes).
¶ Edit with Blender
Ensure that both Blender and the PSK addon are installed before this step. (See Additional Tools)
For the purposes of this tutorial, this model by III_OrilaS_III on SketchFab will be imported as the replacement.
Open a new project in Blender and start by clicking the box model in the view window and deleting it.
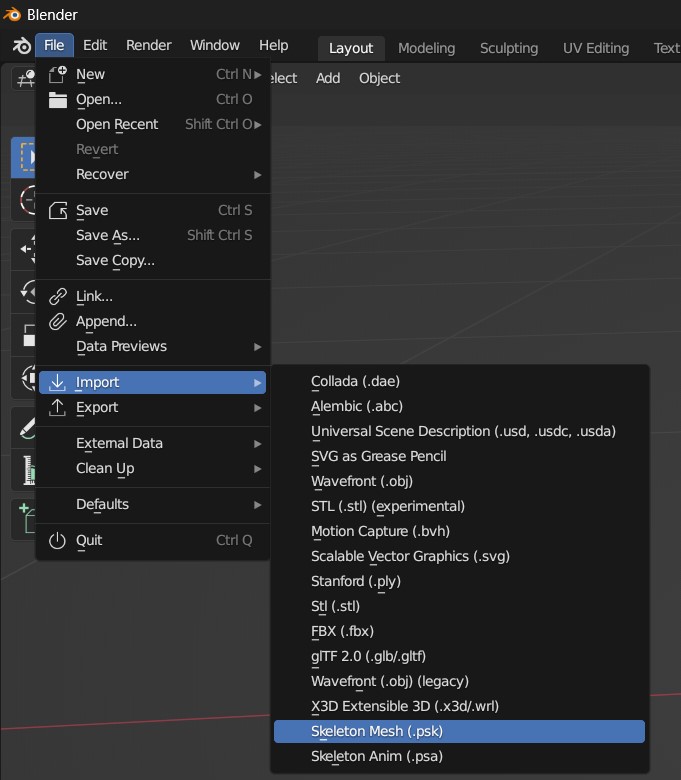
Next, import the wand model saved in the previous step by using the "File" -> "Import" -> "Skeleton Mesh (.psk)" option.
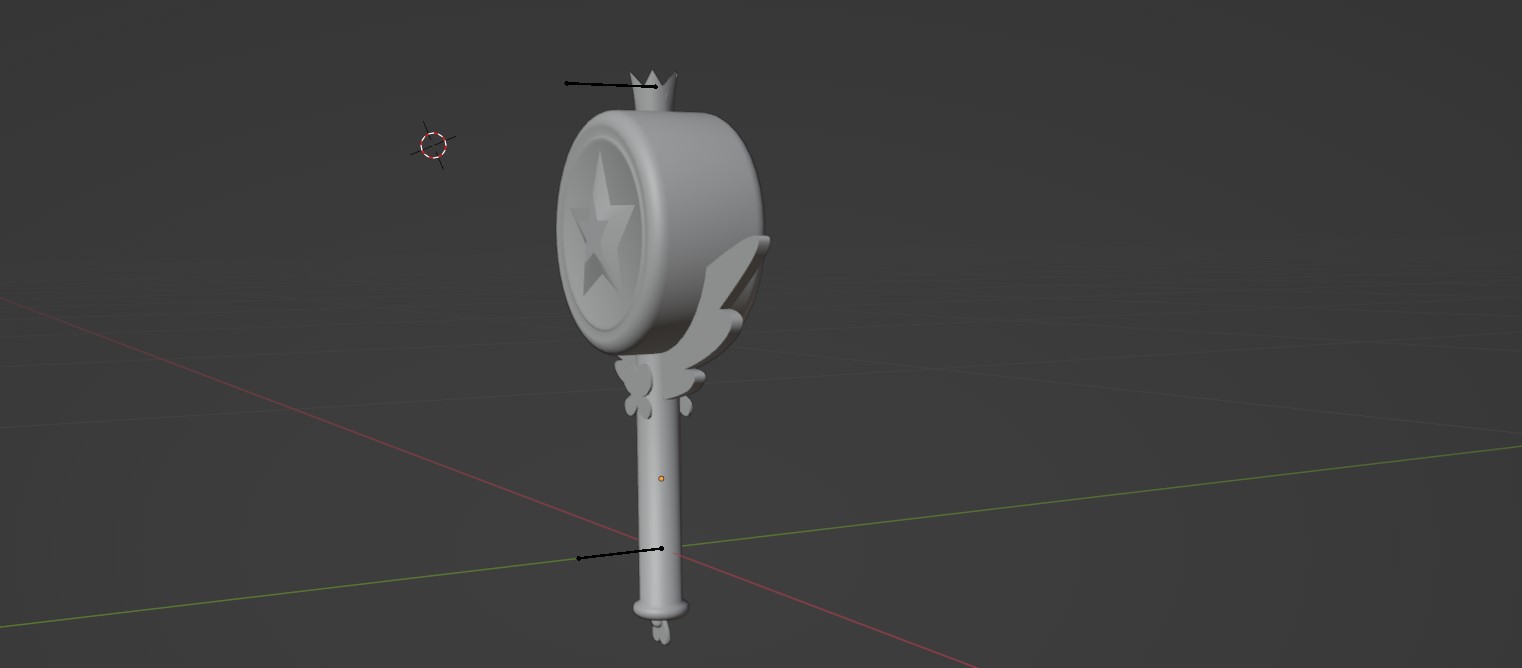
The wand is a very small model, so zoom in using the mouse wheel.
¶ Import the replacement model
Next, import the model you'd like to use as a replacement. In the example file, import the star_magic_stick_uv.fbx file from the "Source" folder of the download.
Use the scale options in the right panel and the move/rotate controls from the left panel to position the new object roughly in line with where the wand is placed. Ensure the bones (the lines drawn from the top of and bottom) are aligned. The bottom bone is where the wand attaches to the player's hand and the top one is where the spells effects appear when casting.
¶ Remove the original model
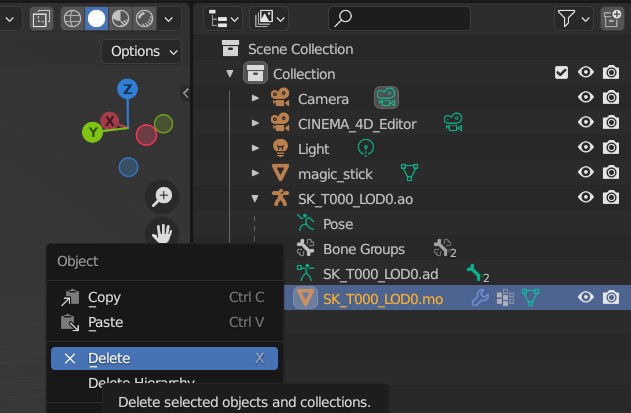
Now that the new model is in place, the old one must be removed. At the top of the right panel is the "Scene Collection" section. This includes a hierarchy of model components. Expand the SK_T000_LOD0.ao section and right-click on SK_T000_LOD0.mo, then select "Delete" to remove it.
¶ Set up the new model
Next, select only the new model/mesh, then hold Shift and Click on the lower bone. Press Ctrl + P, then select Armature Deform.
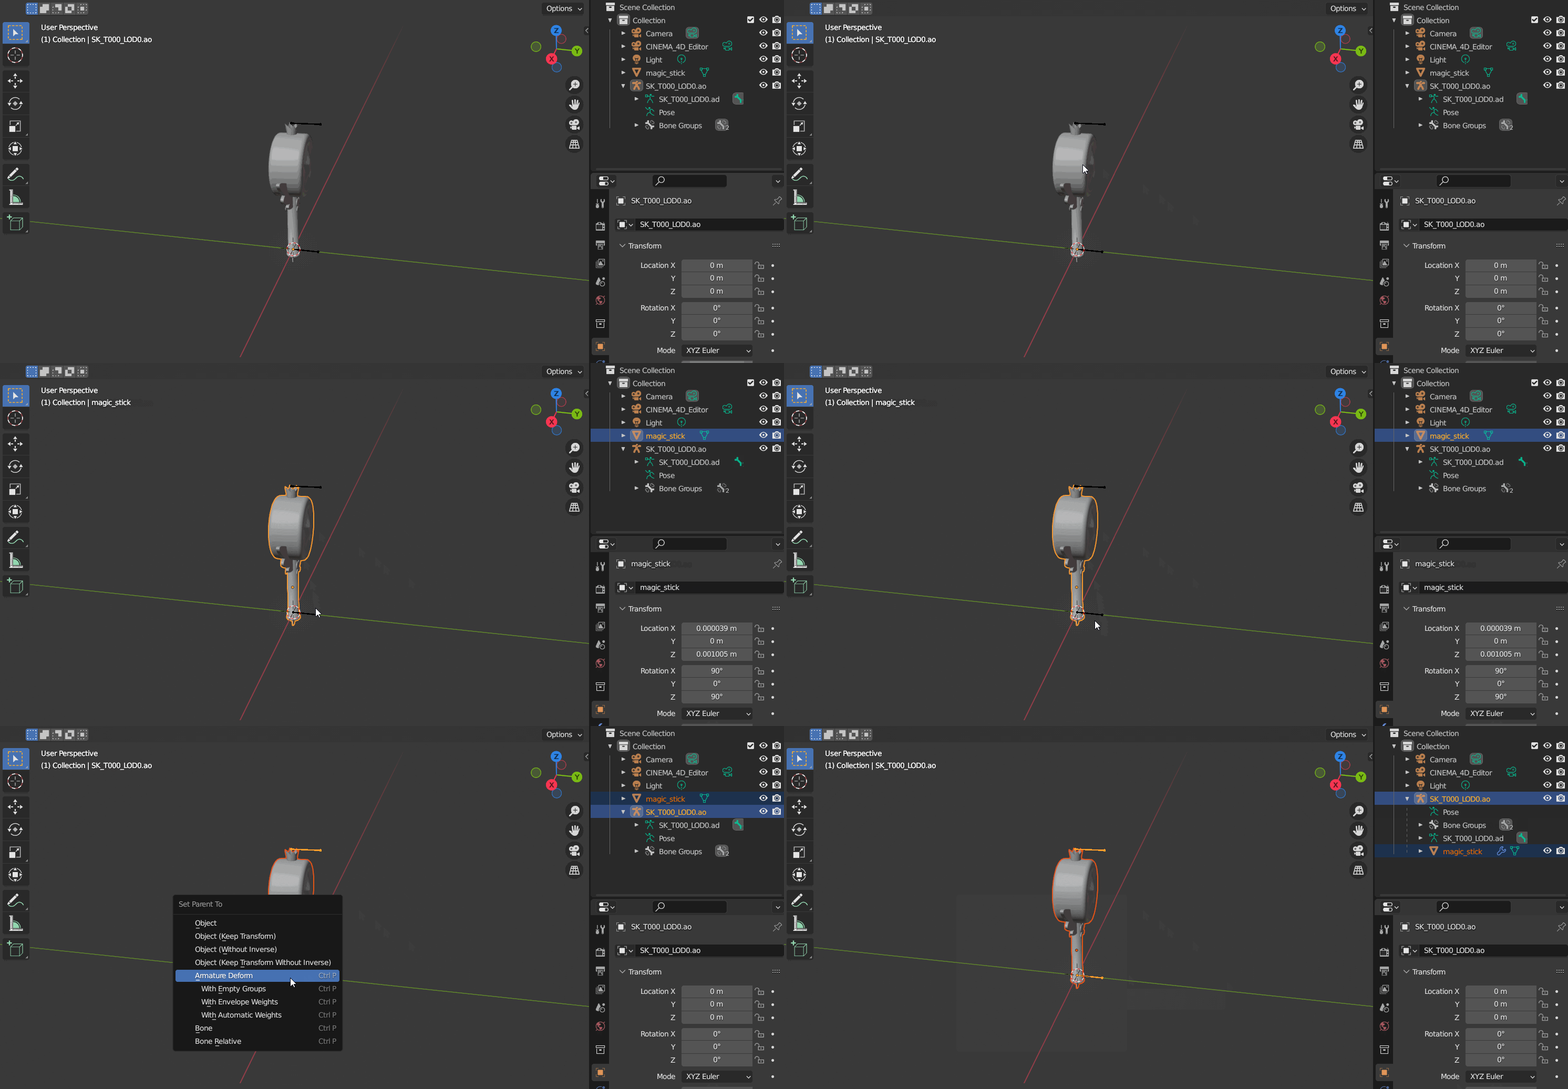
If done correctly, the magic_stick mesh will have moved inside SK_T000_LOD0.ao - where SK_T000_LOD0.mo was before it was deleted.
Next weight painting will be set up by defining the relationship between the model and the two nodes.
Click in the background to de-select everything. Then, click on the bottom bone (where the player's hand will connect) and, holding Shift click on the model.
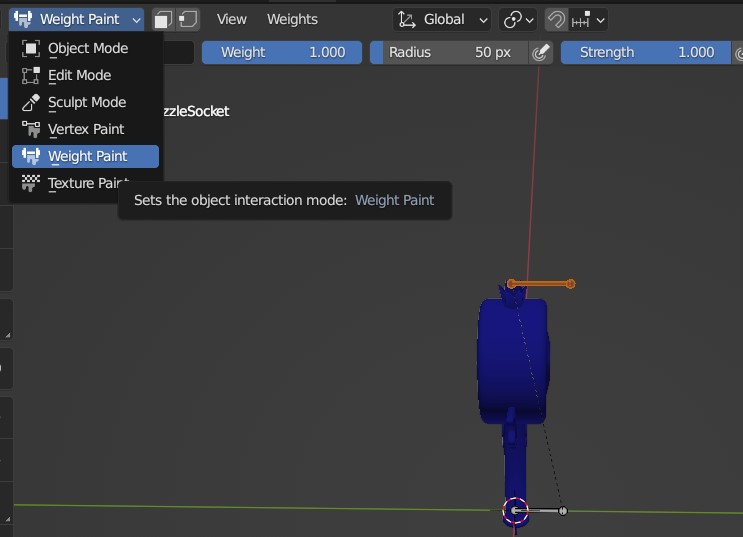
At the top of the render window, switch from Object Mode to Weight Paint. This should turn the entire model blue.
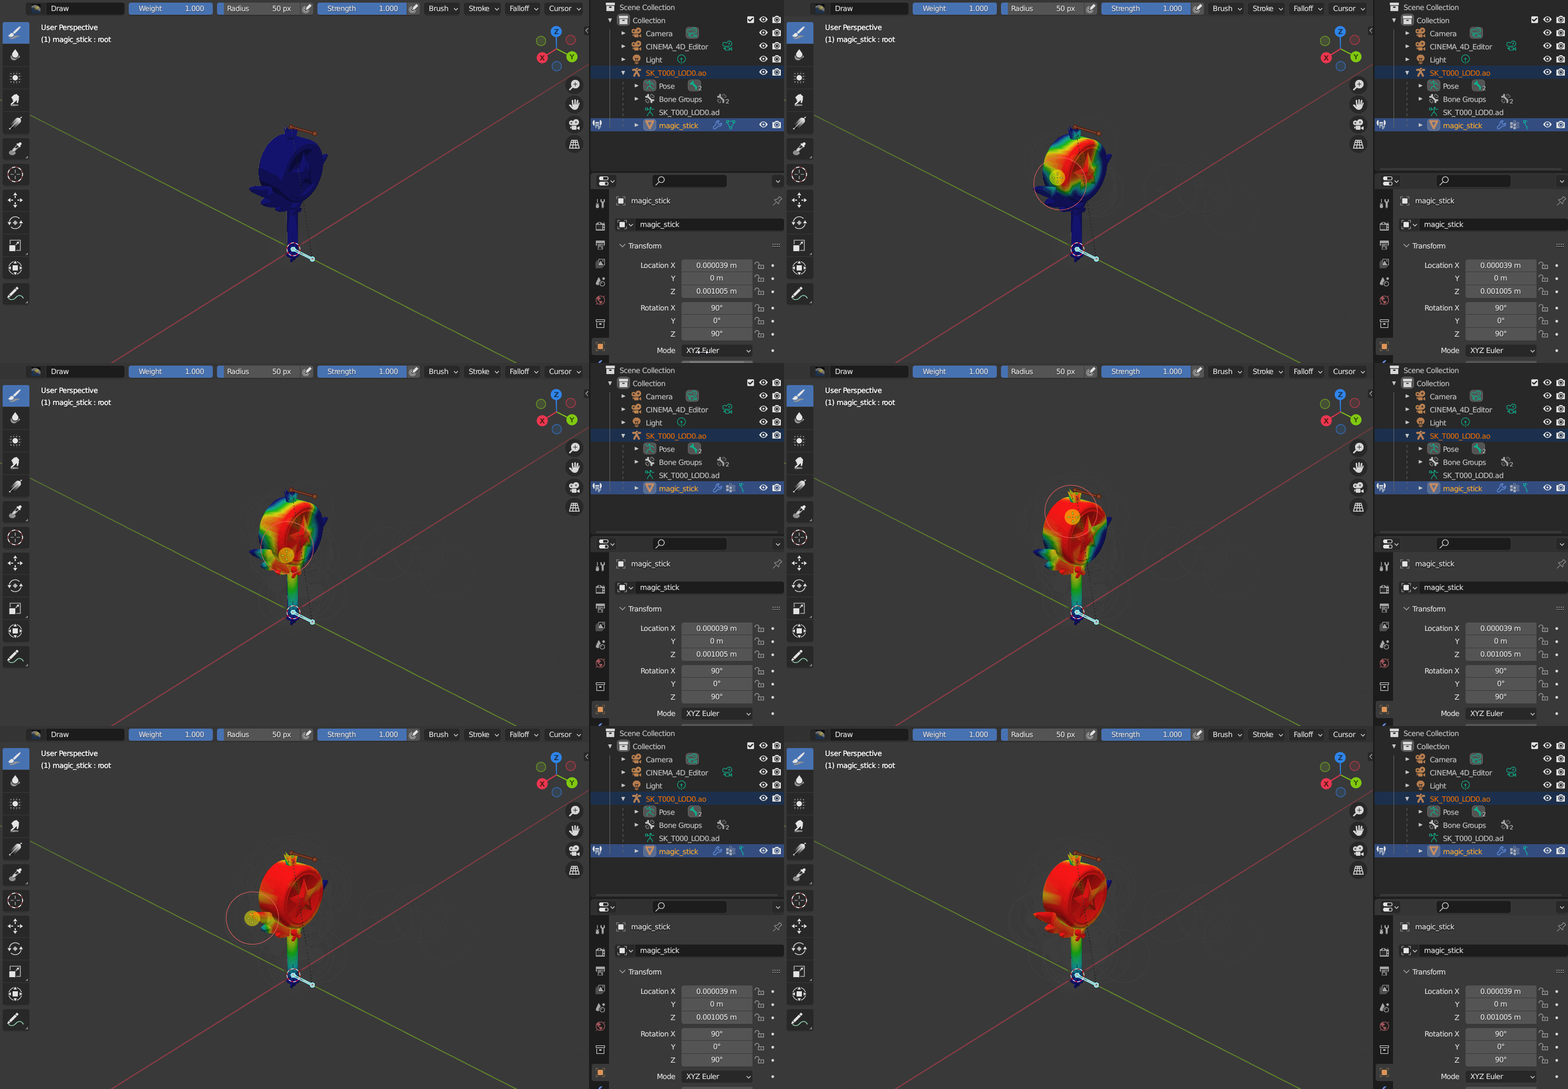
Hold Ctrl and click on the top bone. Press R to rotate the bone and move your cursor around. No part of the model should move. Press Esc to cancel rotation.
If any part of the model moves, it should be a colour other than blue. Below the "Weight Paint" drop-down is the brush option. Change it from "Draw" to "Subtract" and paint all parts of the model until they are blue. Retry the steps above to confirm that the model remains still.
Next, hold Ctrl and click the bottom bone. Using the mouse click and hold to paint the model. Ensure the entire mesh is red, including all the small details. This is ensuring that when the hand bone moves, the rest of the model follows it.
Once the model is completely red, switch back to Object Mode and select SK_T000_LOD0.ao from the Scene Collection in the top-right panel.
Switch from Object Mode into Pose Mode from the drop-down menu.
Click on the top bone, press R to rotate it and drag the mouse around. No part of the mesh should move. Press Esc to cancel the rotation.
Click the bottom bone, press R to rotate it and drag the mouse around. The entire mesh should move. Press Esc to cancel the rotation.
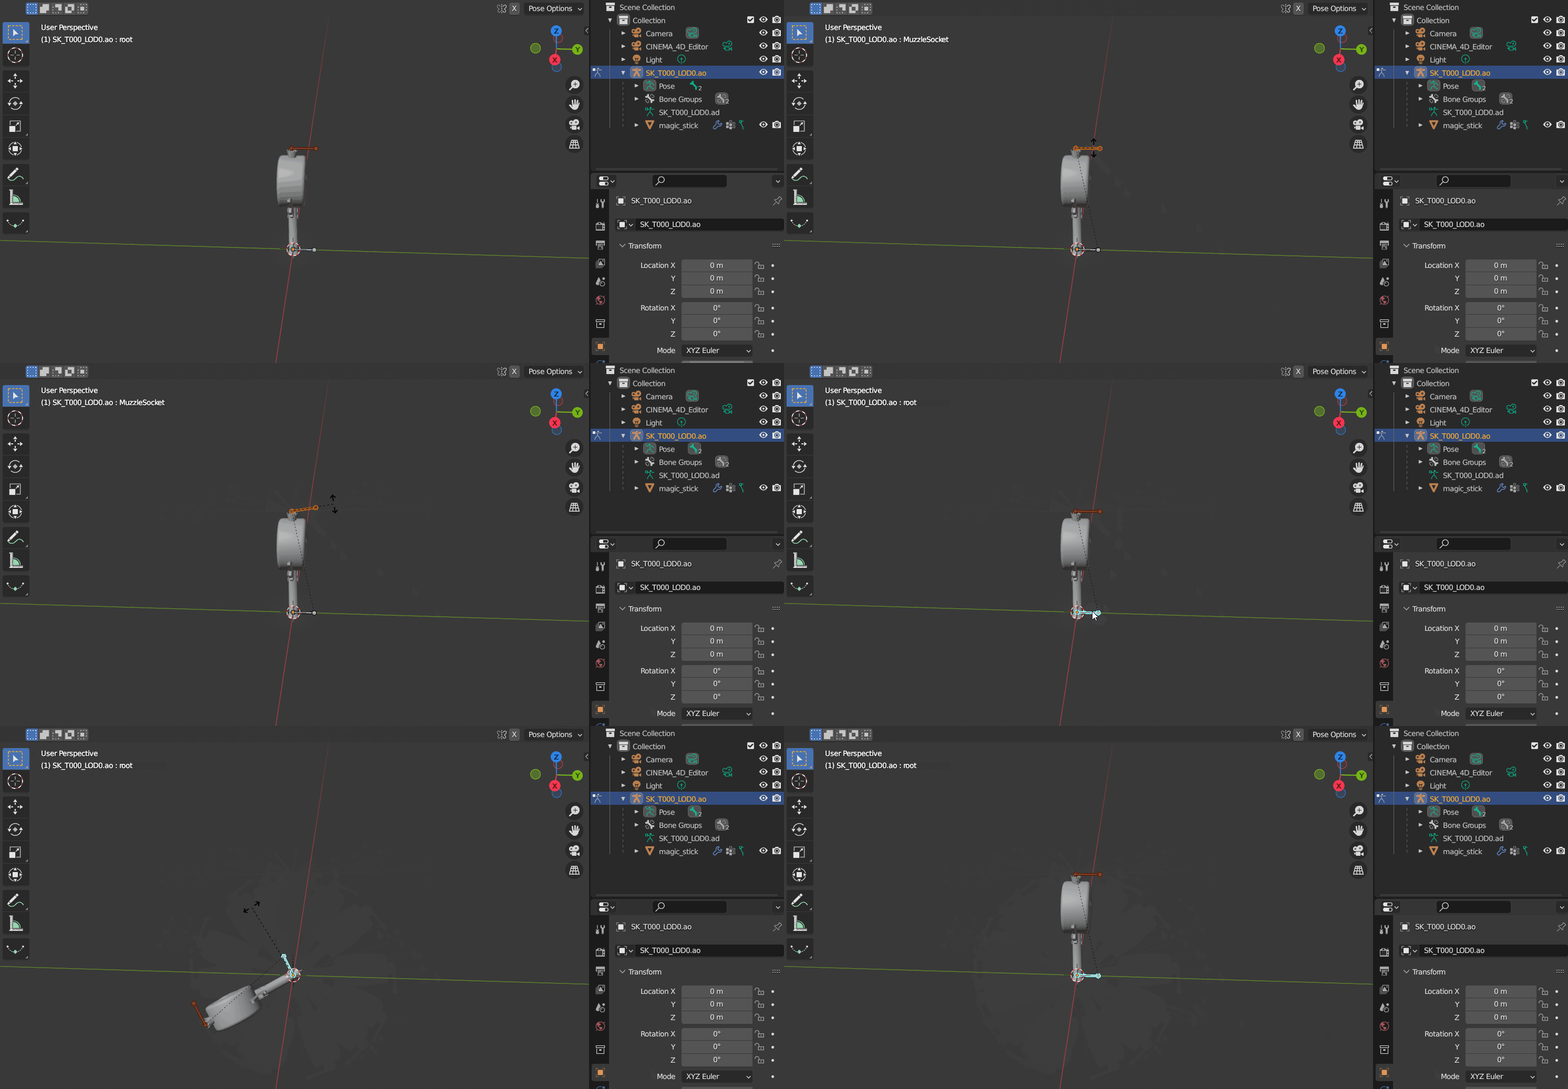
If any part of the model moves incorrect, return to weight painting instructions an ensure the model is completely blue/red respectively.
¶ Export the new model
In Blender, use "File" -> "Export" -> "FBX (.fbx)" to export the new model in an Unreal Engine friendly format.
In the export window, ensure that Bake Animation and Add Leaf Bones (under Armature) are un-selected.
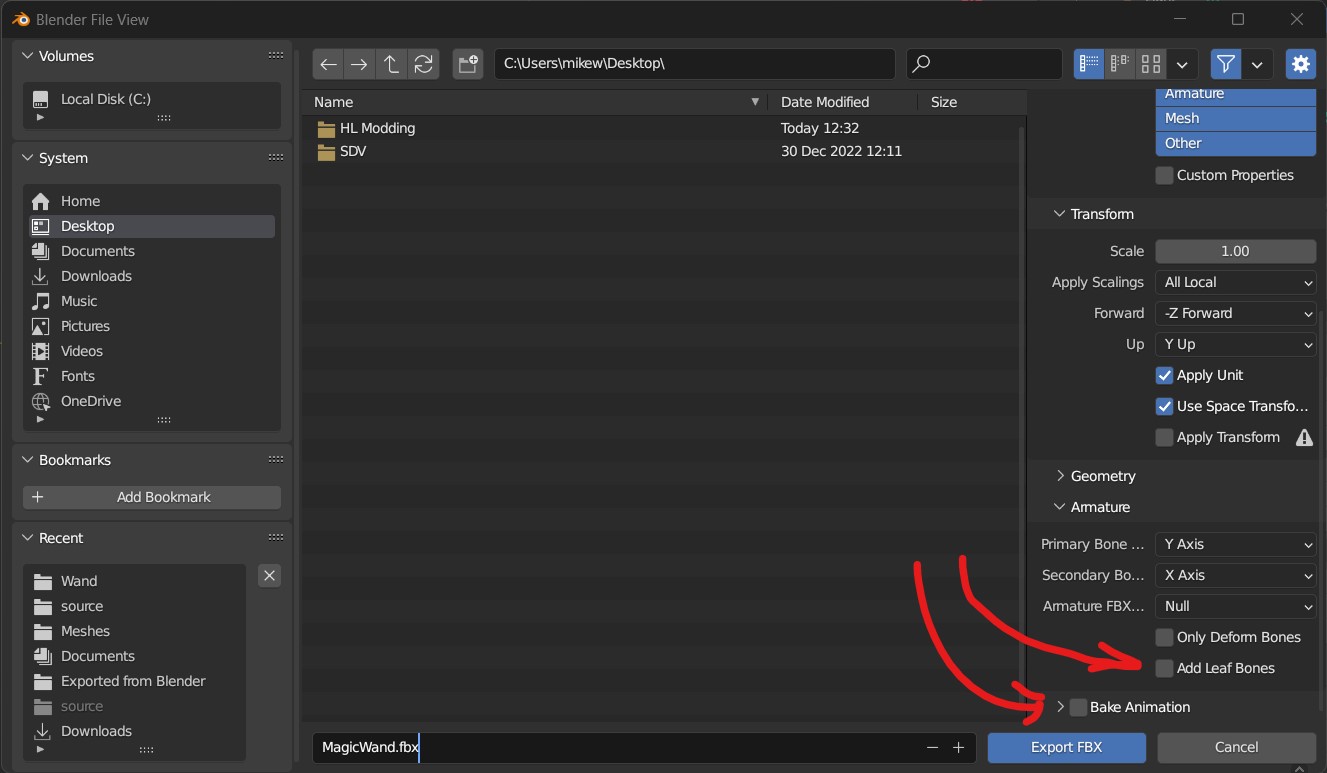
Save the FBX file to a folder your PC where you'll be able to find it easily.
¶ Add to the Unreal Engine Project
Now that the new model is game-ready, it must be added to the Unreal Engine Project created in Step 1 to be exported as a part of the new mod.
¶ Creating the folder structure
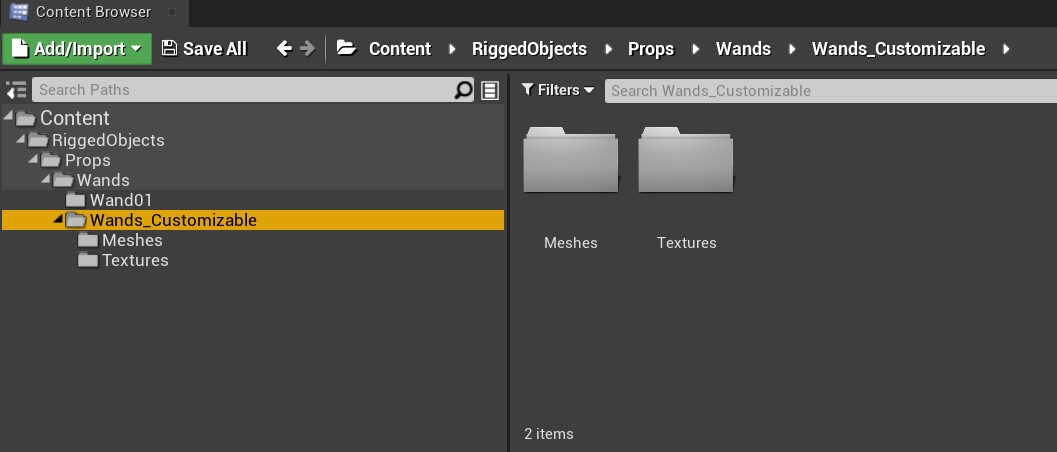
In order to export an asset that will overwrite the original game content, the folder structure of the project must match the original game. The exact requirements depend on which assets you plan to overwrite. In this example, we are looking to overwrite all default wands (no handles).
Ensure all the folders below exist in the "Content Browser" at the bottom of the screen. You can reveal the file-tree view by clicking the icon on the left below the Add/Import button.
Content/
├─ RiggedObjects/
│  ├─ Props/
│  │  ├─ Wand01/
│  │  ├─ Wands_Customizable/
│  │  │  ├─ Meshes/
│  │  │  ├─ Textures/
¶ Importing the new model
To add the model into the project, drag and drop the FBX file into the Content Browser while viewing the "Meshes" folder.
In the "FBX Import Options" window, leave everything default and click "Import". If a warning appears afterwards, simply ignore it.
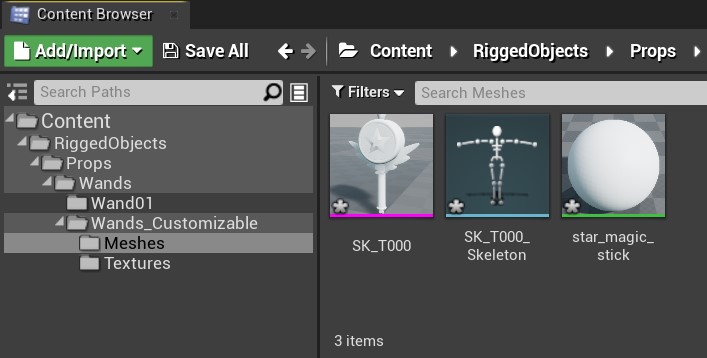
This will add the mesh, a material and a skeleton to the project. Ensure the mesh is named SK_T000, the skeleton is named SK_Wands_Wand01_Skeleton , and the material is named MI_Wand_Master.
Drag and drop the skeleton file into the "Wand01" folder, selecting "Move here" on the context menu that appears.
Drag and drop the material into the "Wands" folder, selecting "Move here" on the context menu that appears.
Finally, copy the SK_T000 file 7 times to replace all 8 types of wand. The copies should be named SK_T001, SK_T002, SK_T003, SK_T004, SK_T005, SK_T006, and SK_T007.
¶ Adding textures
The models are now set up, but if the mod was exported now it would still use the textures applied to the wand model, which wouldn't look good as our new wand is very different shape.
The original asset used in this tutorial only includes a diffuse texture, but a normal map and MRO file are also required. You can download these from this mod page under optional files (thanks to Anec for creating them!).
Drag and drop the textures from the T000 - T007 folders in the Textures folder in the Content browser. You will note that for each wand variant there are 9 textures. The Textures folder should contain 72 textures in total.
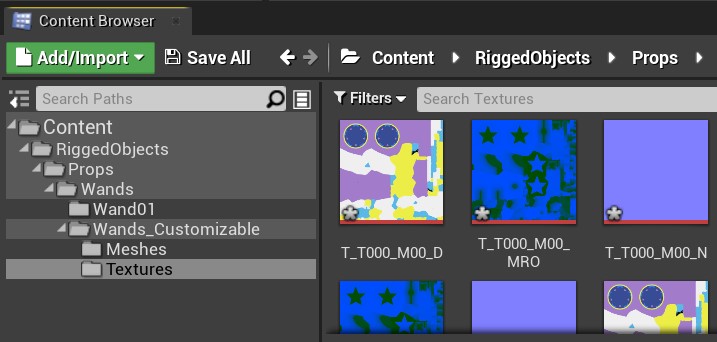
Click "Save All" at the top of the Content Browser to save your progress.
The project is now ready for to cooked and shared!